Thursday, October 24, 2019

Fall Hiking Outfit Inspiration from Backcountry

The post Fall Hiking Outfit Inspiration from Backcountry appeared first on The Blonde Abroad.


from The Blonde Abroad https://ift.tt/31JEymA

Best Travel Gear (My Ultimate Travel Packing List)

Curious about the travel gear I bring with me on my international adventures? I’ve put together this gear page to share my long-term travel packing list. Obviously, I recommend traveling with high-quality, lightweight & durable stuff.

The travel gear I use may not work for everyone. I carry extra photography equipment to maintain this travel blog, along with camping equipment for trekking up mountains, hitchhiking long distance, or exploring rainforests on my own.

All travelers have different tastes & requirements while on the road. The following gear list is just what I’ve found works best for MY particular “adventure” travel style.

Travel Gear

While I often travel on an extreme budget, my gear can be expensive. I want it to be functional, multi-purpose, comfortable, and very tough. I don’t want to keep replacing worn-out equipment every few months while abroad — plus I have a slight obsession with keeping travel gear as lightweight as possible!

“He who would travel happily must travel light.”
~ Antoine de St. Exupery
(One of my favorite quotes about travel!)

Top Travel Gear List For 2019

Travel Luggage: Rolling Bag VS Backpack

Ah, the eternal question. Travel backpack, suitcase, or rolling duffel? This is going to come down to personal preference — and what kind of traveling you plan to do.

If you’re riding chicken-buses through Central America or hitchhiking around Africa, you’ll probably want a travel-friendly backpack. If you spend a lot of time in cities or fly frequently, you might prefer a rolling duffel or suitcase.

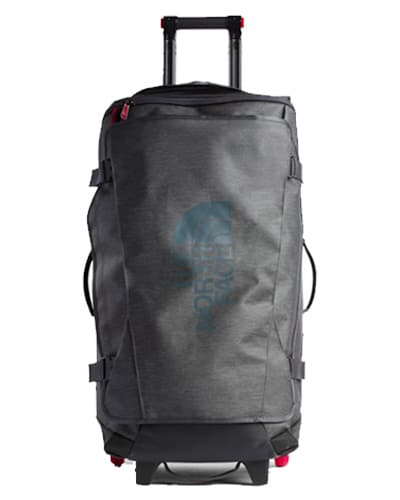
I started vagabonding around the world with a backpack, but my travel style has changed over the years, where I now find a rolling duffel bag more convenient for most things.

Mainly, due to carrying a lot more photography gear for my work on this travel blog.


My Main Travel Bags

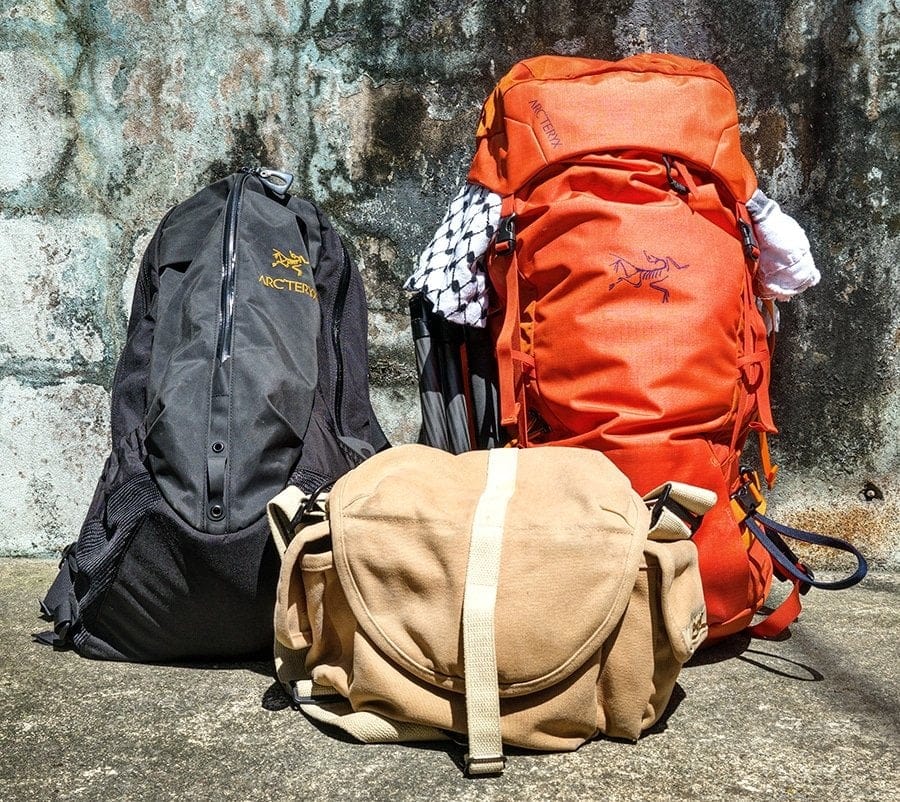
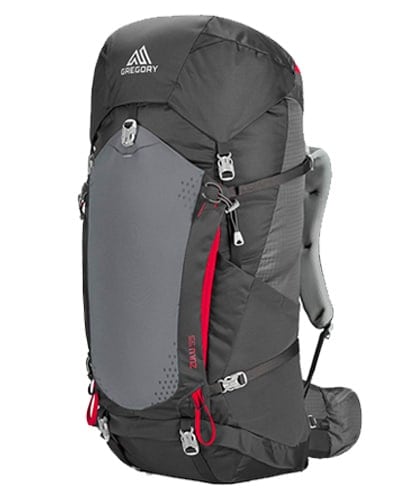
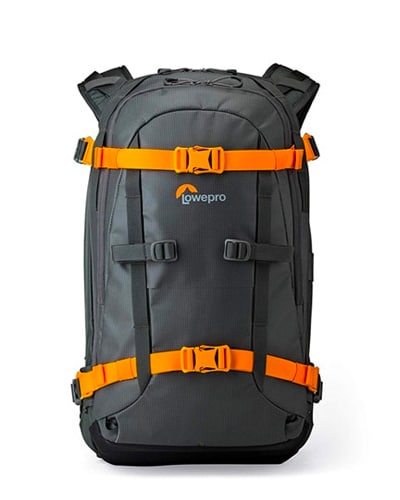
I currently travel with 3 different bags. A rolling duffel as my main bag, a backpack for mountain trekking or wilderness trips, and a carry-on camera backpack.

I usually only need to check one bag, the rolling duffel. The hiking backpack can lie-flat inside it. For bigger trips that require more technical gear (like winter camping), I’ll check both.


North Face Rolling Thunder


My current favorite travel bag with plenty of room, heavy-duty lockable zippers and a waterproof shell. A seperate compartment for hiking boots, and big wheels for dirt roads & cobblestones.

Gregory Zulu 55 Backpack


This lightweight, super comfortable overnight trekking & travel backpack includes full front-zipper access to all my gear. It can lie flat in my roller bag if I don’t need to check both.

Lowepro Whistler Camera Bag


My amazing carry-on camera & laptop backpack. I use this for day hikes with my camera gear, but it has room for things like snacks, water, jacket, full-size tripod, snowboard, ice-axe, etc.

READ MORE: How To Choose The Perfect Travel Backpack


Basic Travel Gear

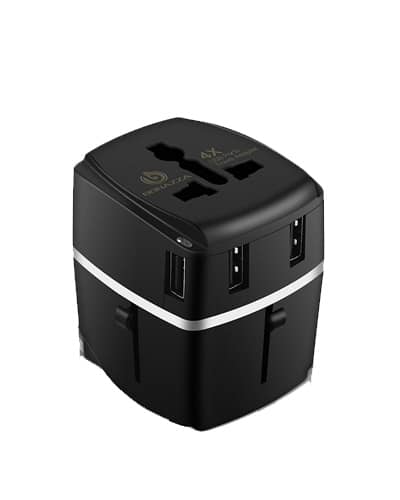
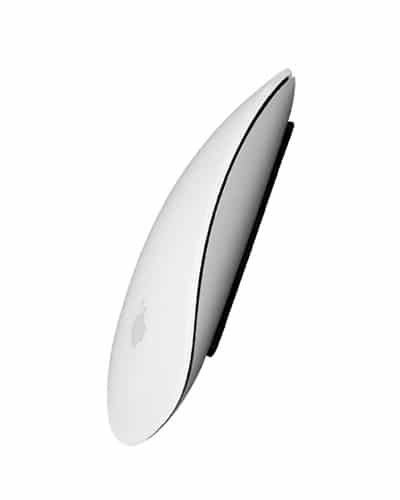
This is my basic, standard travel gear that goes with me on every trip. From items that make flights more comfortable to gear that helps me stay organized while traveling.

READ MORE: Best Gifts For Travelers In 2019


Backpacking & Camping Gear

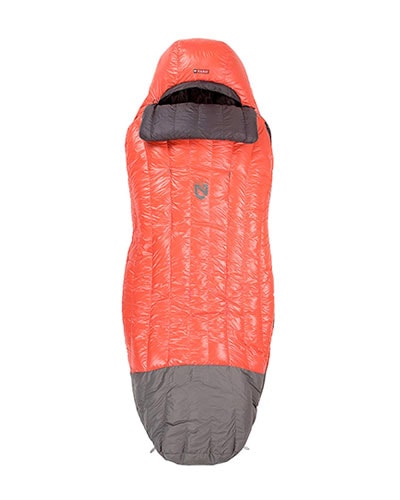
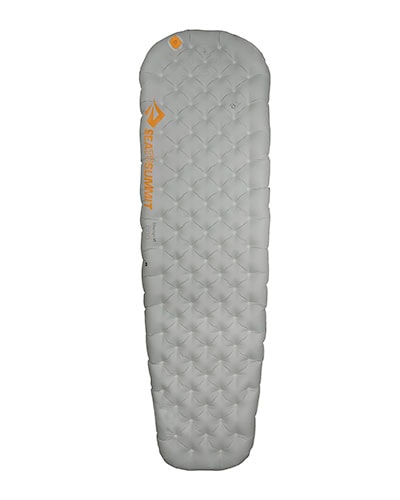
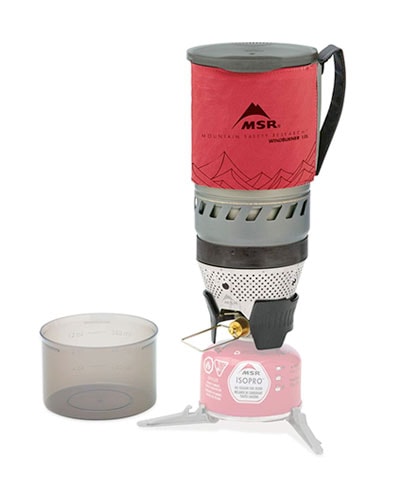
As an adventure addict, I do a lot of overnight backpacking, trekking, and camping when I travel. So I pack some specialized outdoor gear for these types of journeys, much of it pretty high-end (super lightweight & durable).

READ MORE: My Complete Backpacking Gear Checklist


Travel Clothing & Apparel

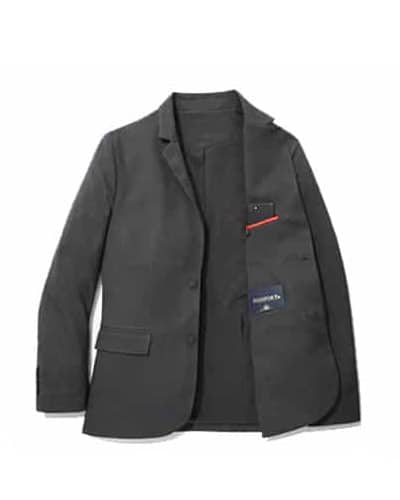
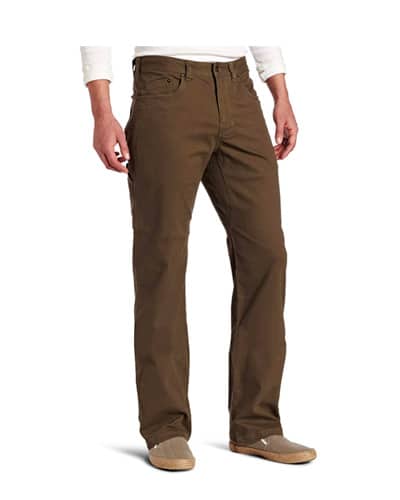
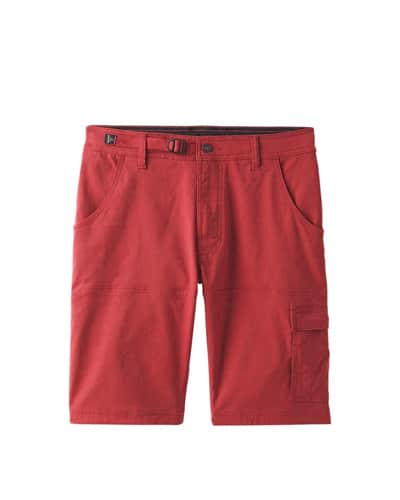
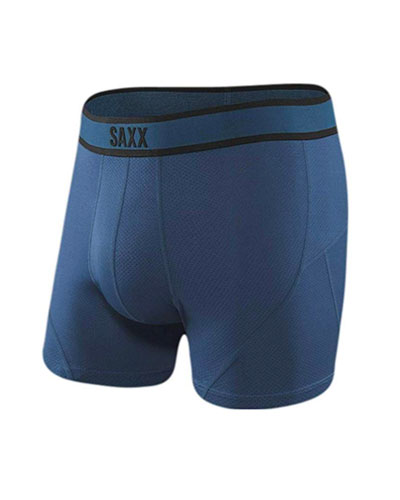
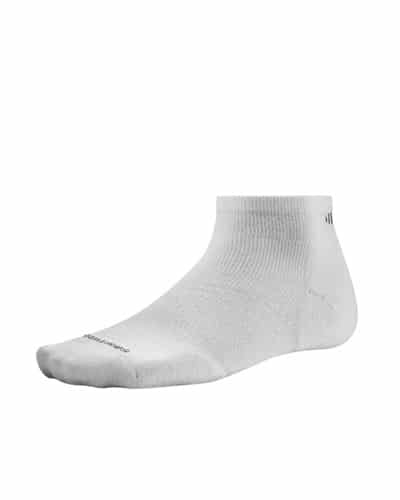
You don’t need a huge wardrobe to travel. Here’s some of the clothing I pack when traveling around the world. I try to buy stuff that’s lightweight and wrinkle resistant. As for how much? I generally pack: 2 pairs of pants, 1 pair of shorts, 5 t-shirts, 2 nicer shirts, 2 sweatshirts/sweaters, 5 pairs of underwear, 5 pairs of socks, and 1 swimsuit.

READ MORE: How I Do Laundry While Traveling


Tech Gadgets For Travelers

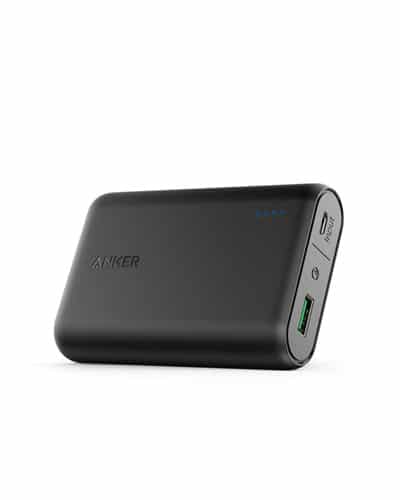
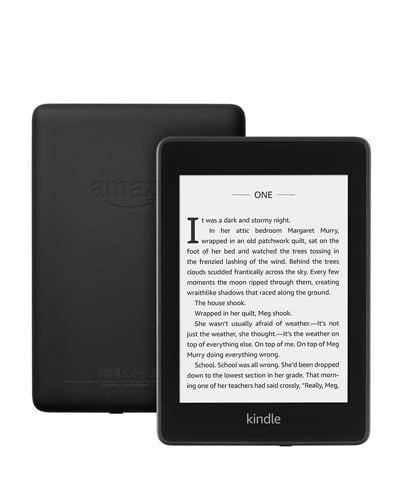
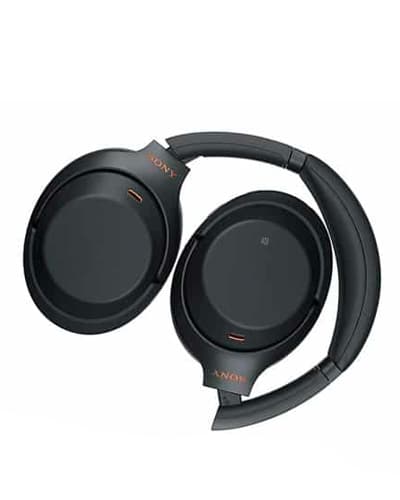
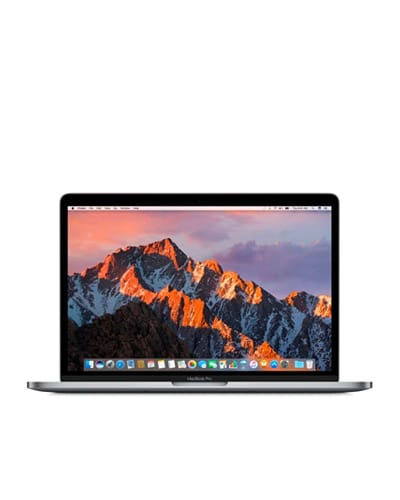
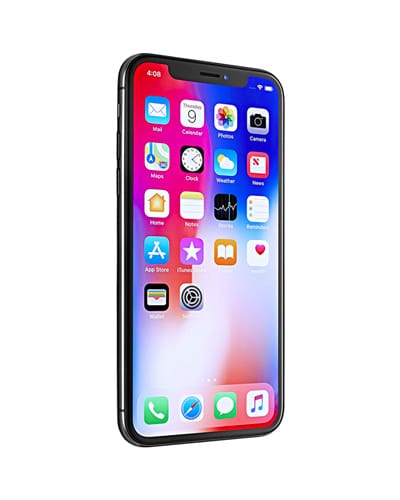
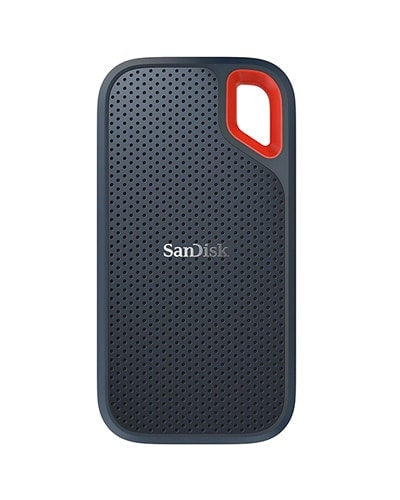
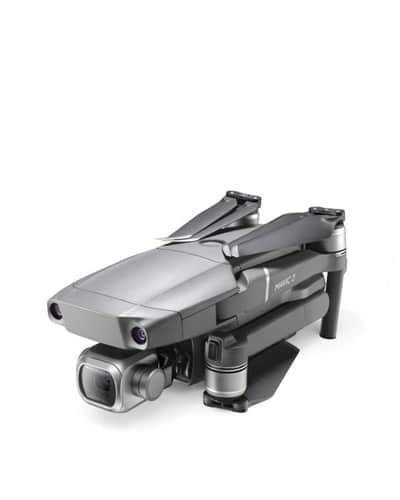
I would not be able to produce a travel blog of this caliber without some computer equipment. Other electronics are not absolutely needed, but they improve my quality of life on the road enough to be worth the weight.


My Travel Photography Gear

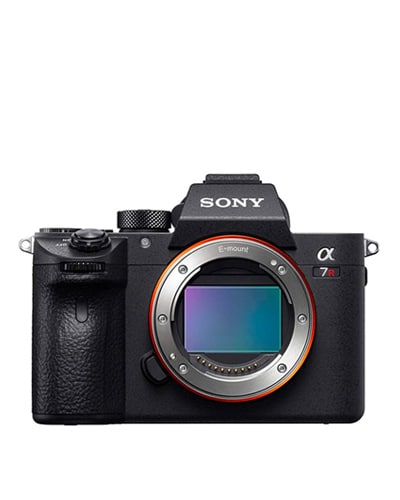
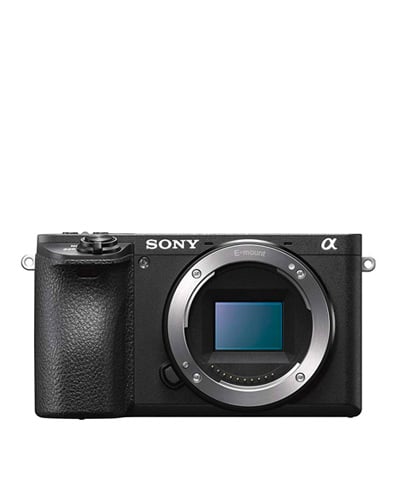
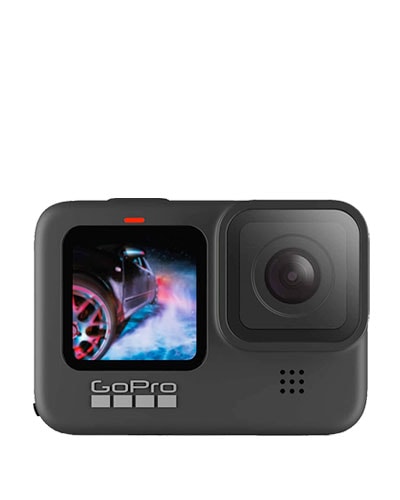
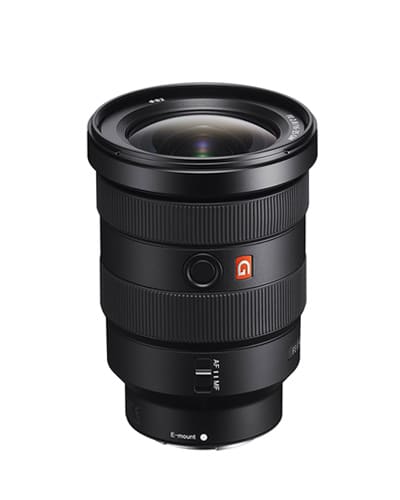
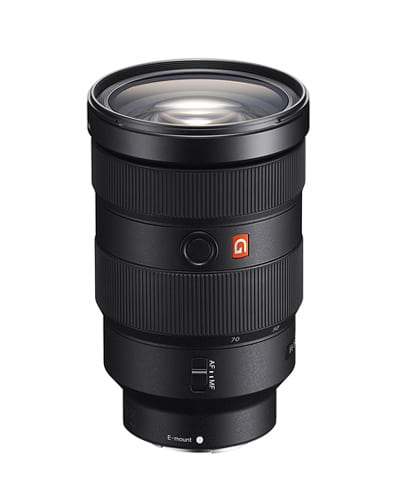
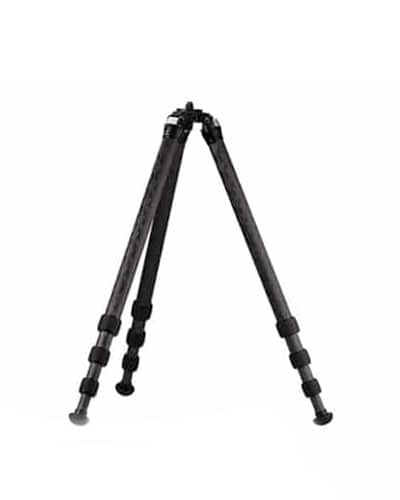
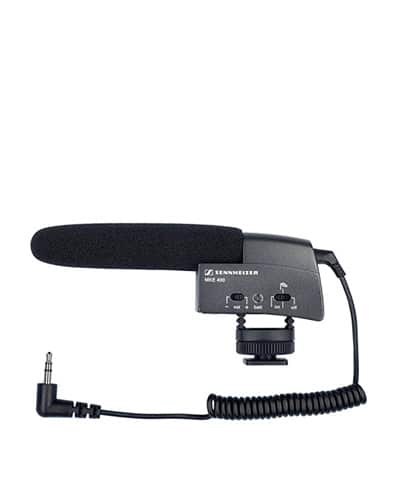
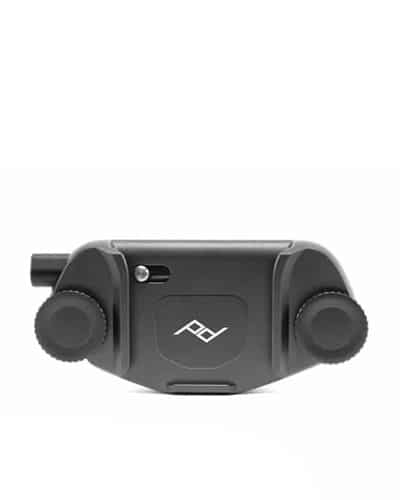
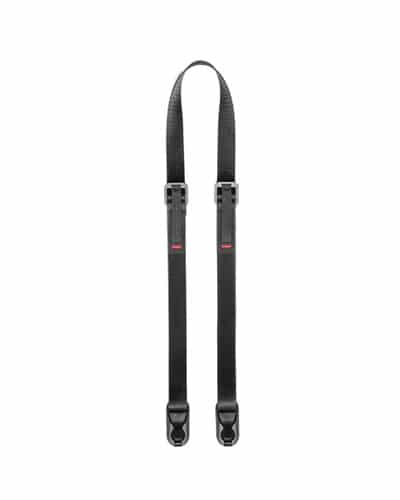
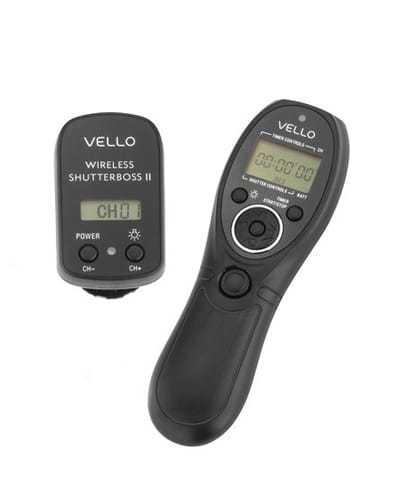
For the photographers out there, this is the camera equipment I use for adventure travel photography around the world. While I shoot images for this blog, I also sell images to magazines, brands, and national tourism boards. I carry more camera equipment than the average traveler because it’s part of my business.

READ MORE: Best Travel Cameras For Different Budgets


Why Not Travel Carry-On Only?

I’ve traveled carry-on only before, and still do occasionally if it’s a short weekend trip. However as I’ve collected more camera gear for the travel photography side of my business, I was forced to check a bag again in order to fill my carry-on with camera gear.

And you know what? After 9 years of regular travel, the airlines have only lost my checked-bag 4 times. In all but one of those cases my bag showed up the next day — it was not a big problem. Losing a bag for a day is not the crisis some travelers pretend it is.

Only once did it take a week to get my bag back. While this particular situation certainly sucked, having this happen once in 9 years, with all the flying I do, does not make it a frequent occurrence.

Checking a bag is not the end of the world… and odds are very high it will be waiting for you at luggage claim.

This is a post from The Expert Vagabond adventure blog.


from Expert Vagabond https://ift.tt/2goxZTr

Thursday, October 17, 2019

20 Photos to Inspire You to Visit Chefchaouen

blue Chefchaouen Header Chefchaouen Morocco Inspiration-20 Chefchaouen Morocco Inspiration-7 Chefchaouen Morocco Inspiration-20

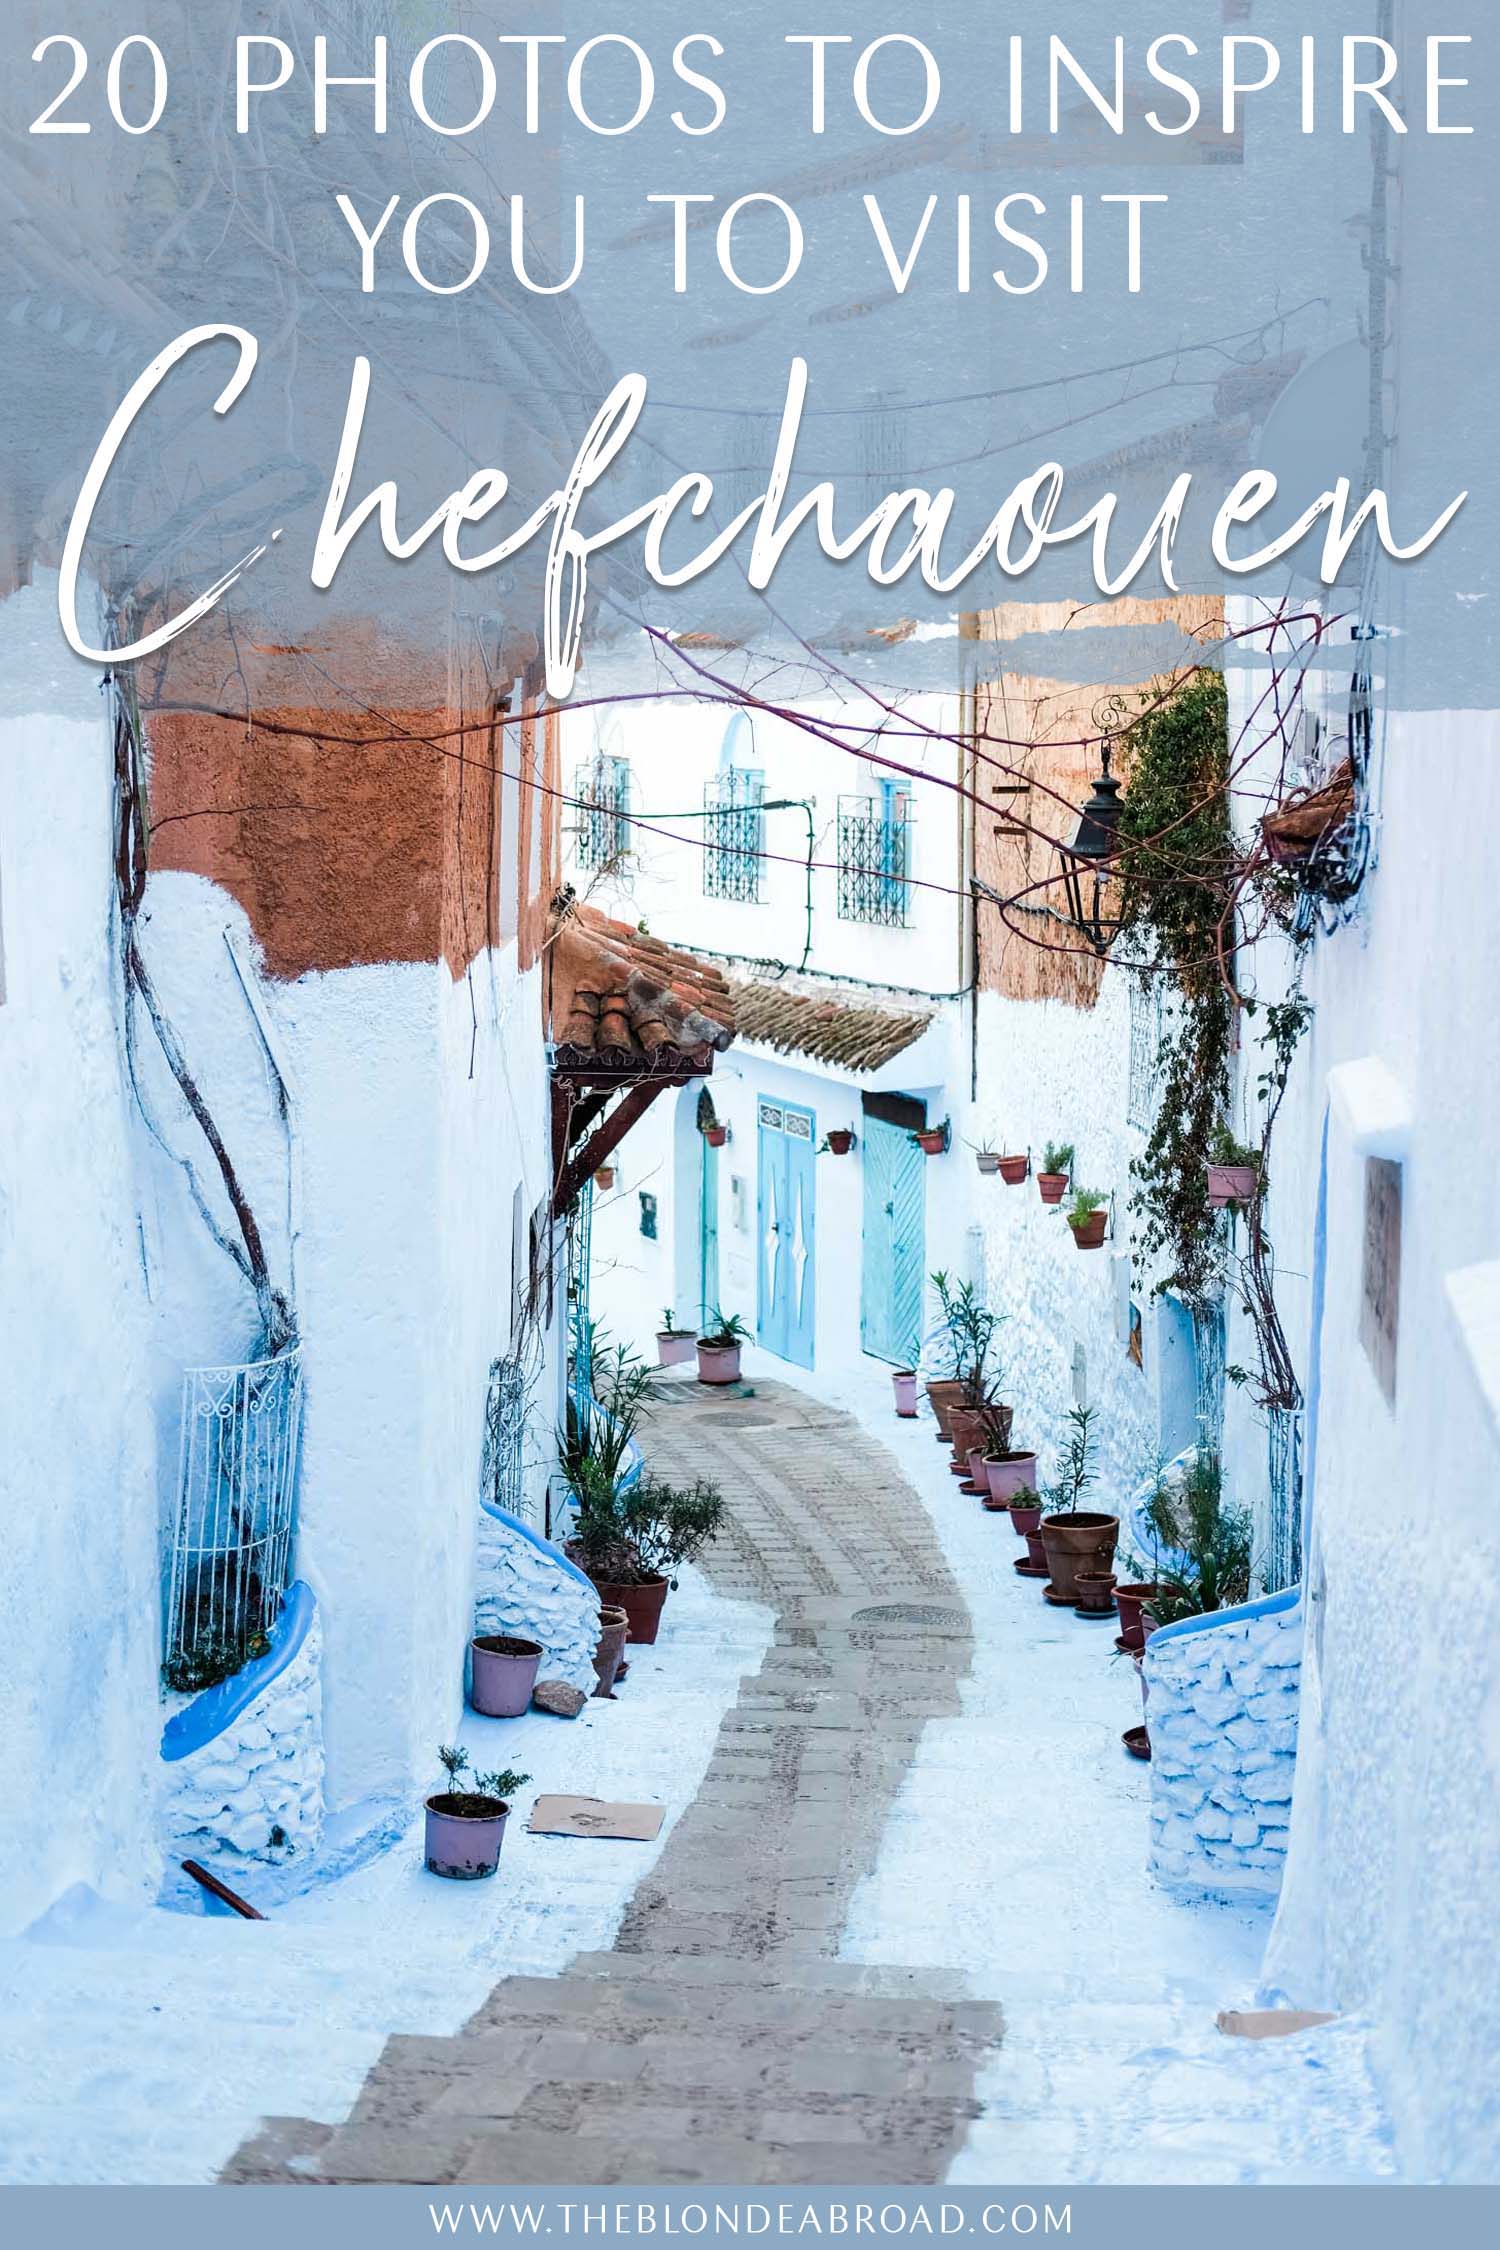
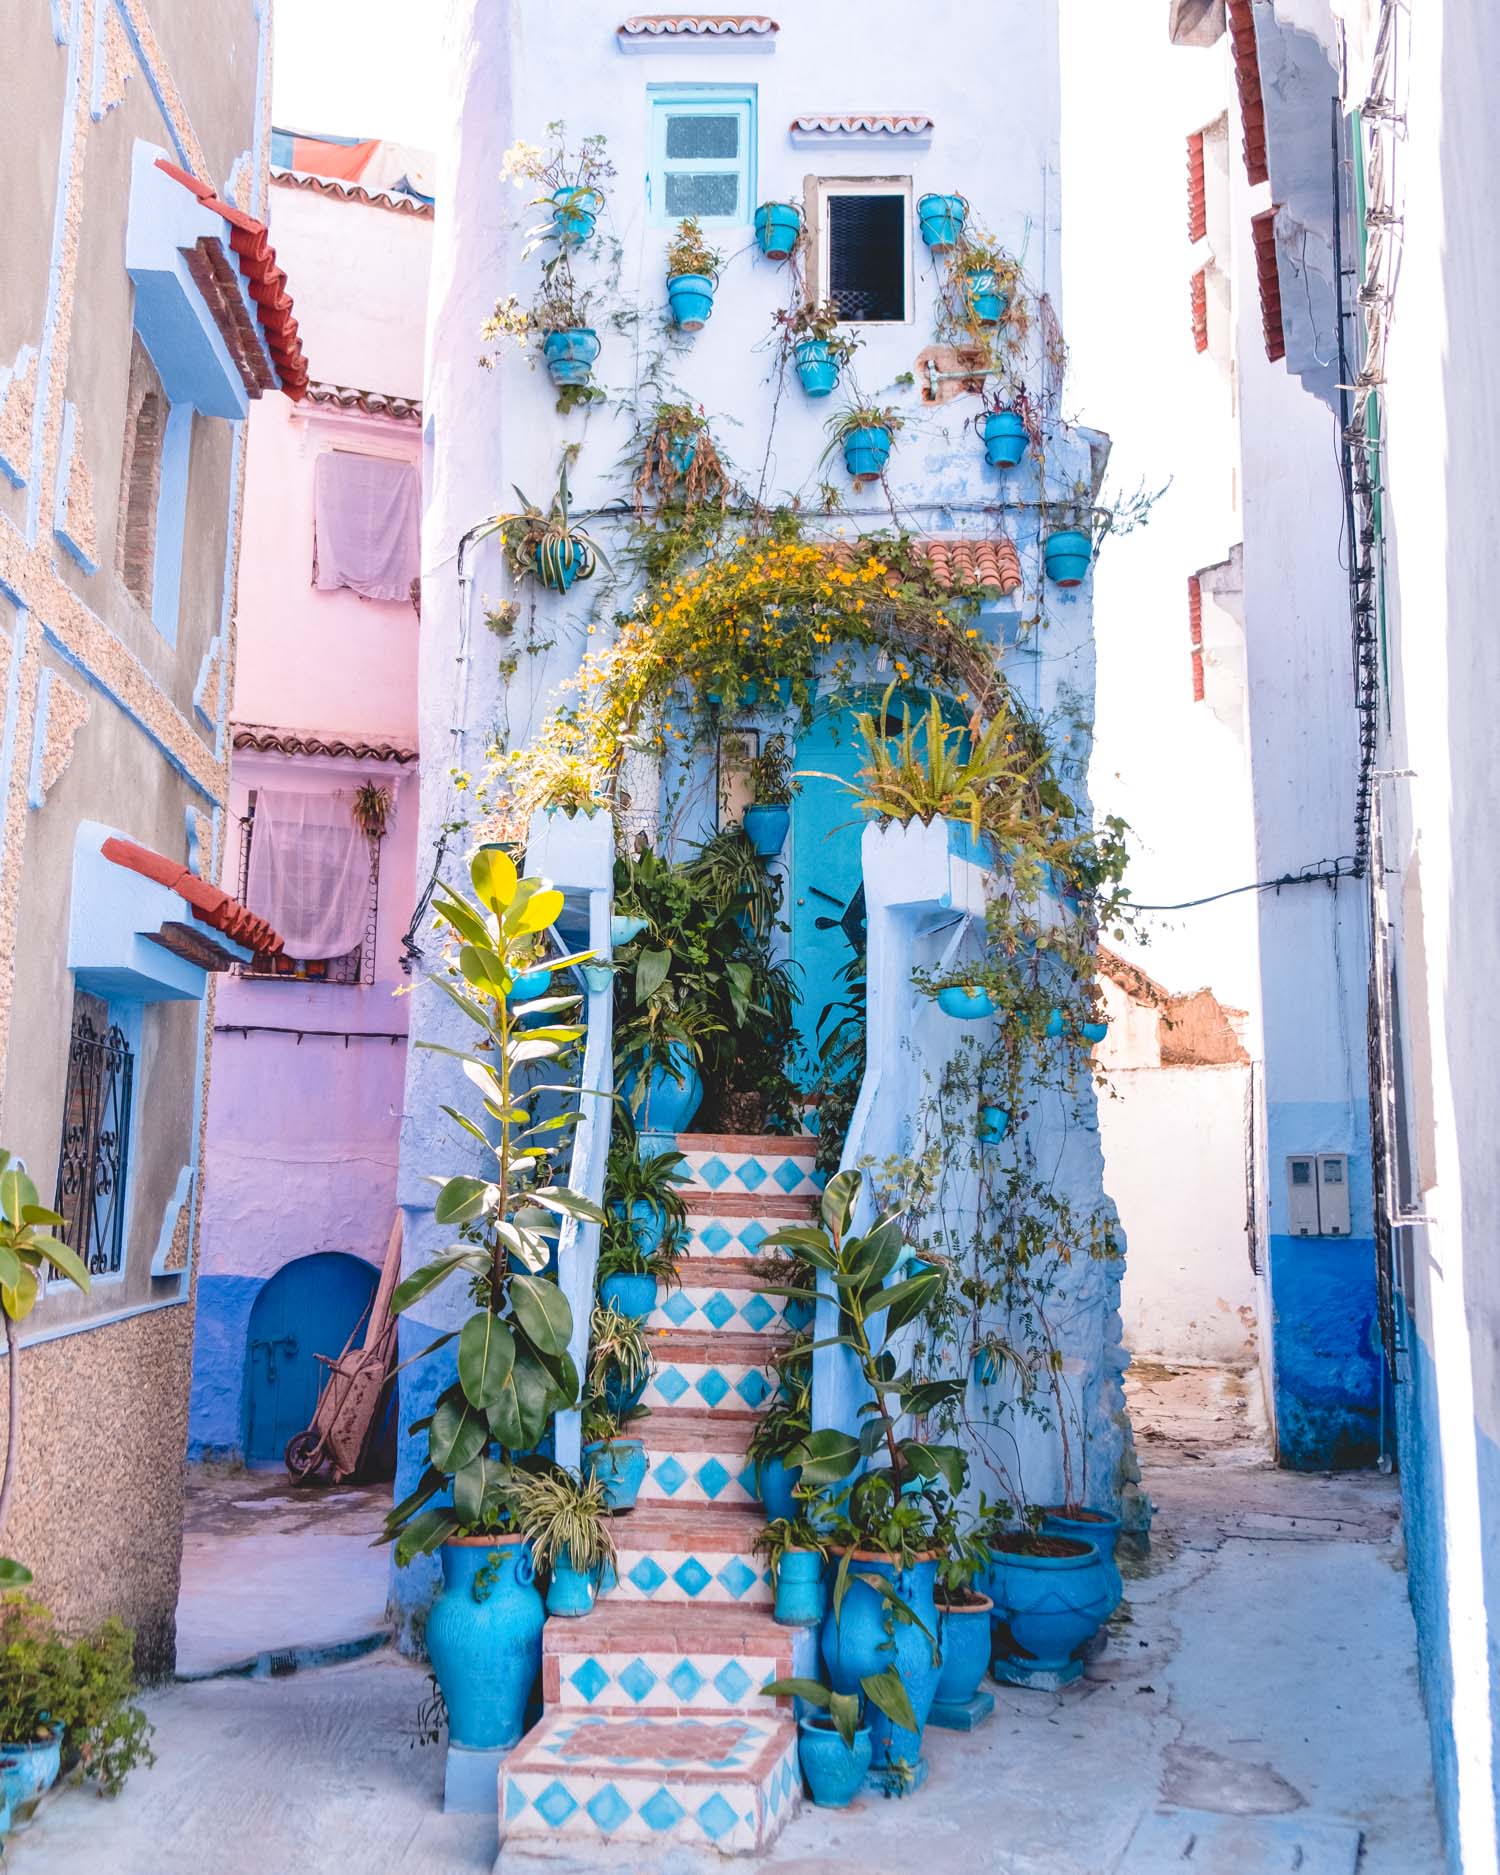
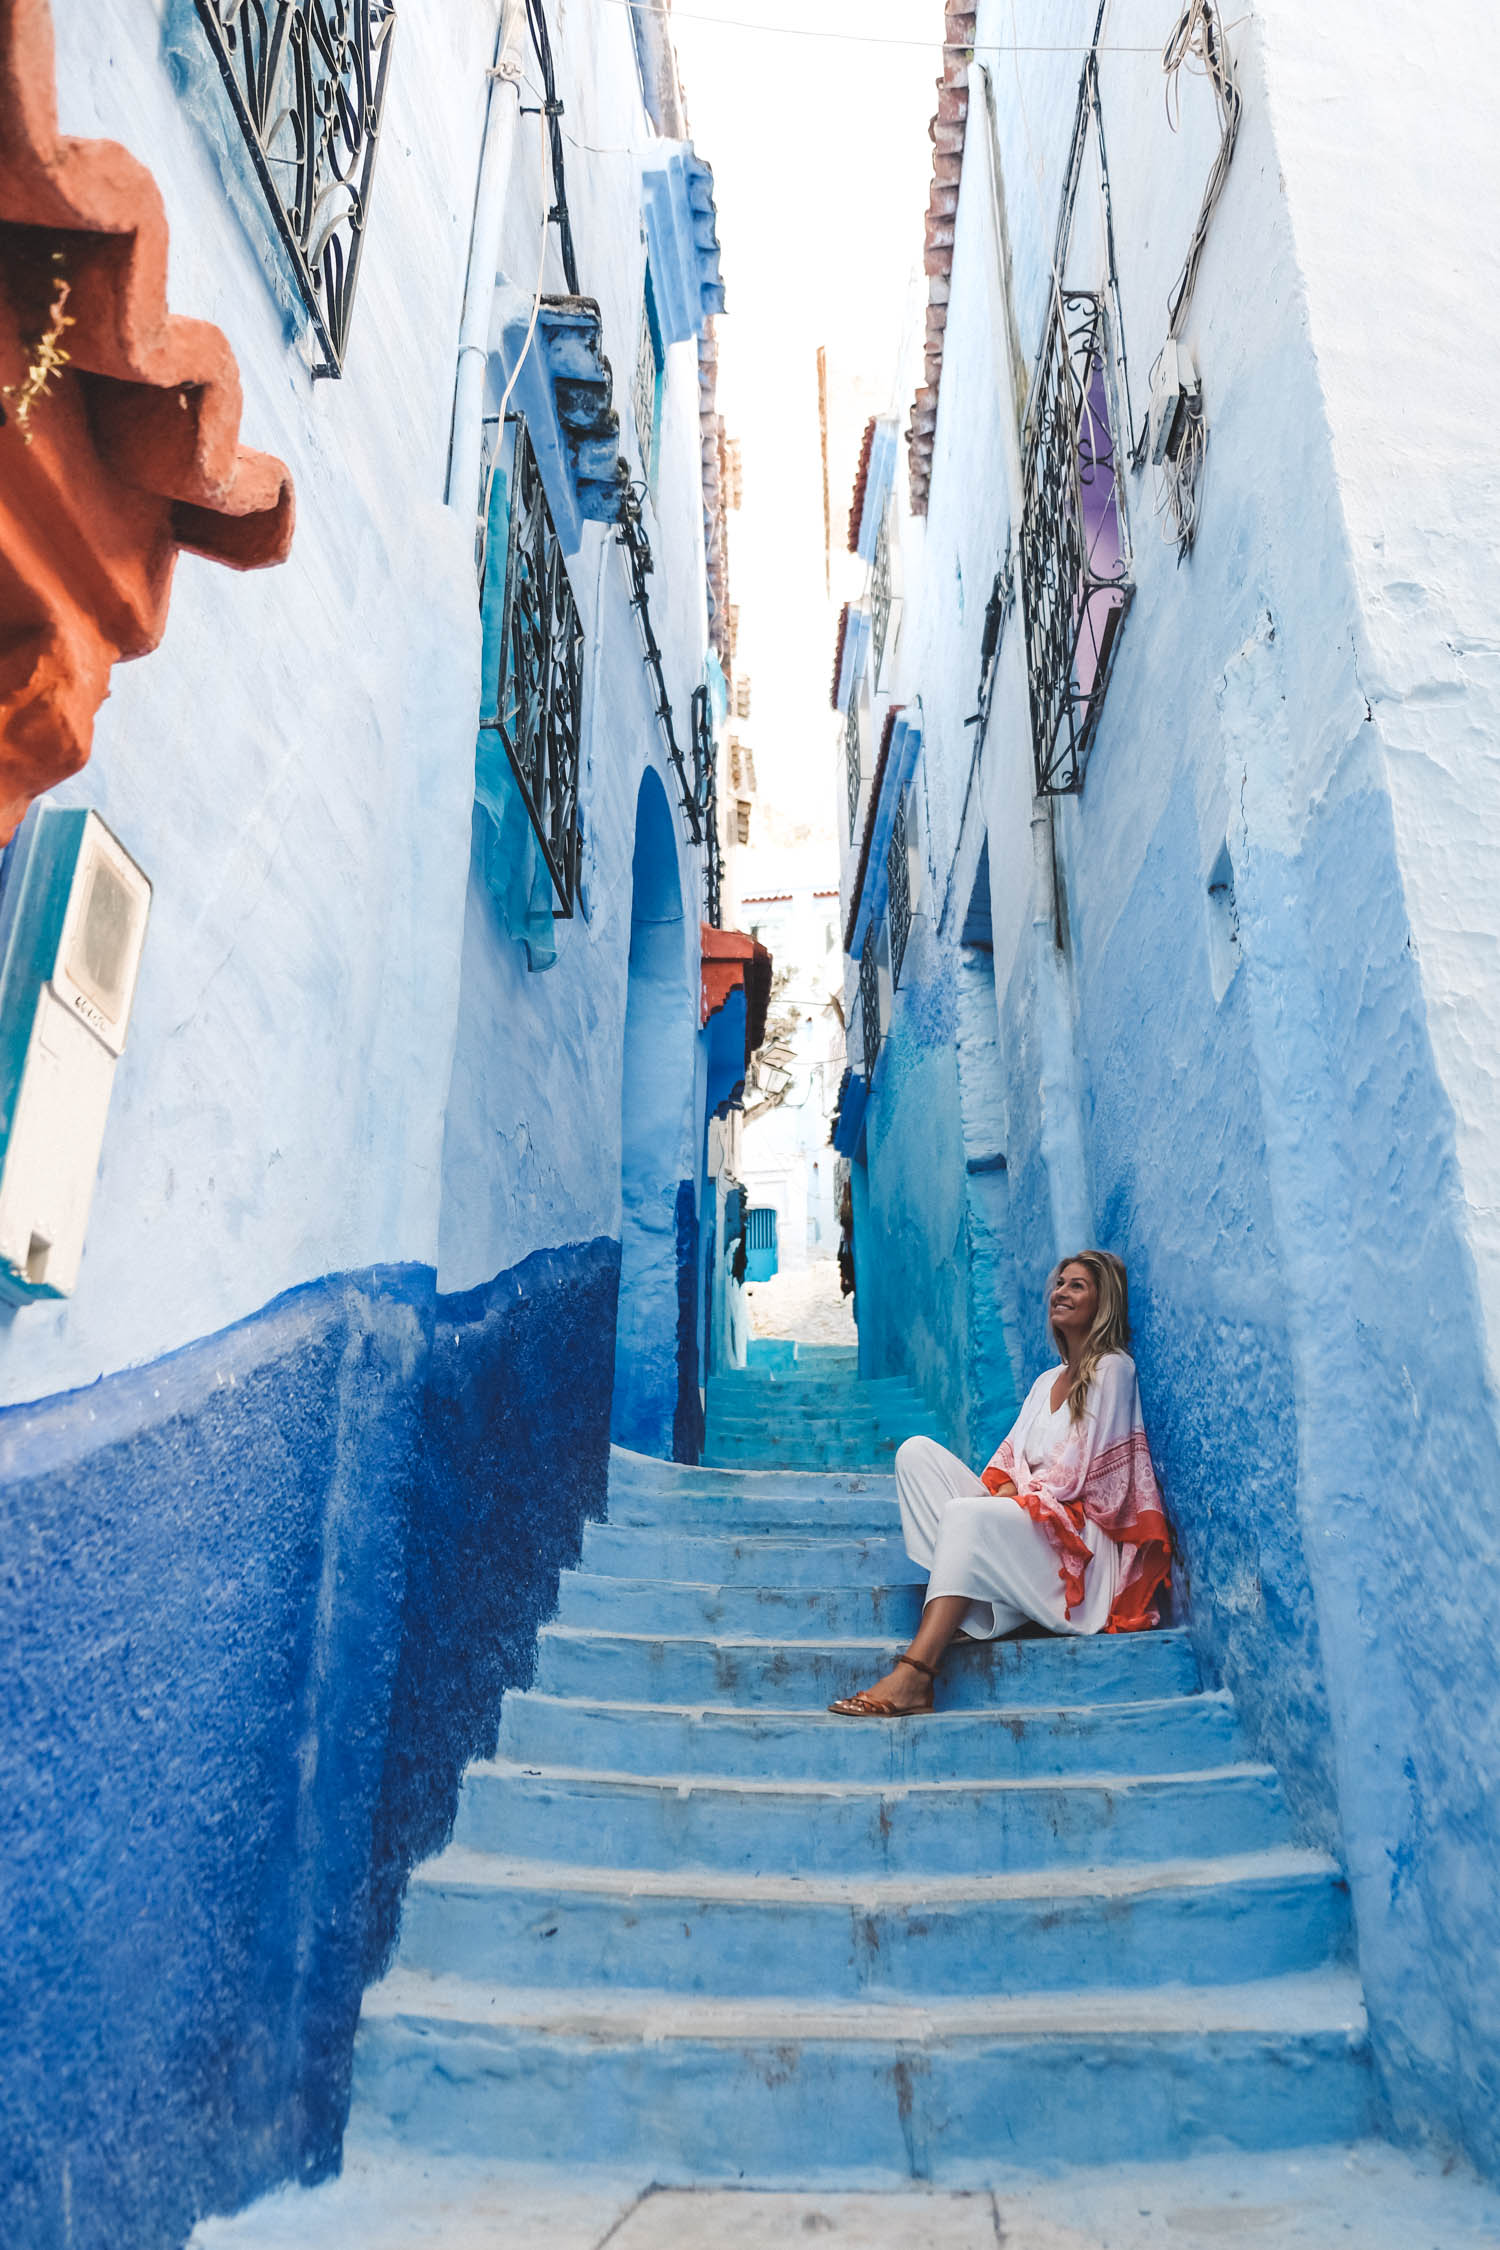
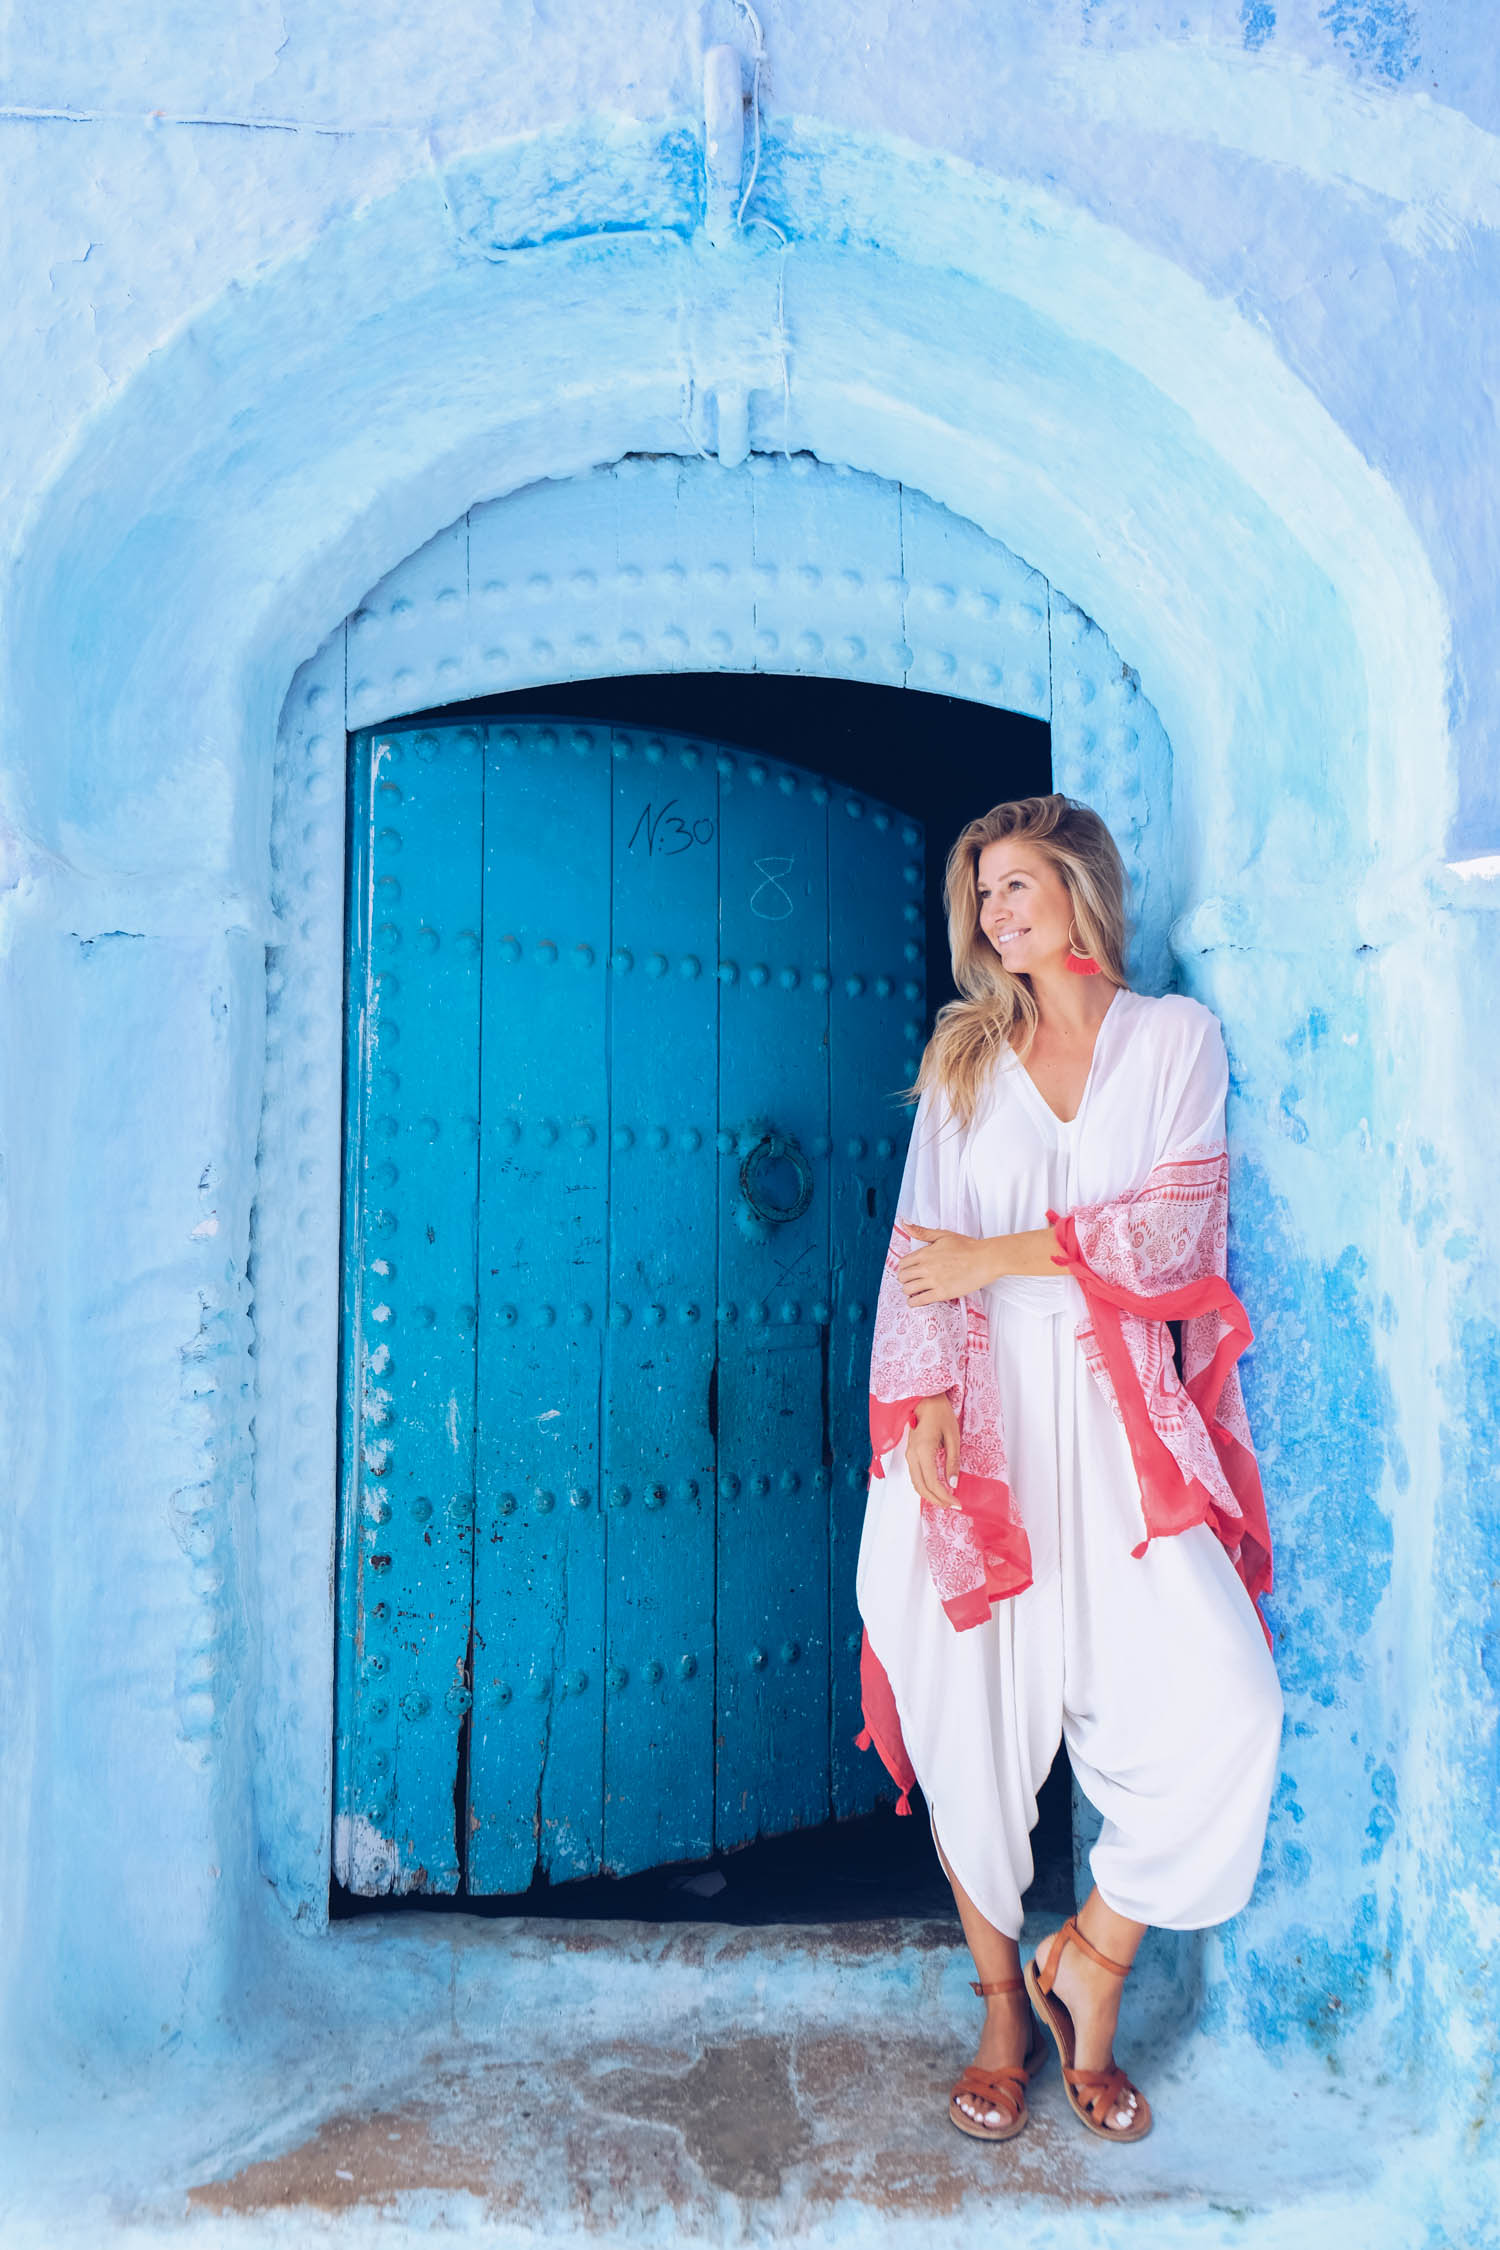
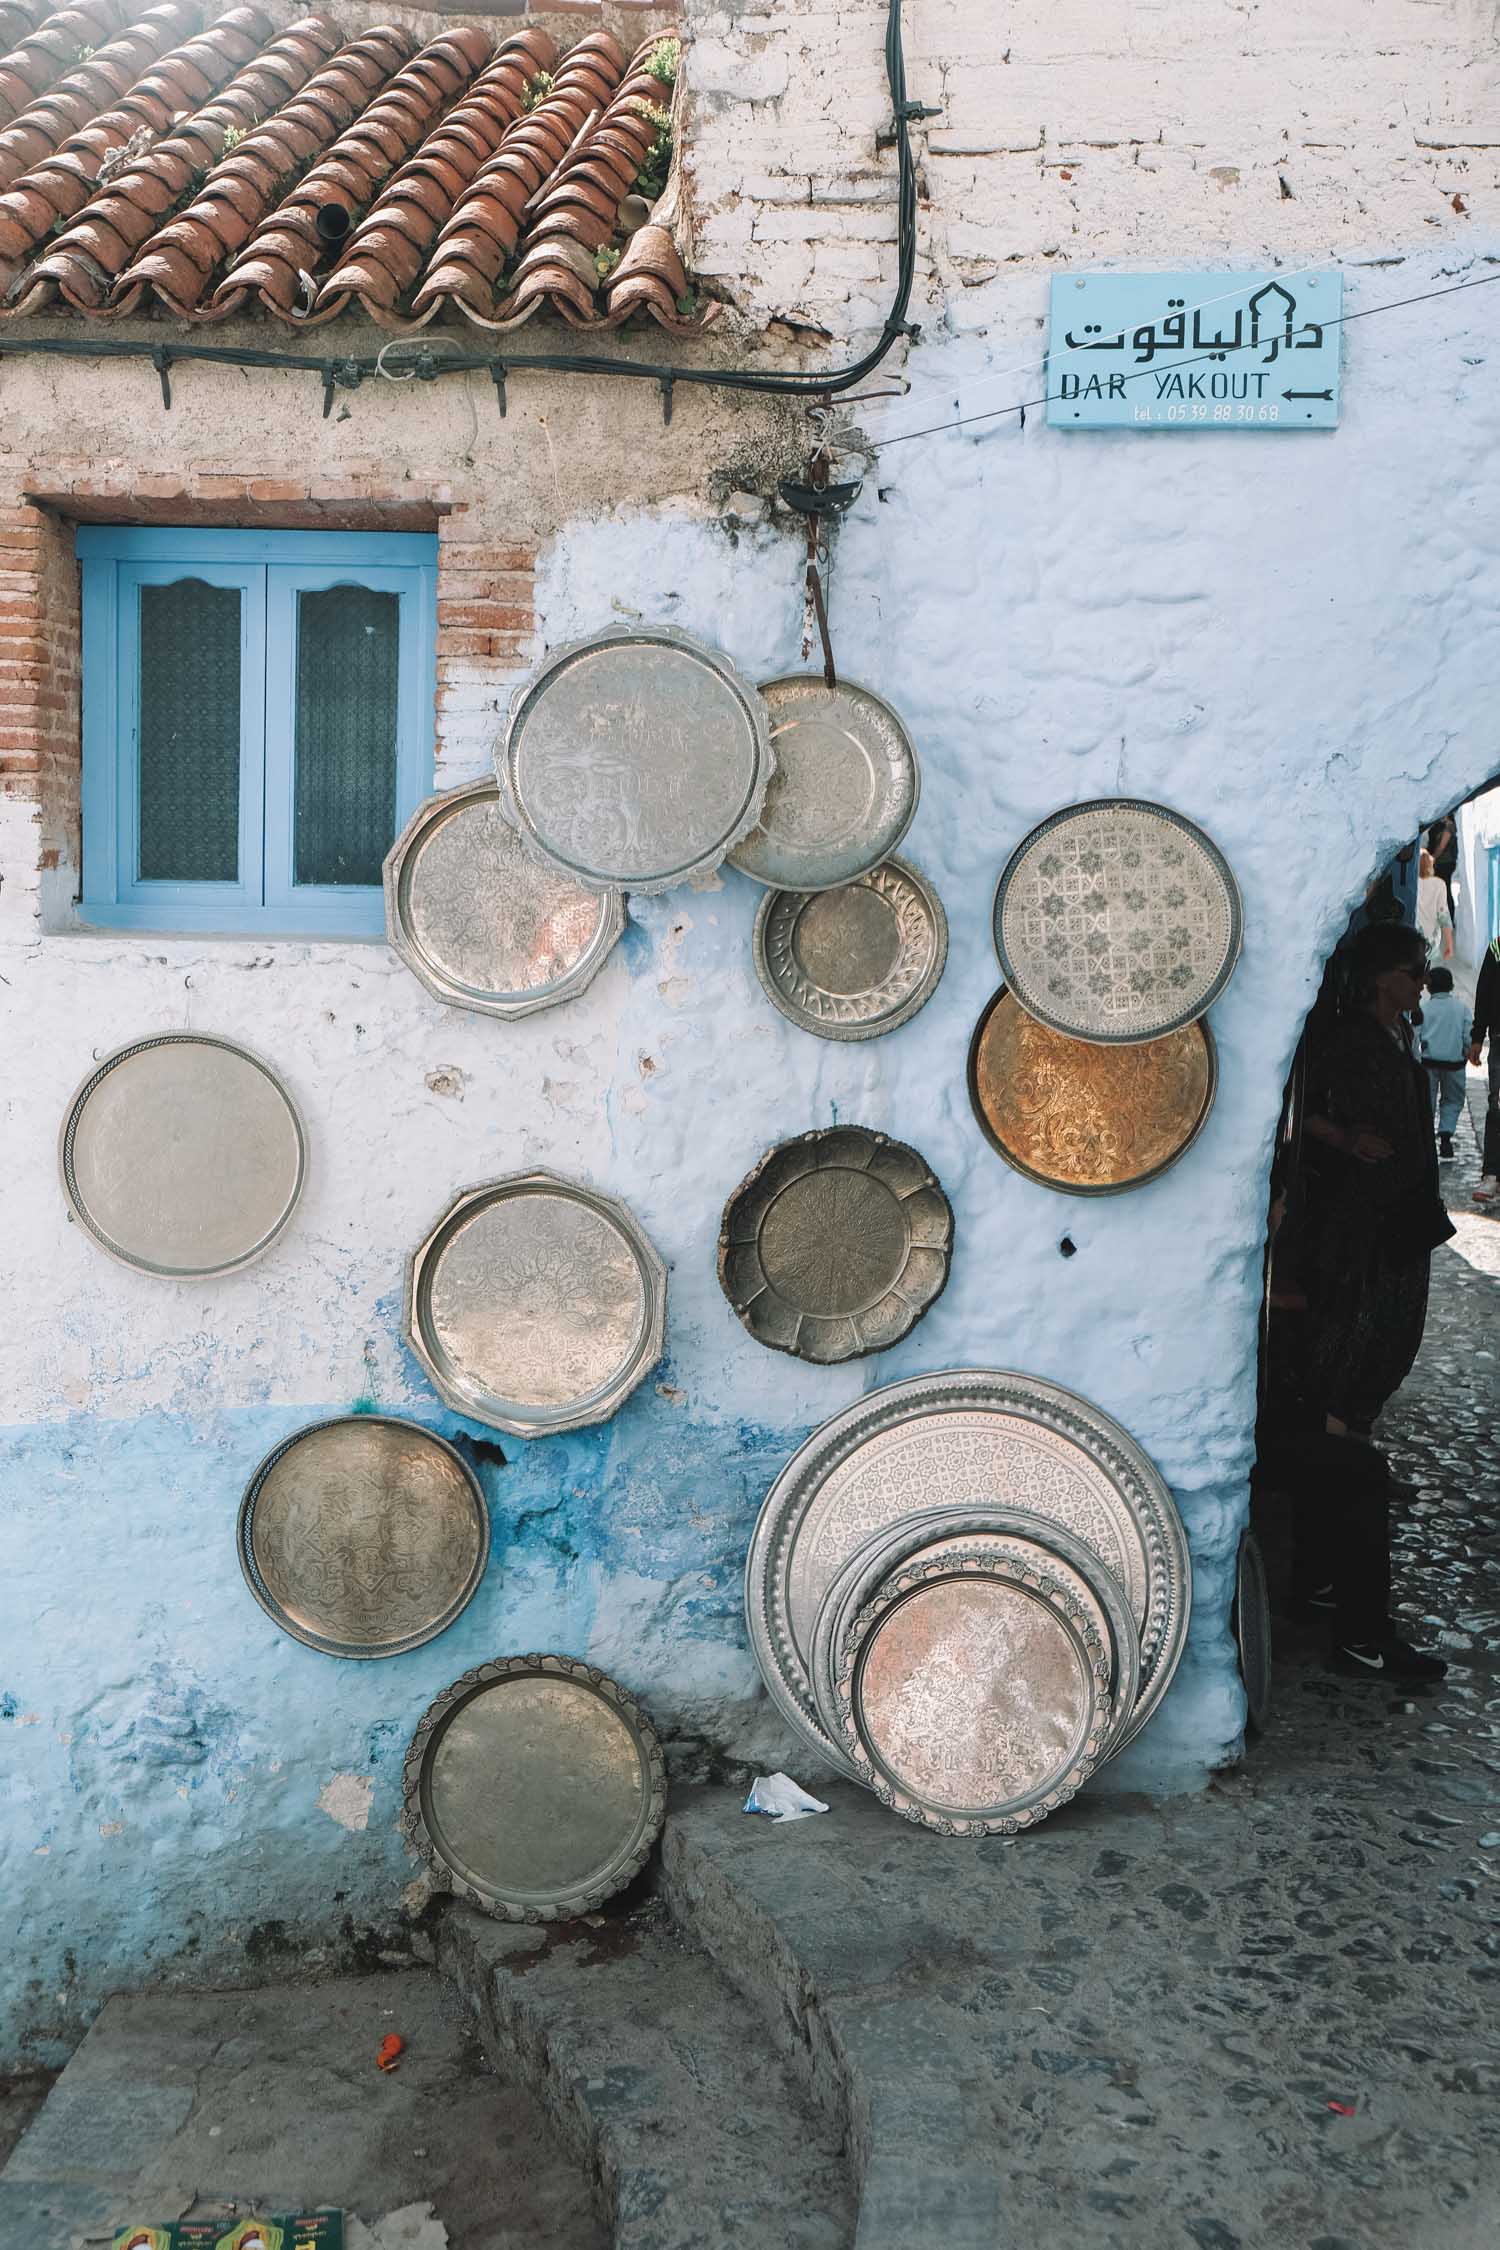
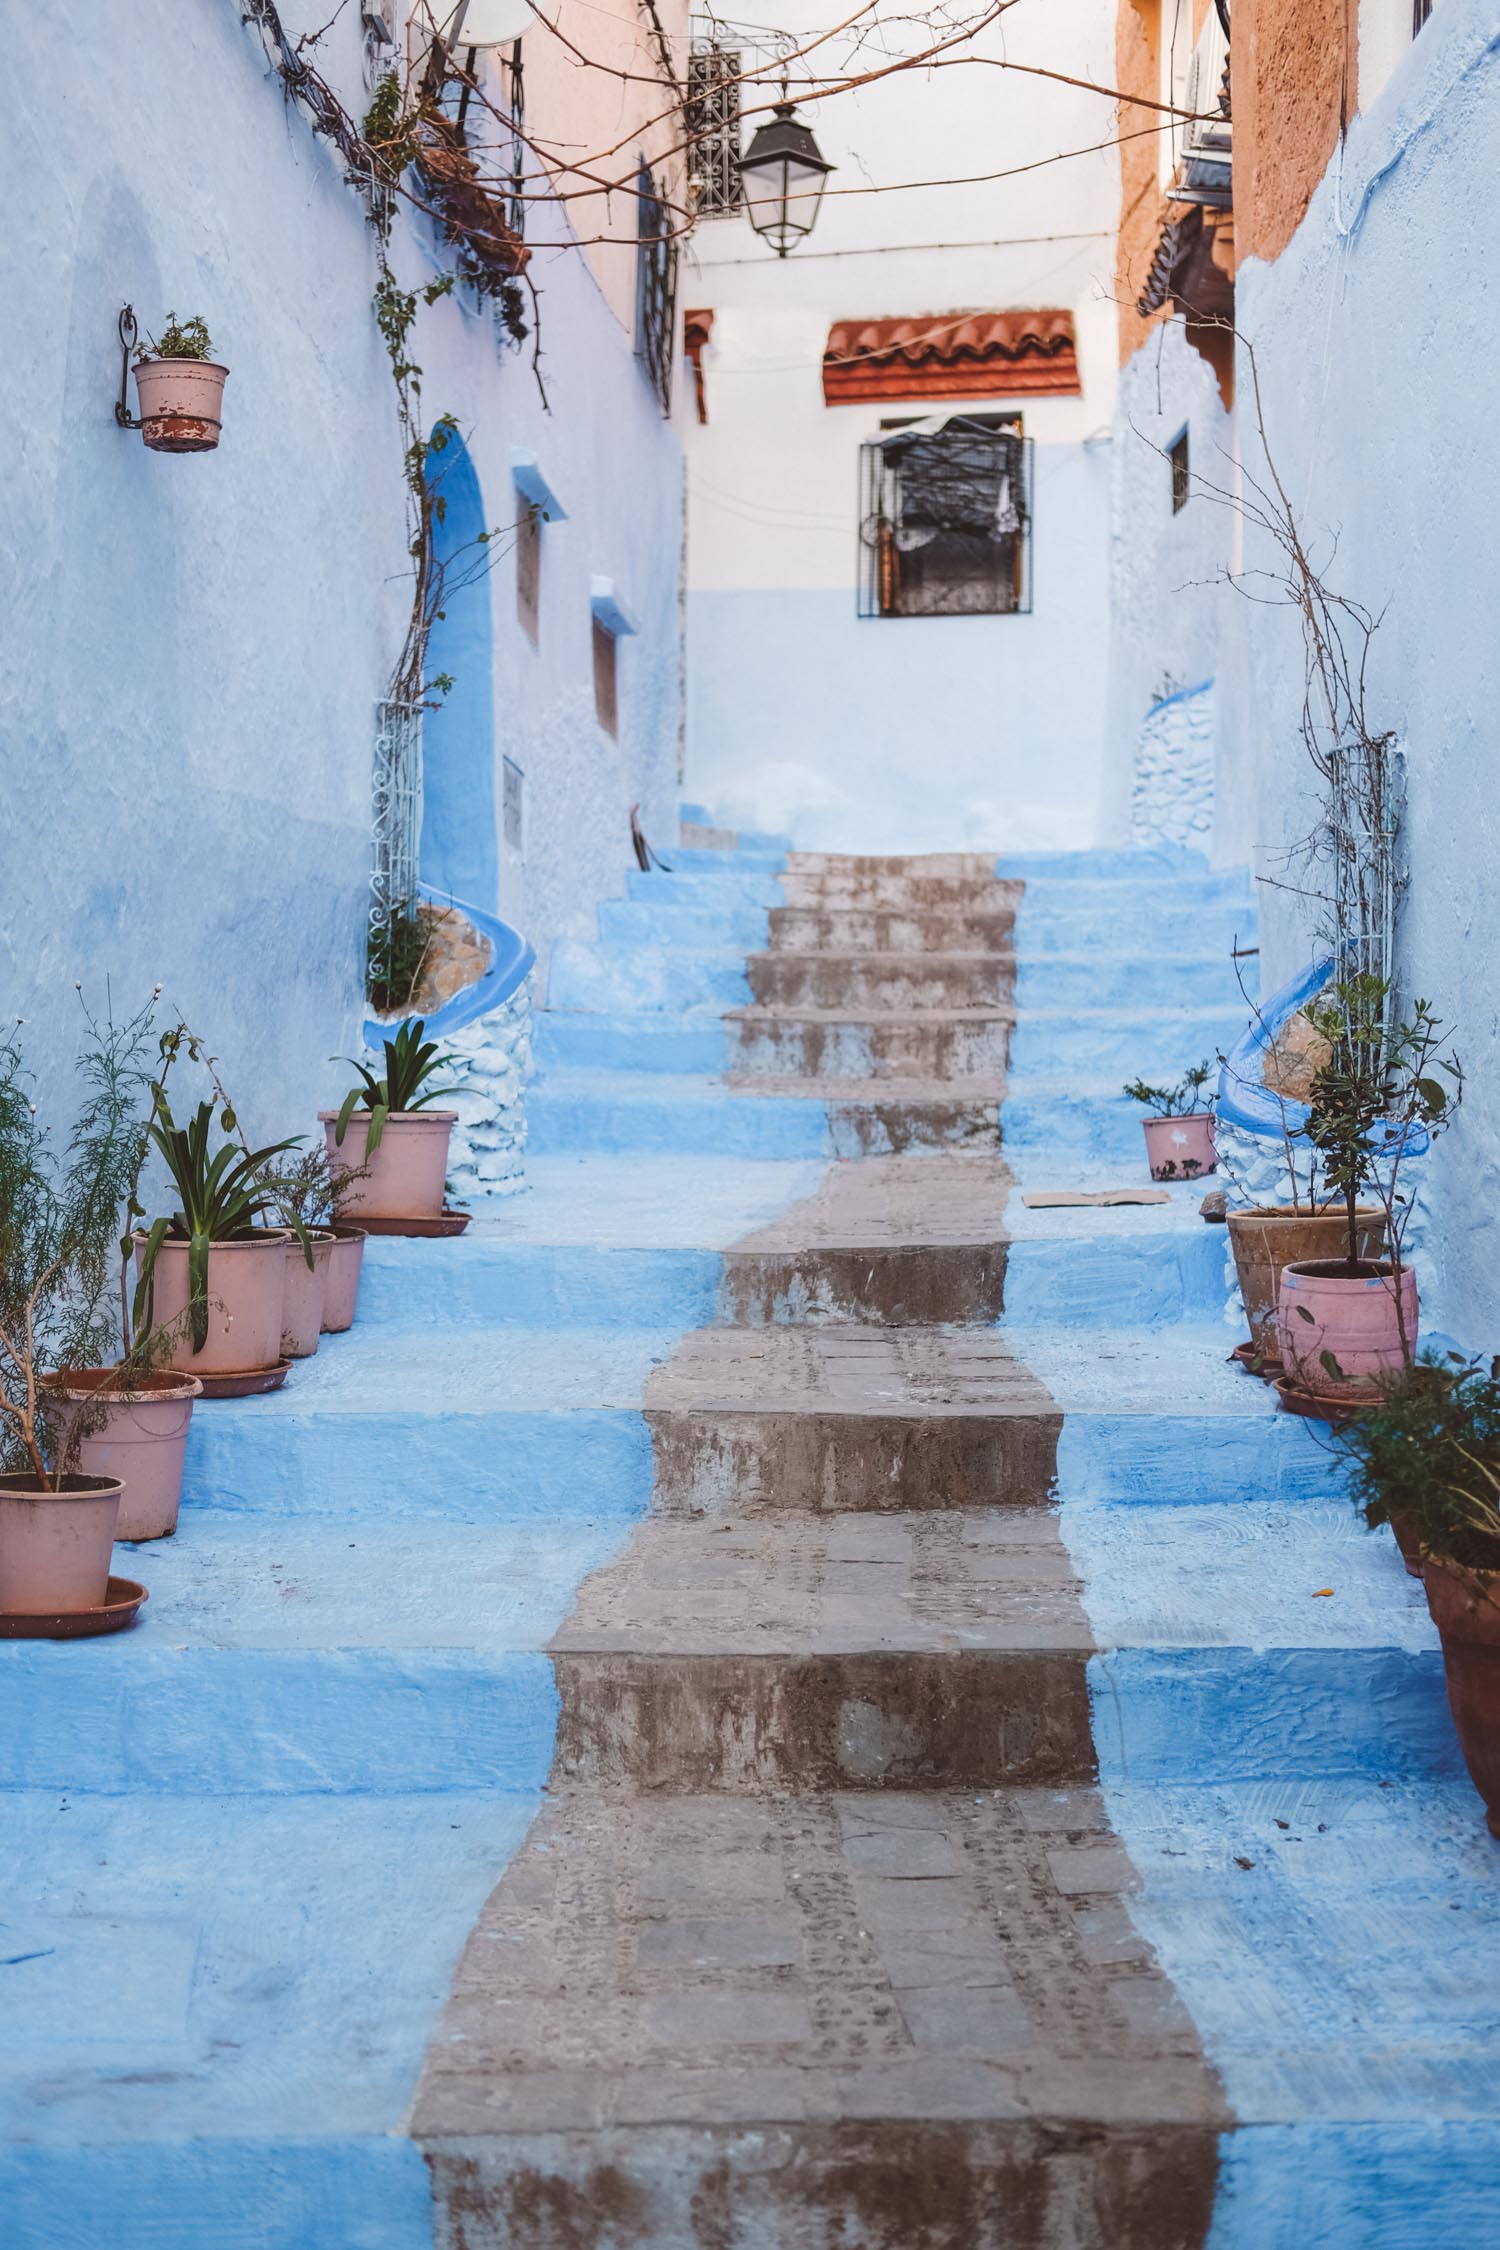
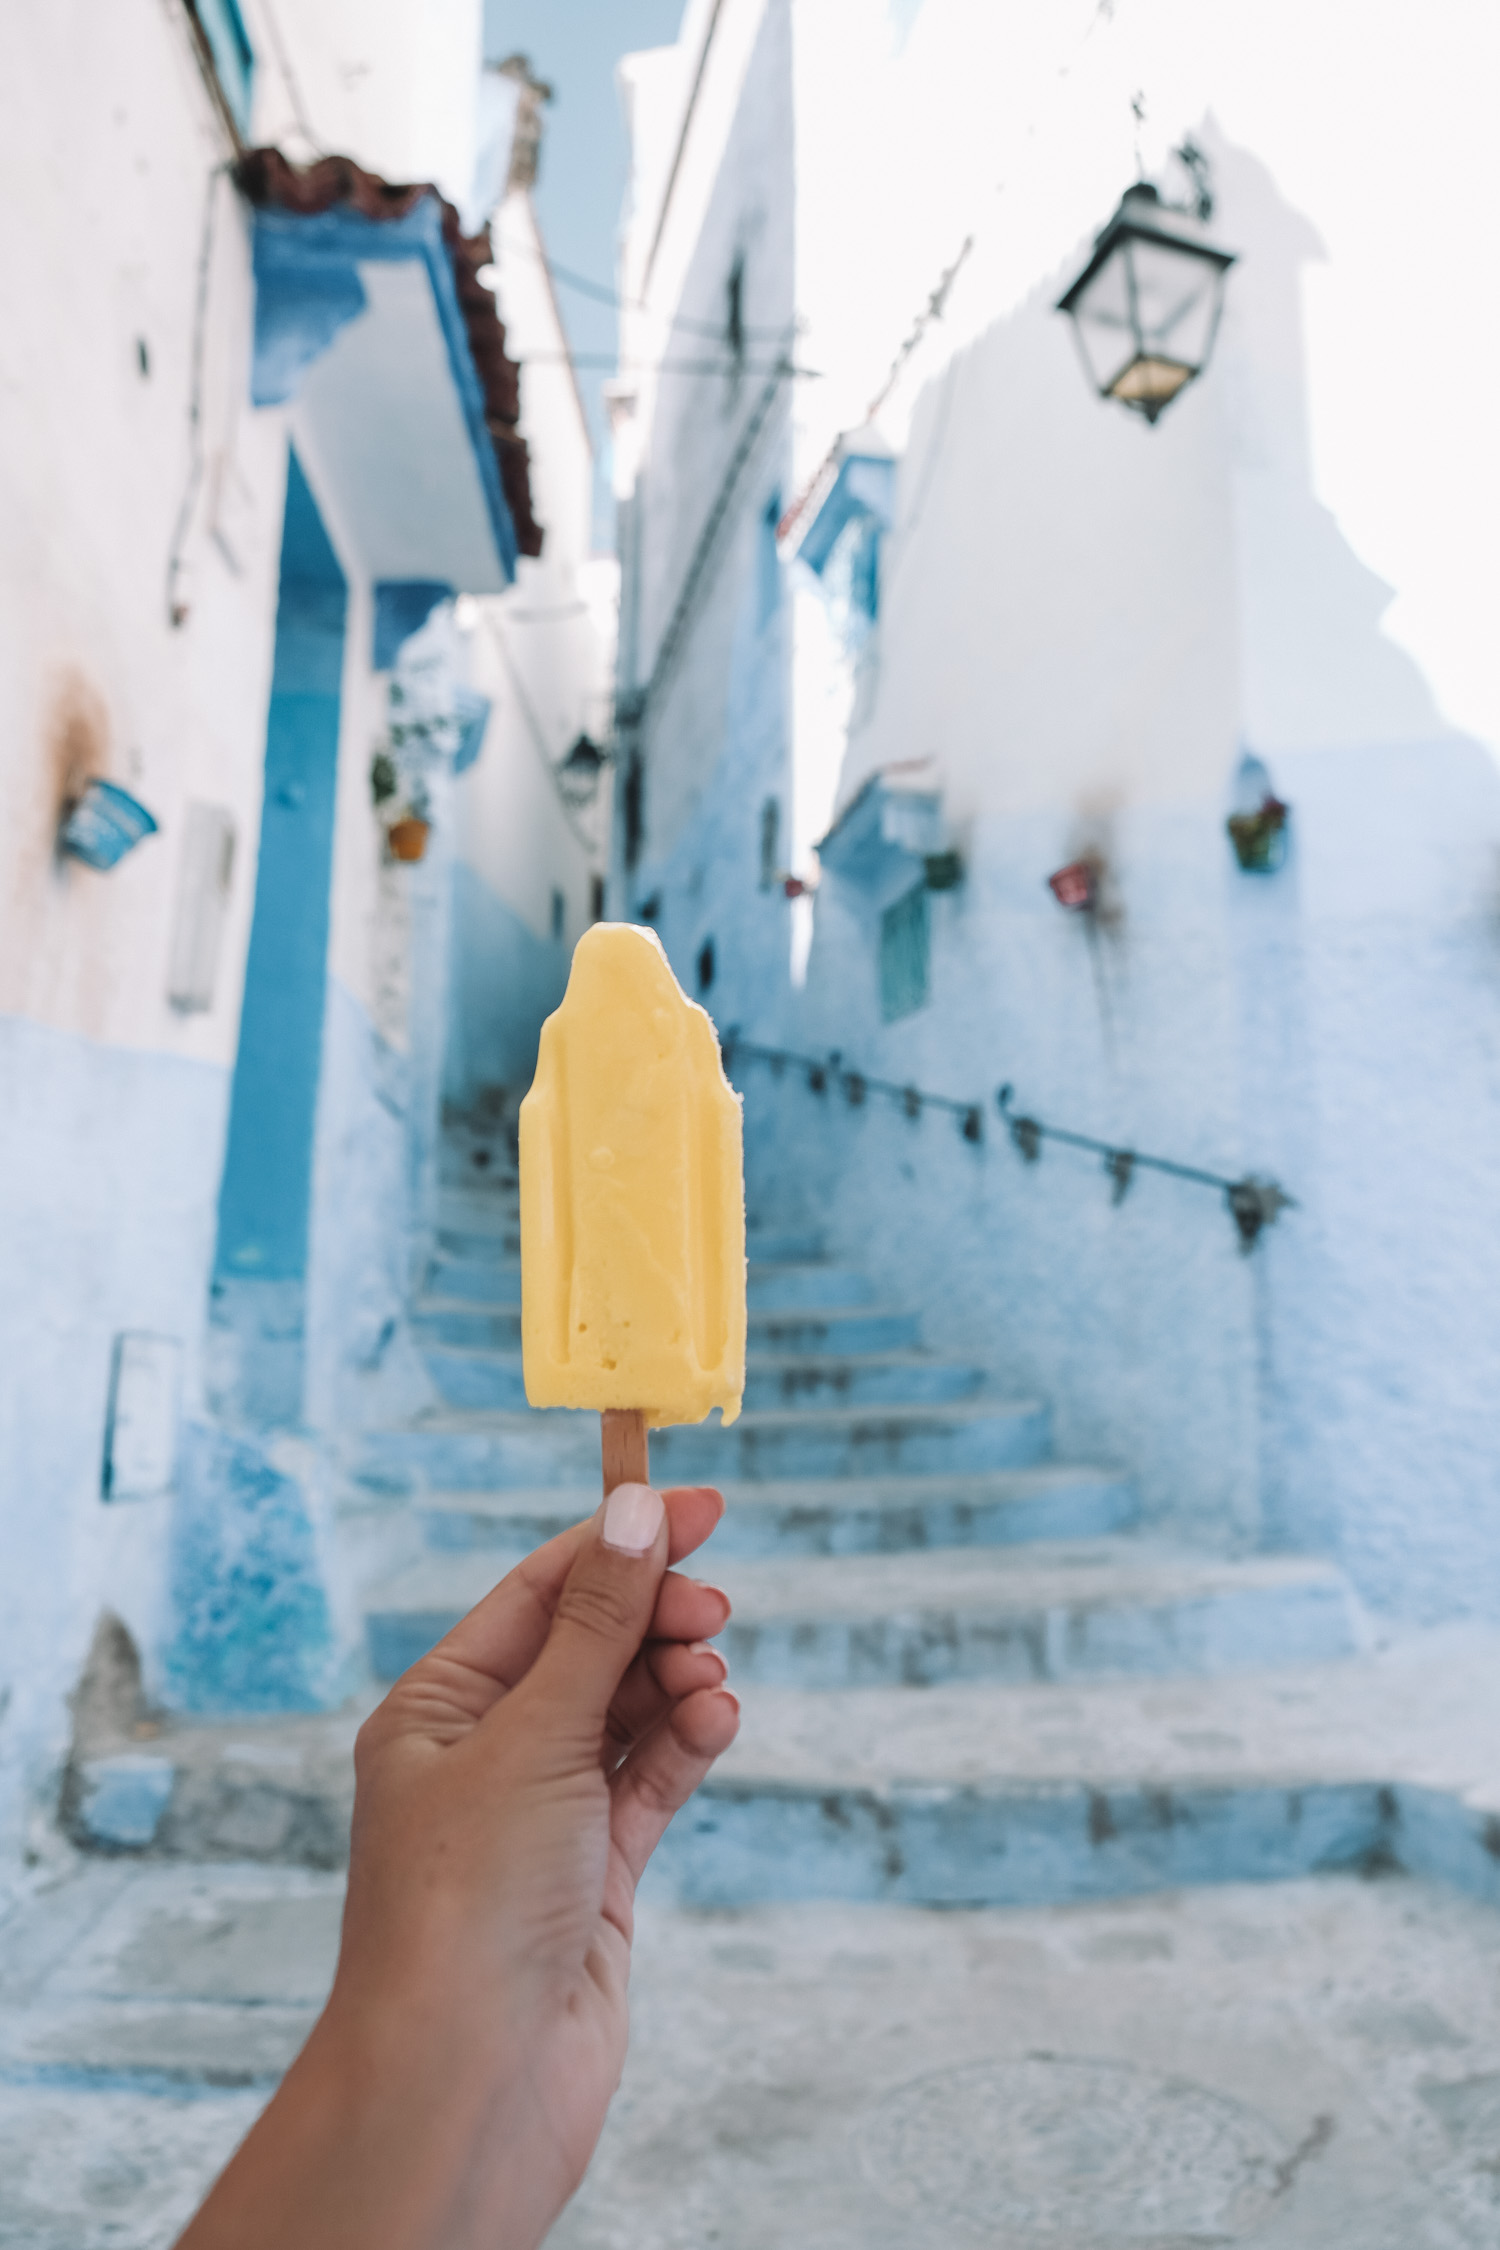
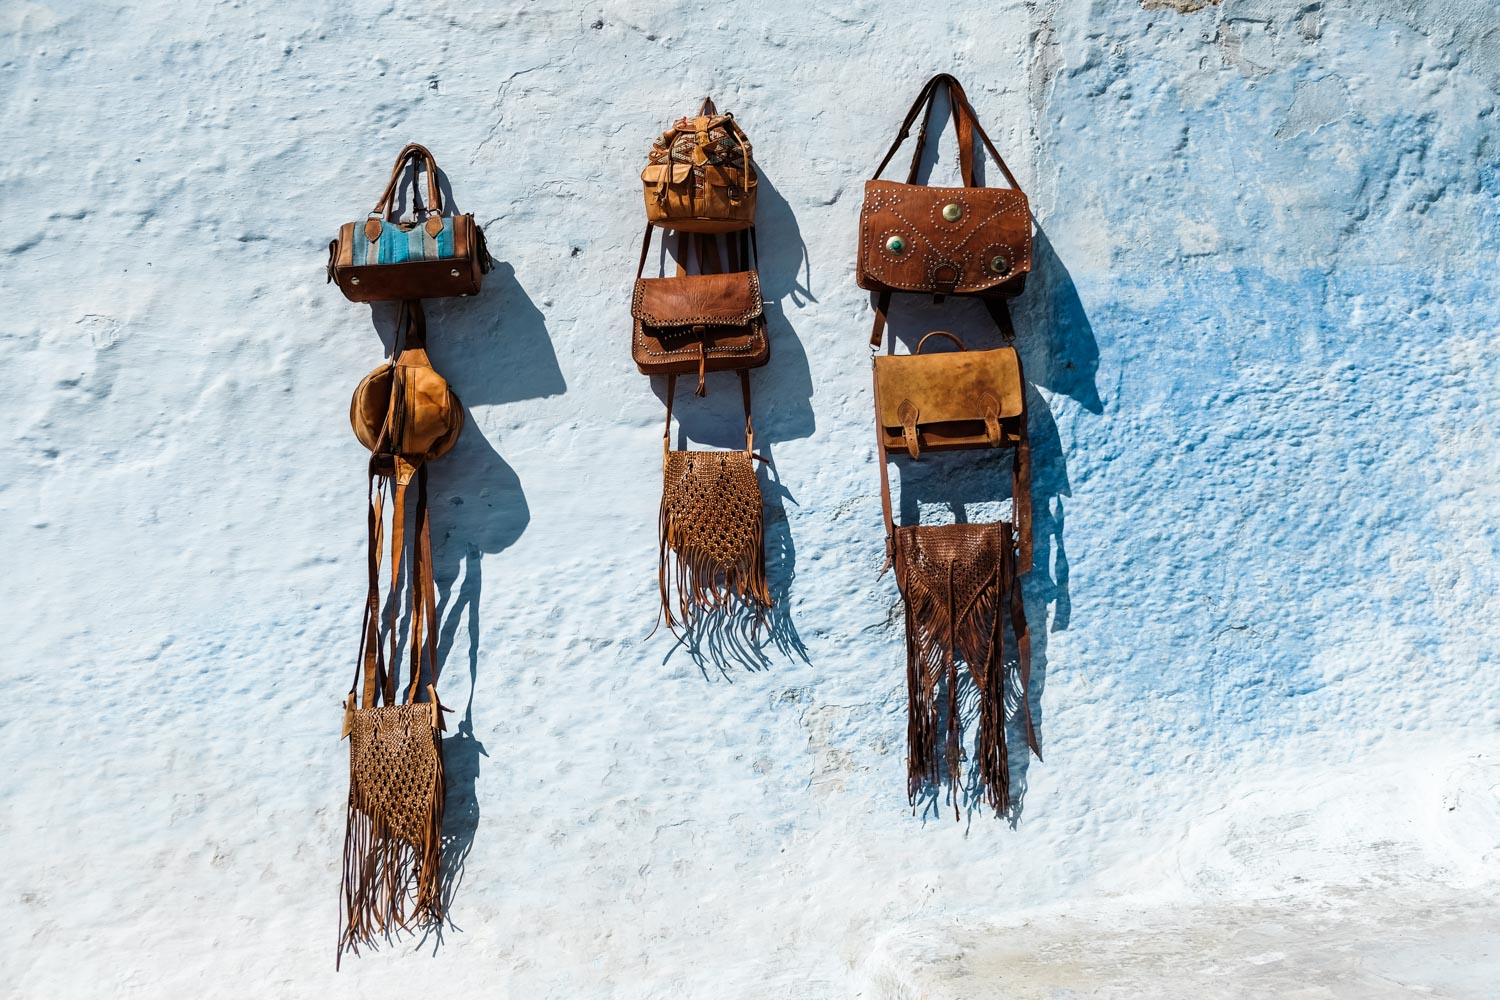
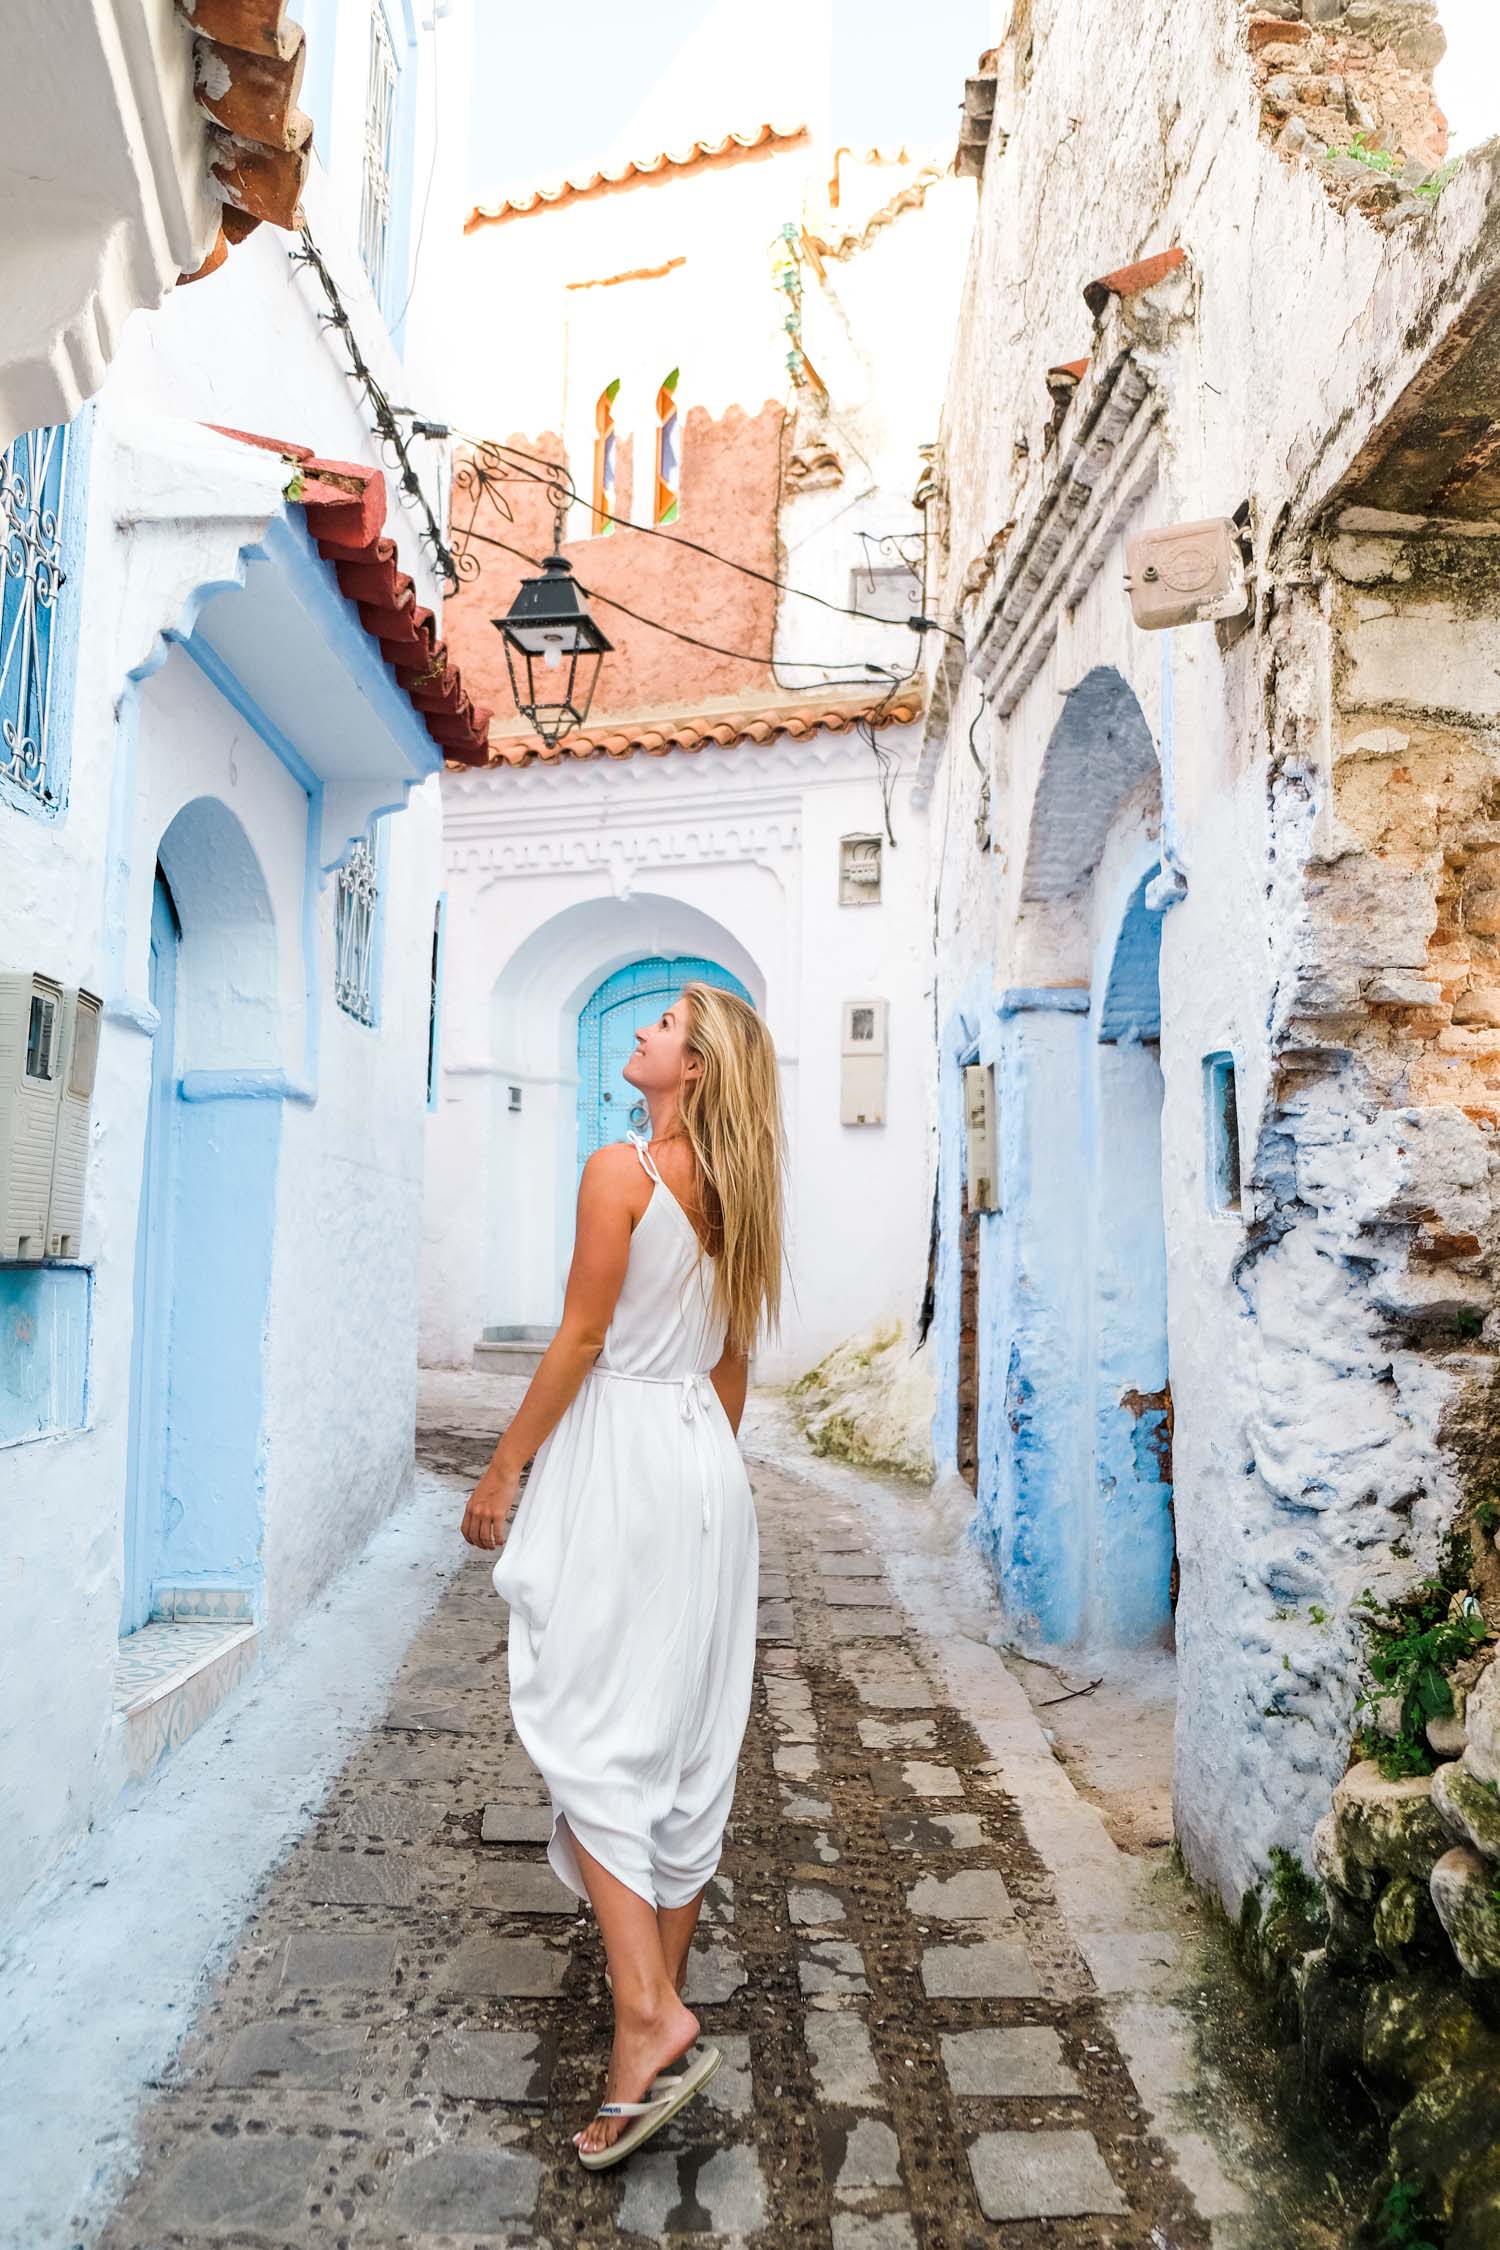
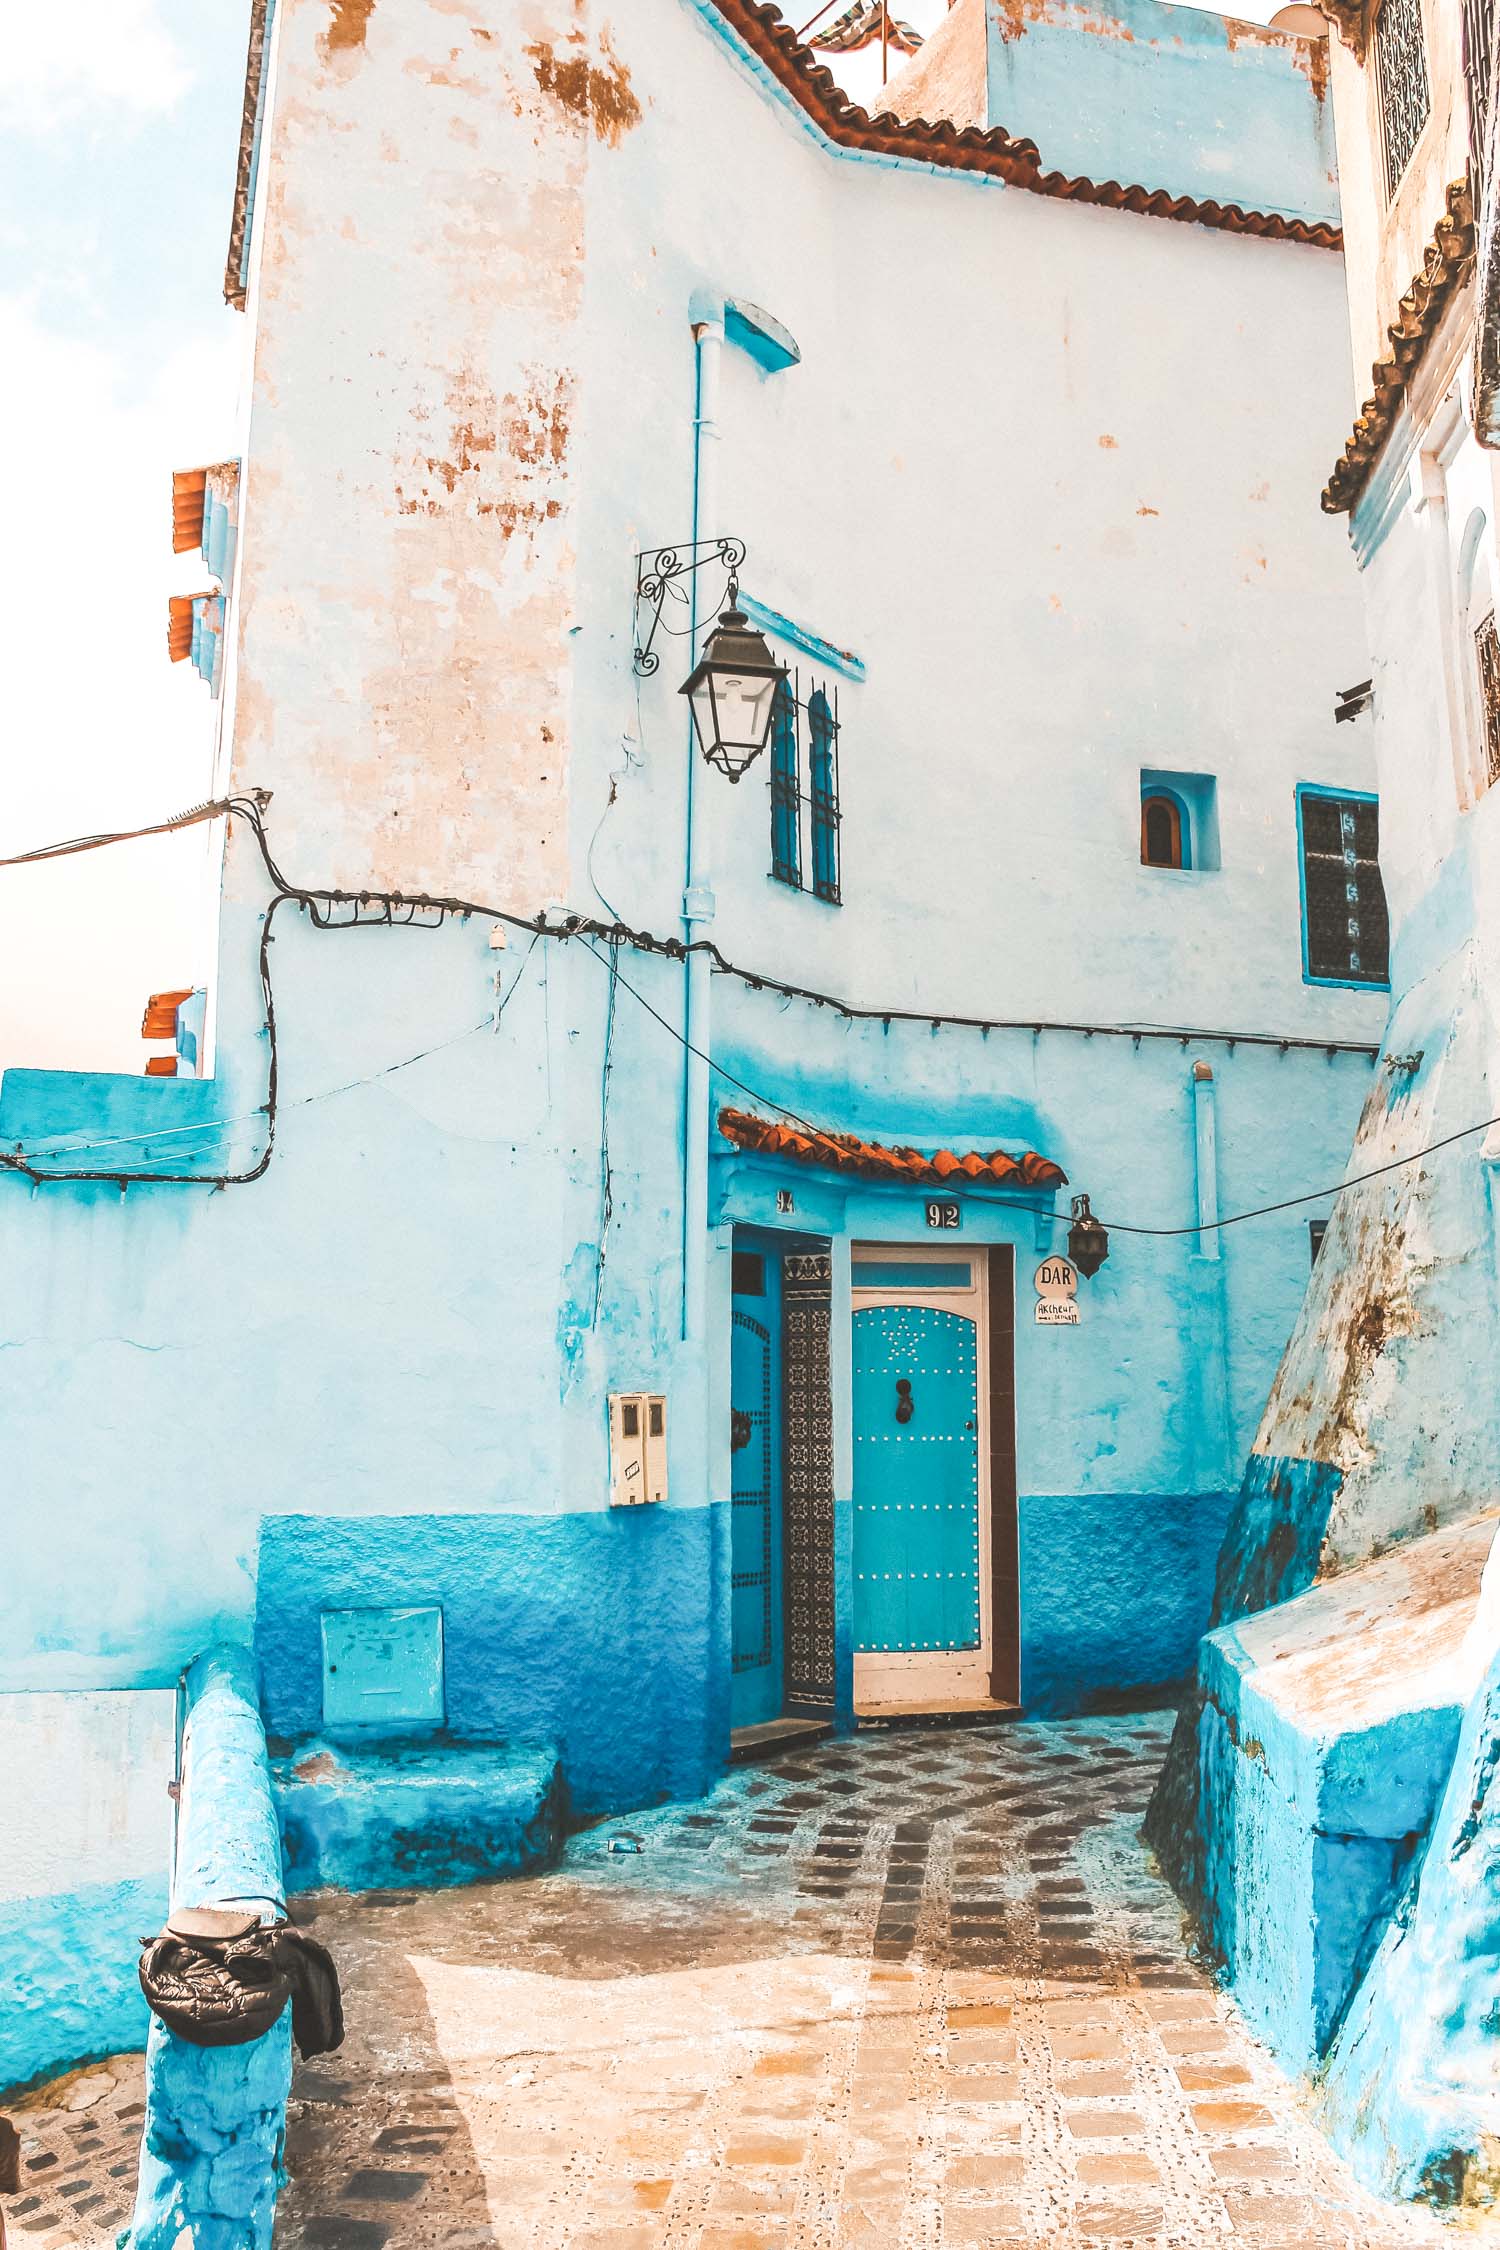
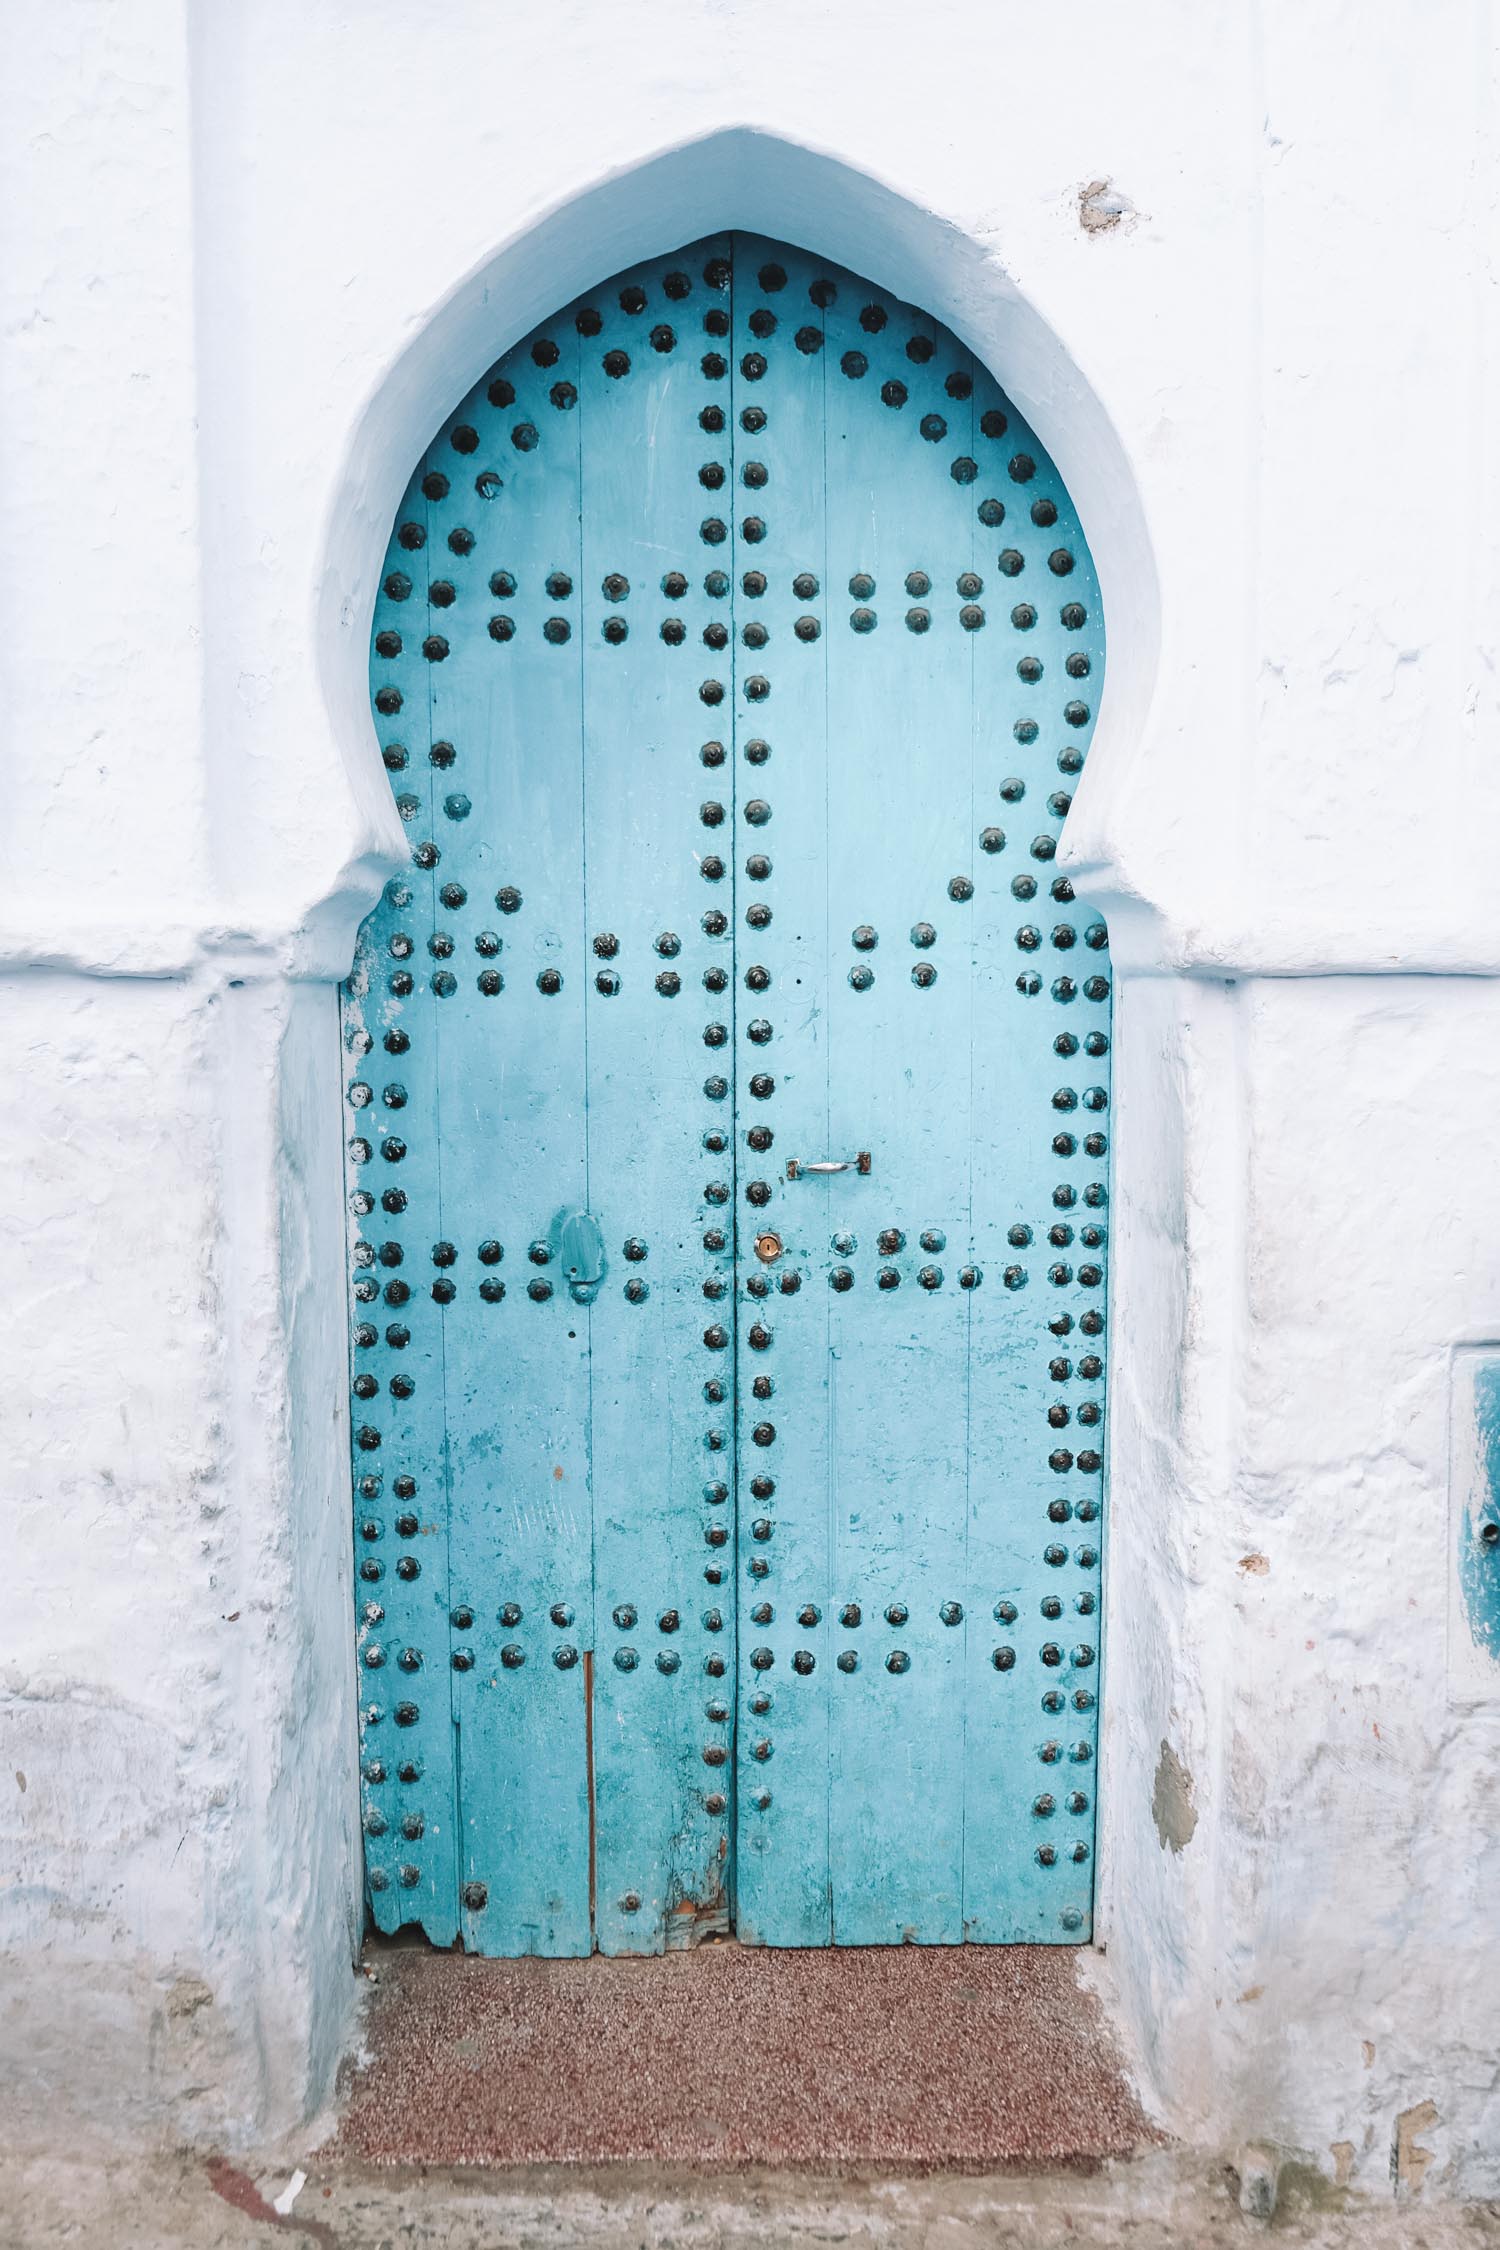
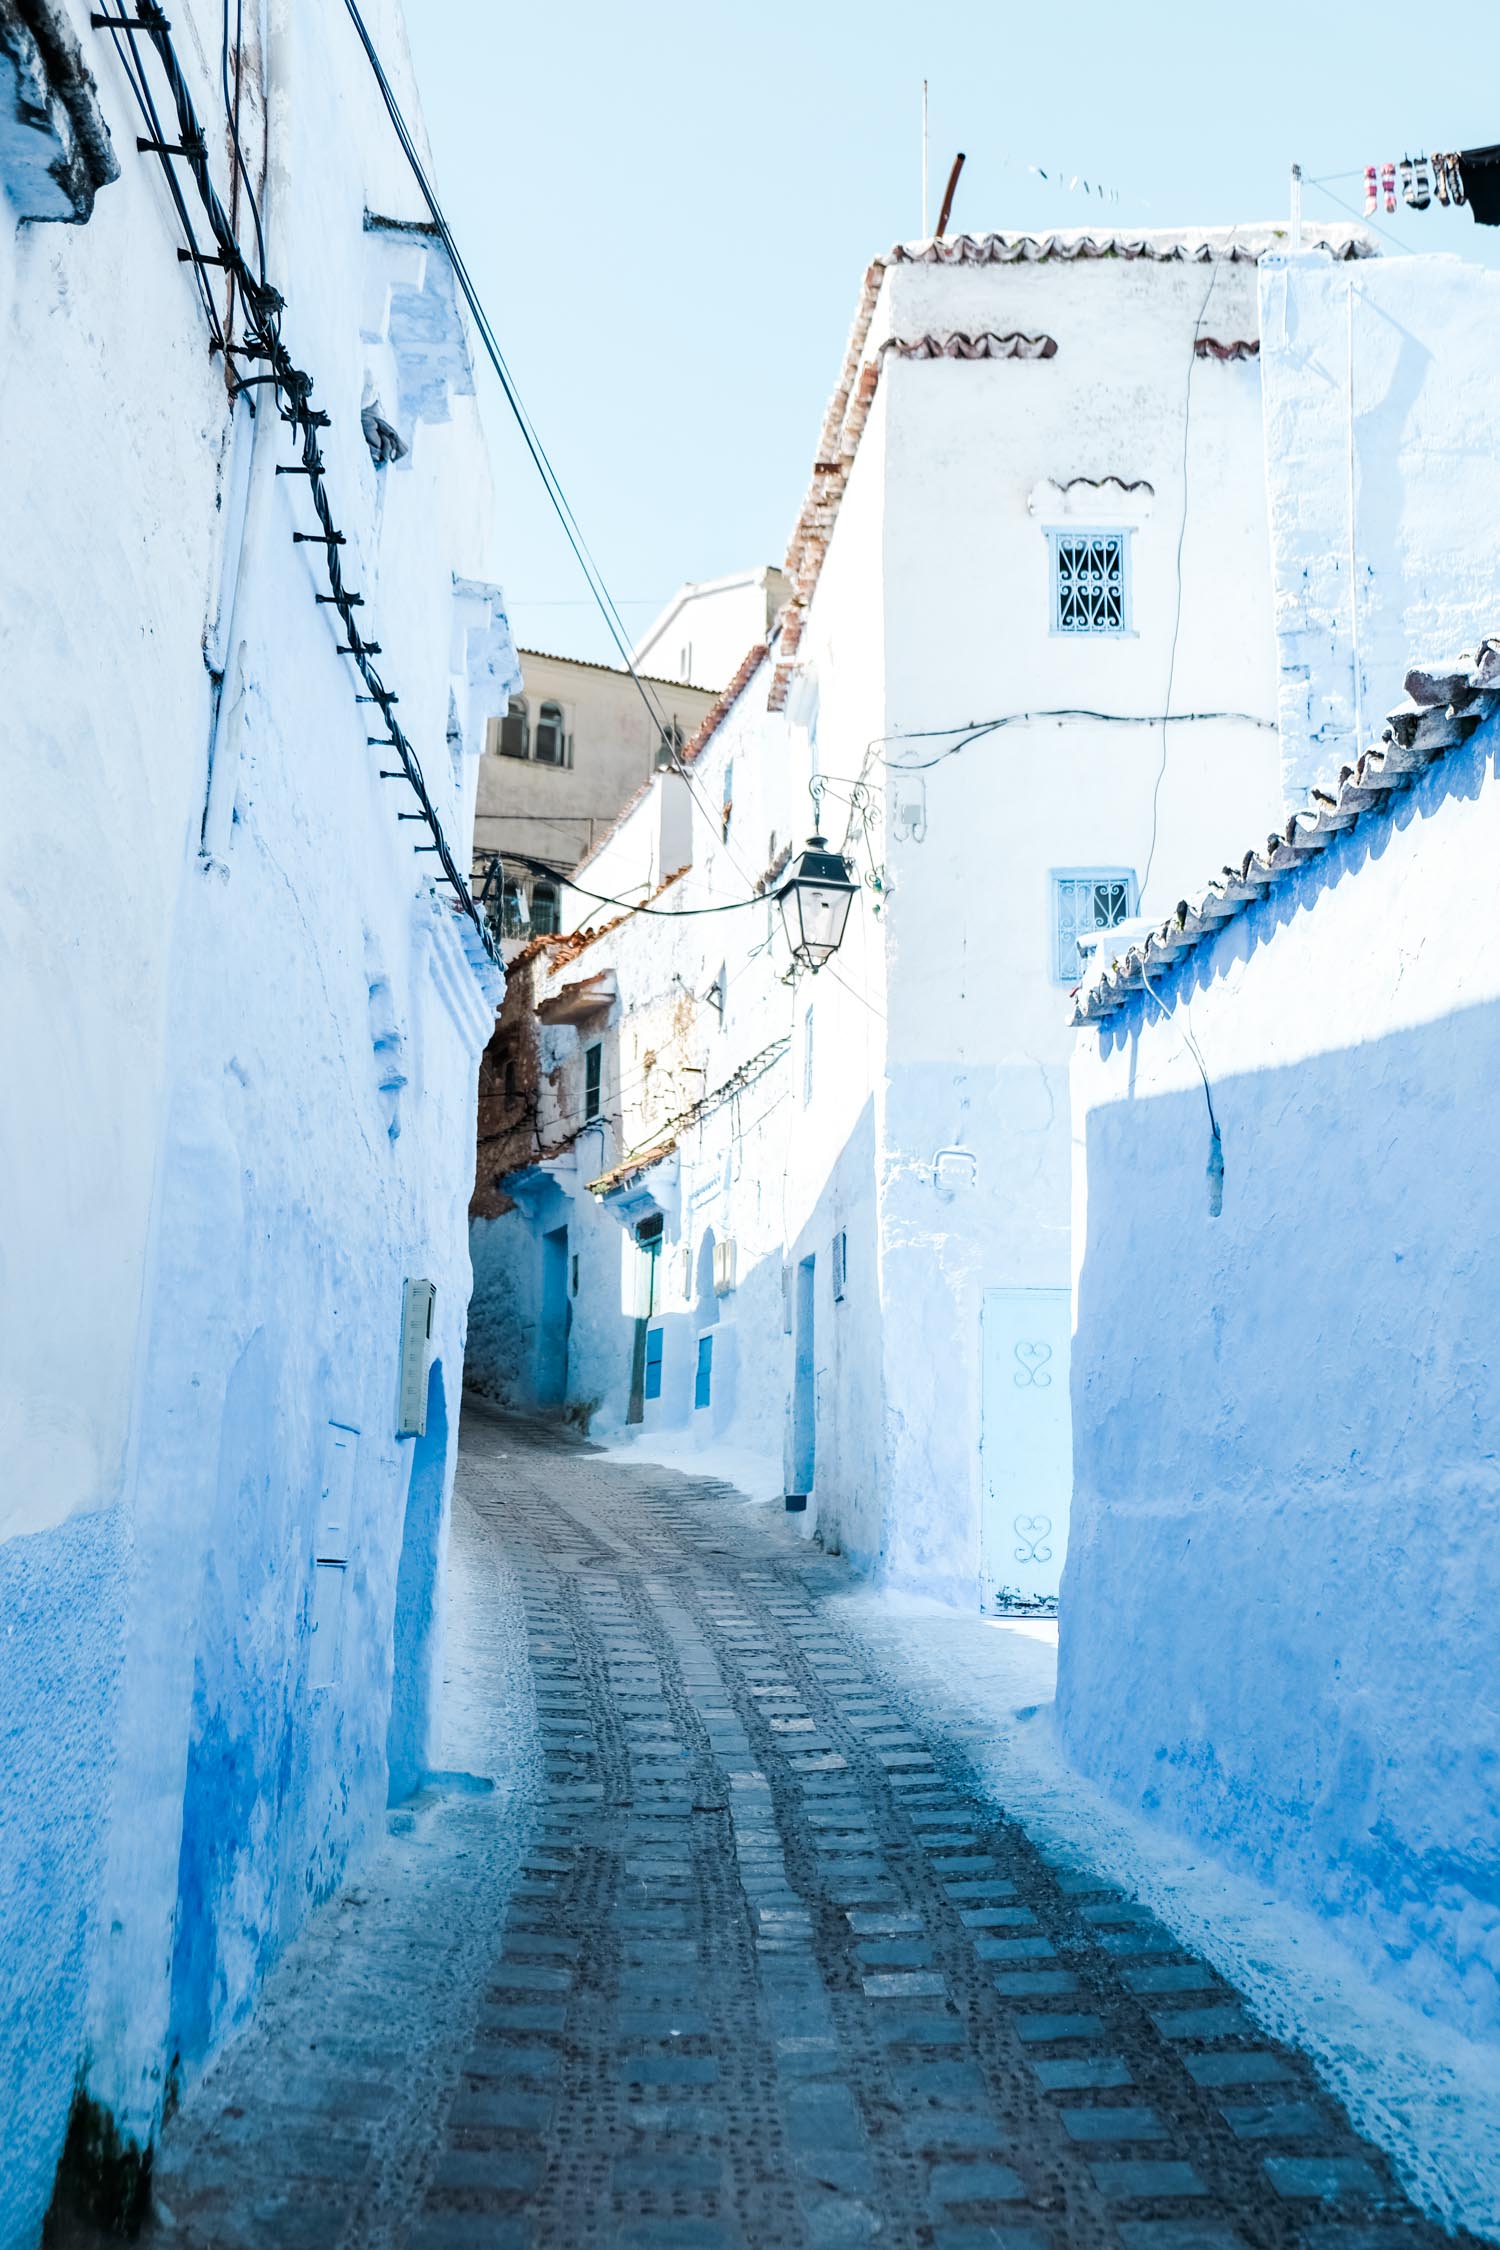
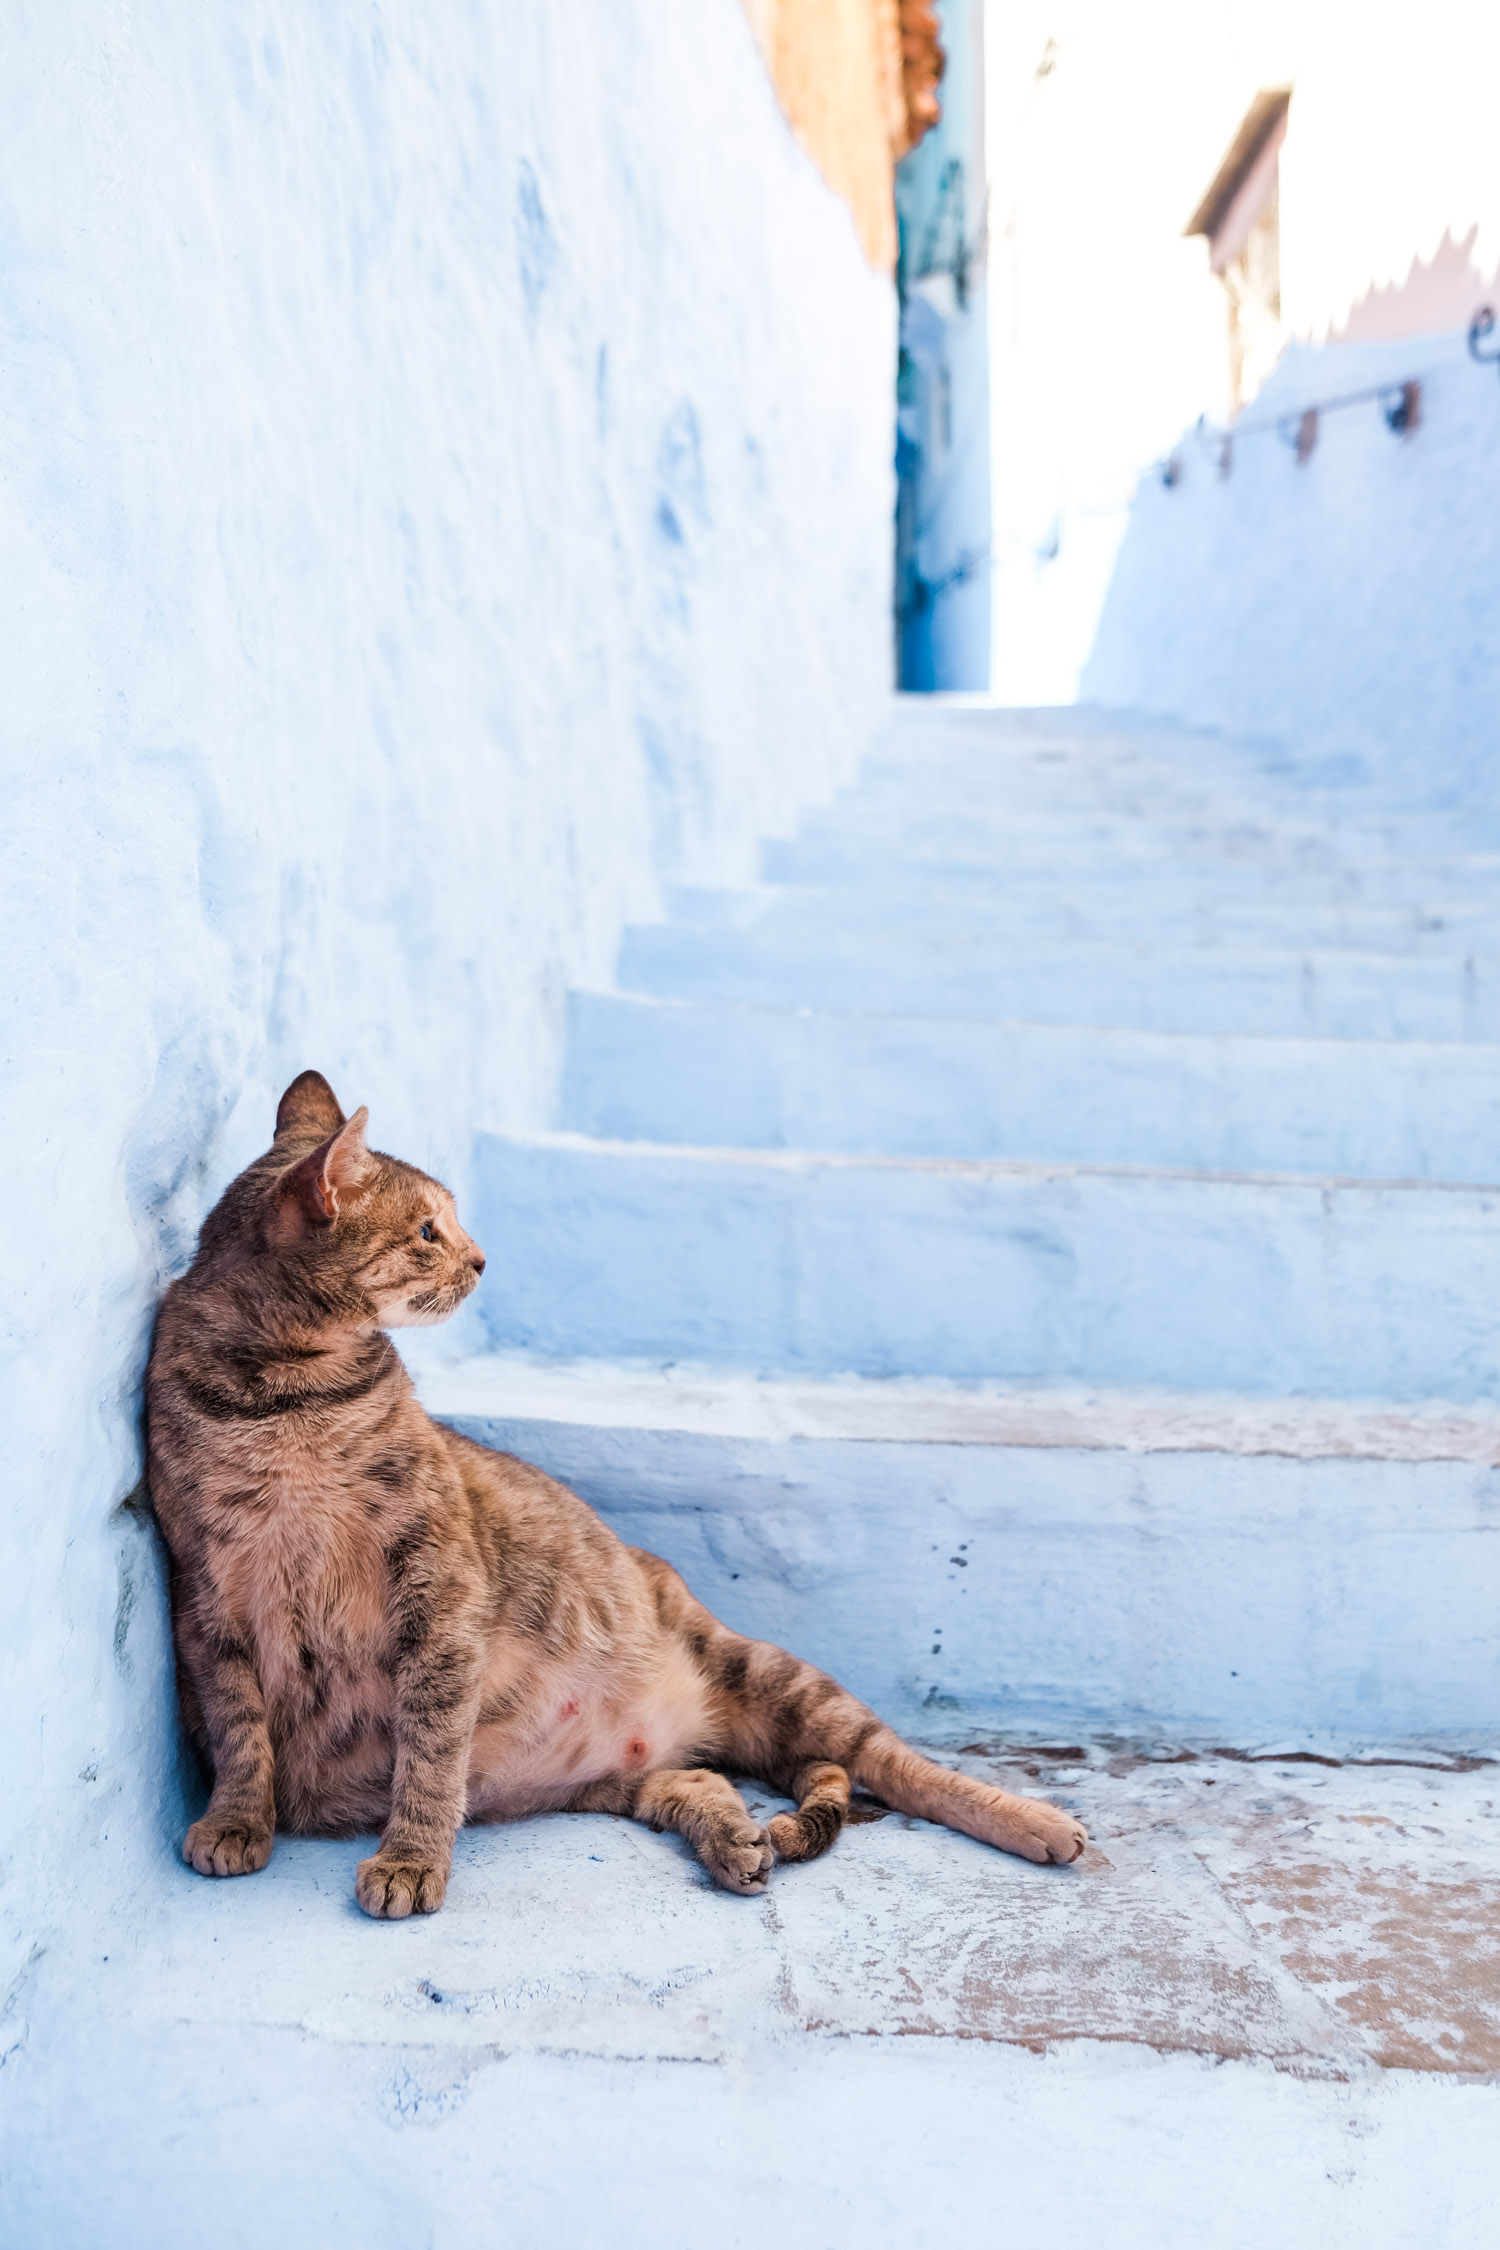
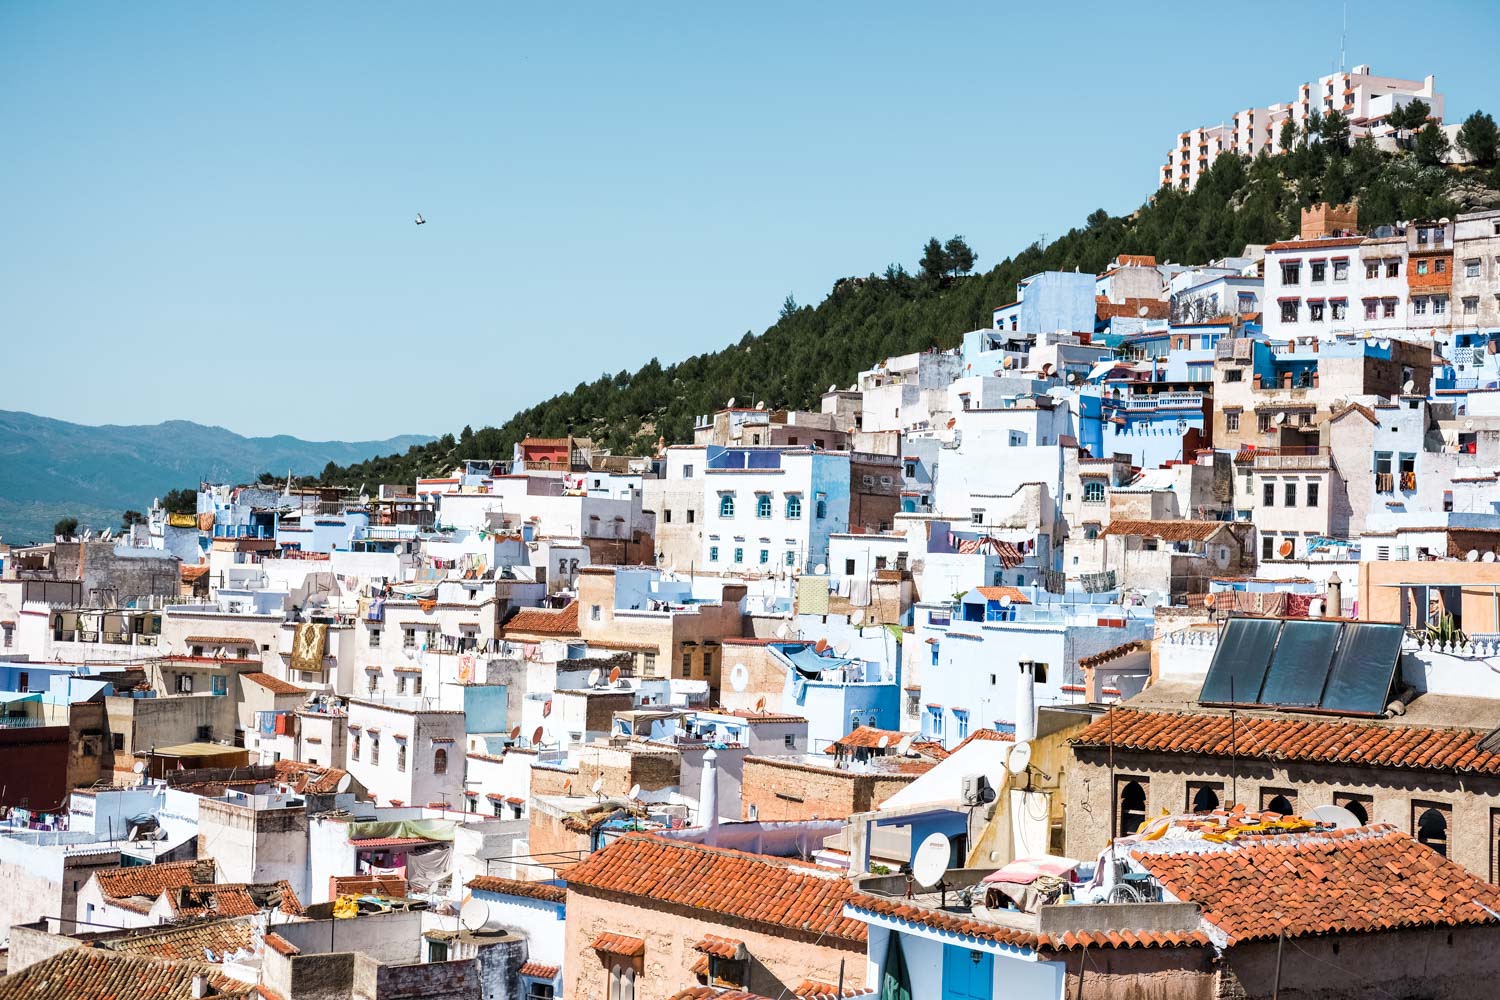
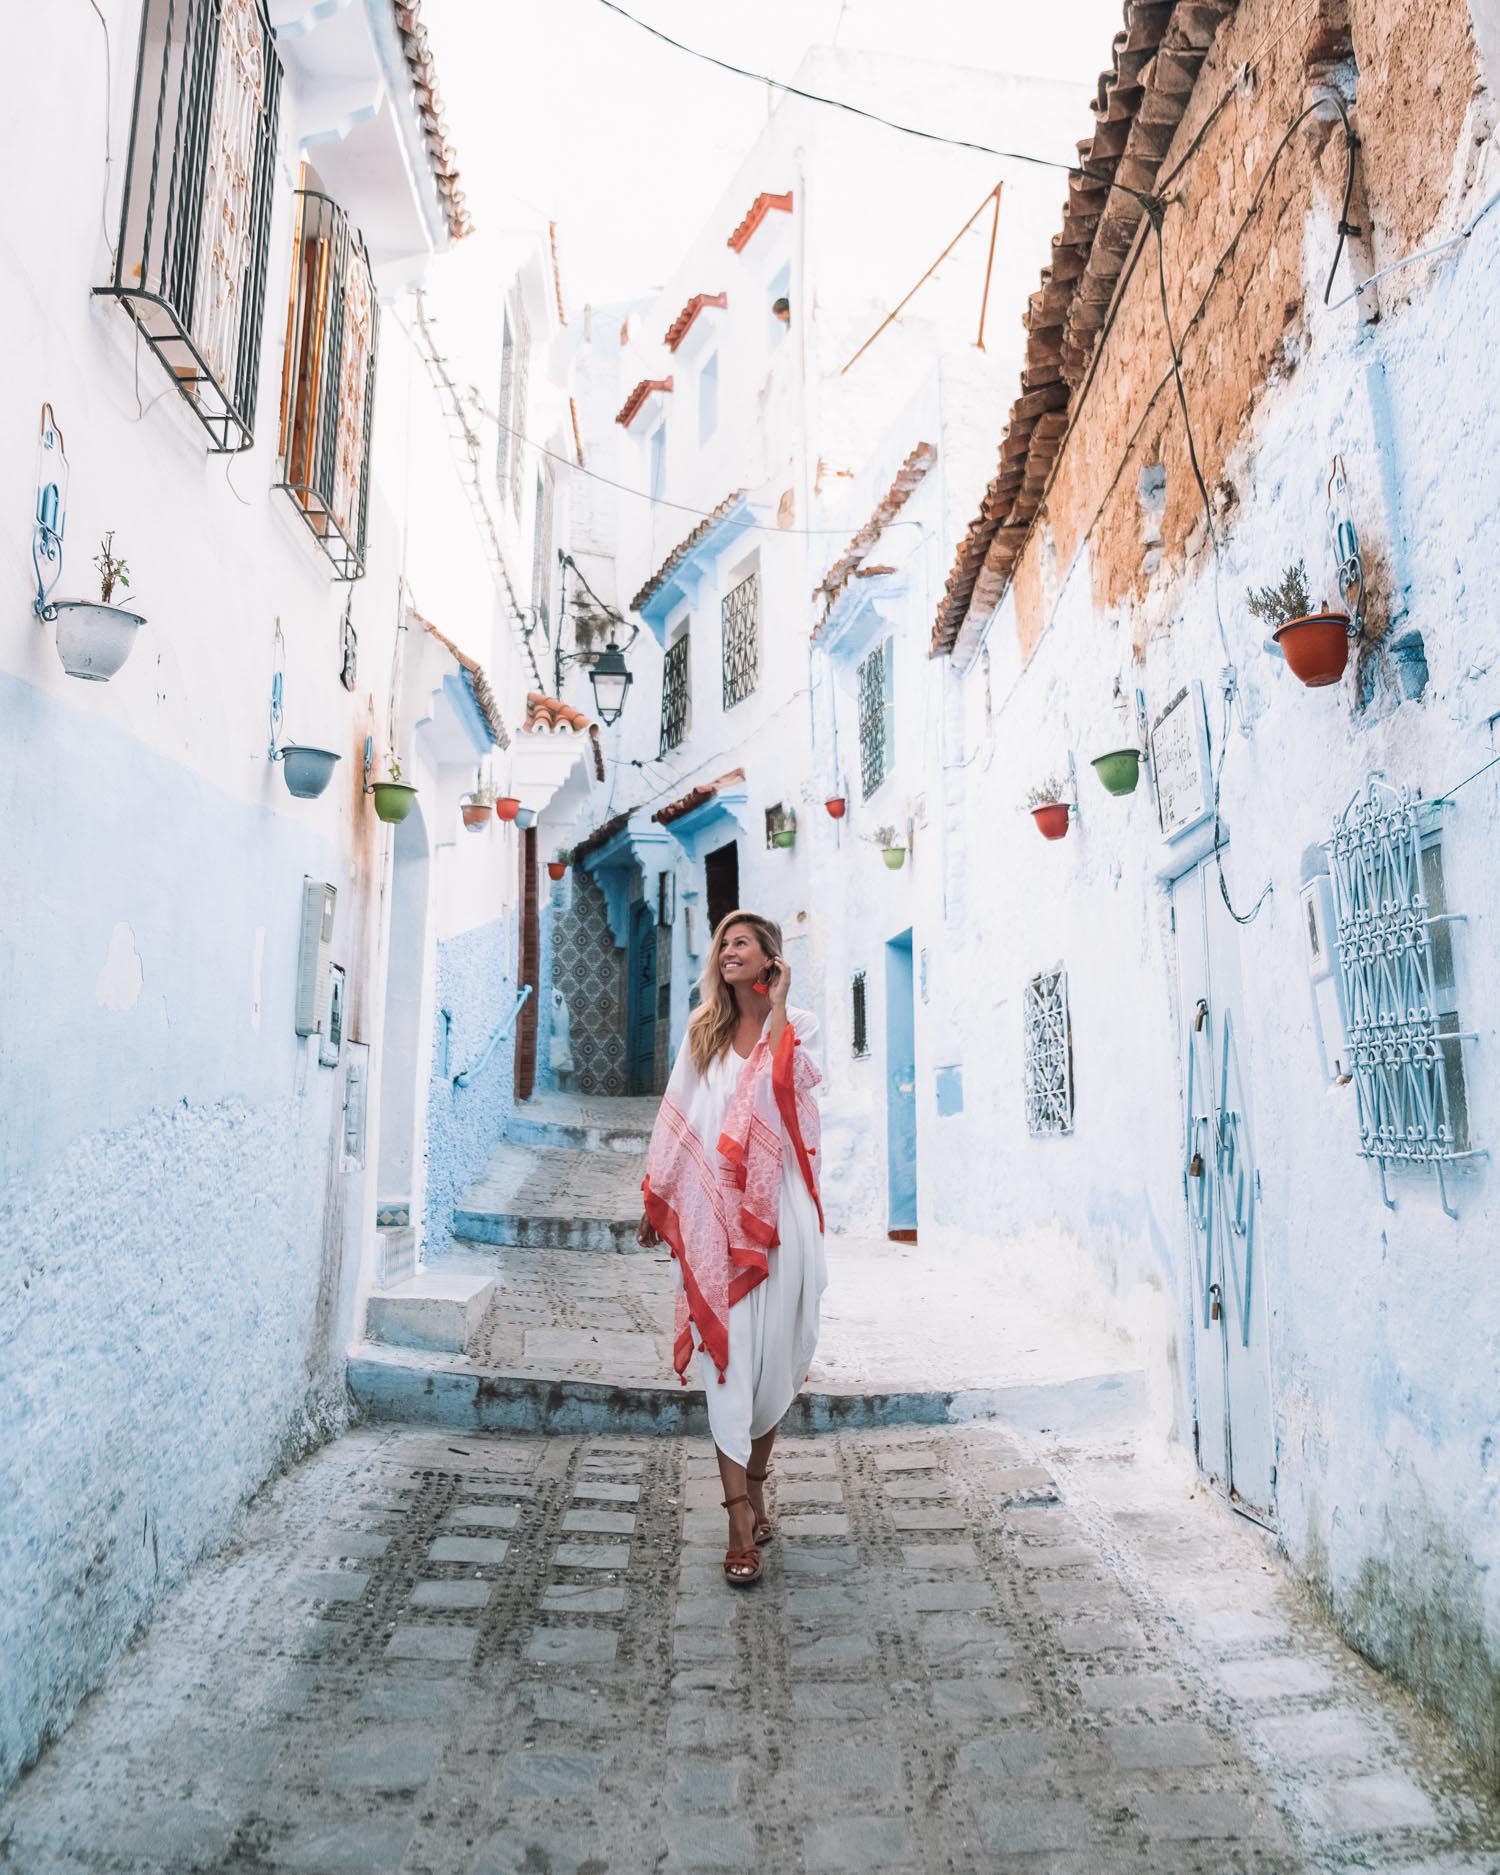
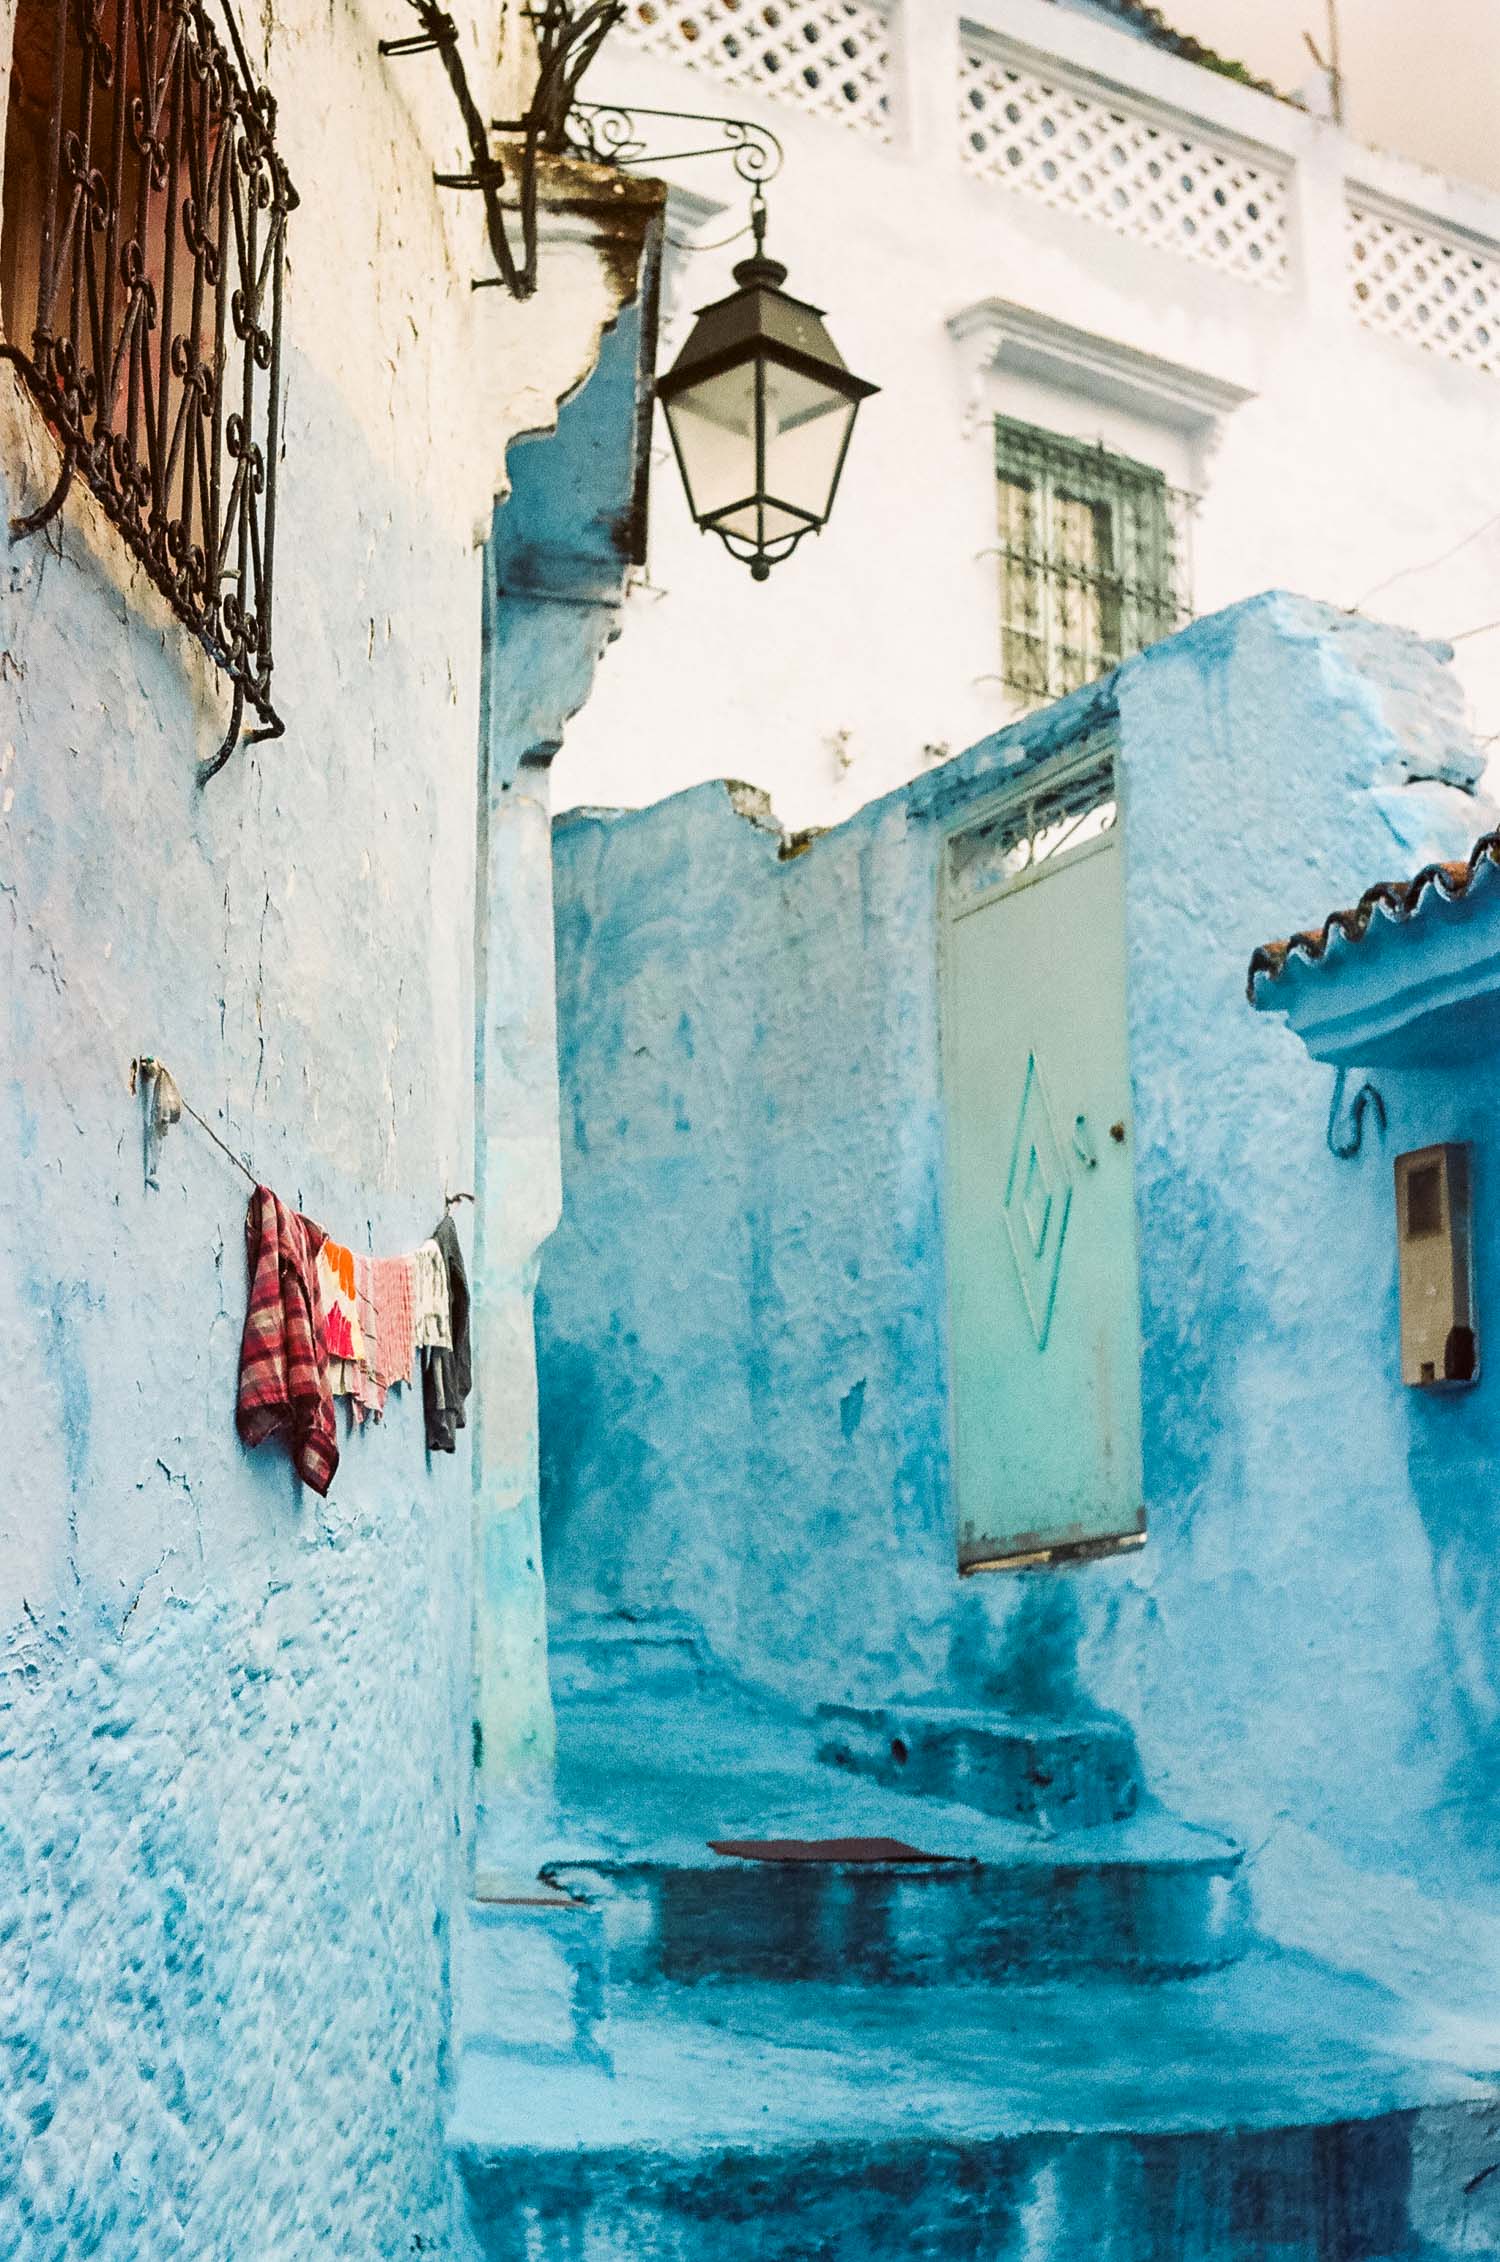
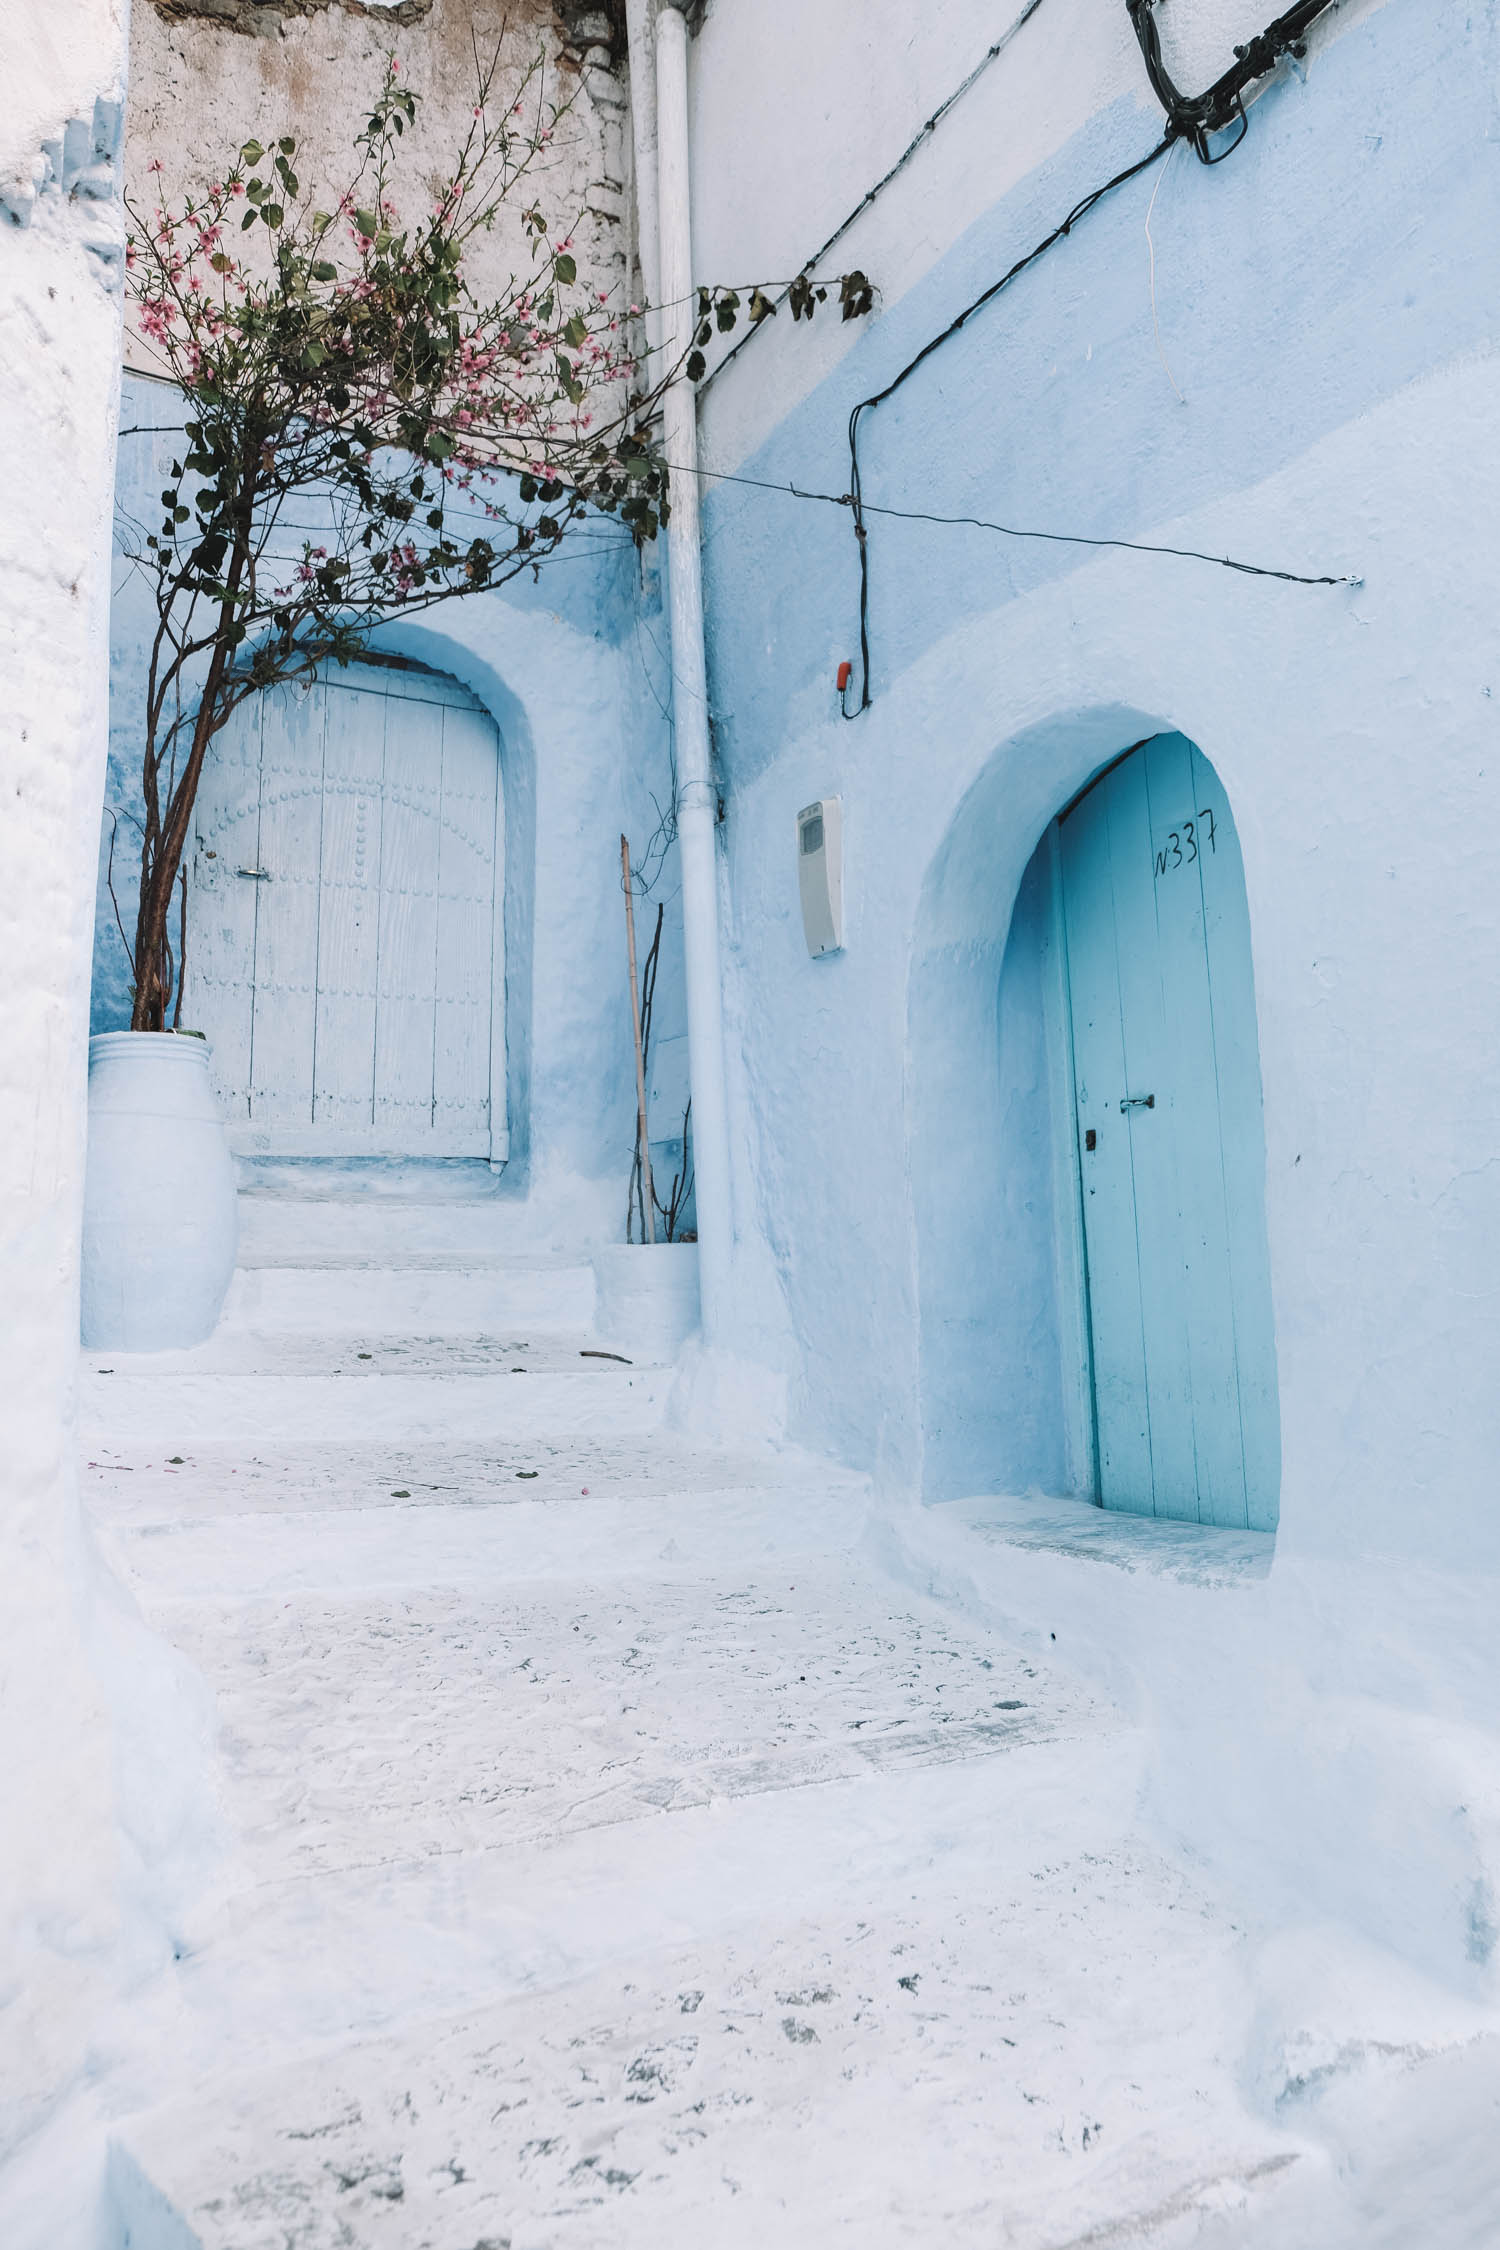
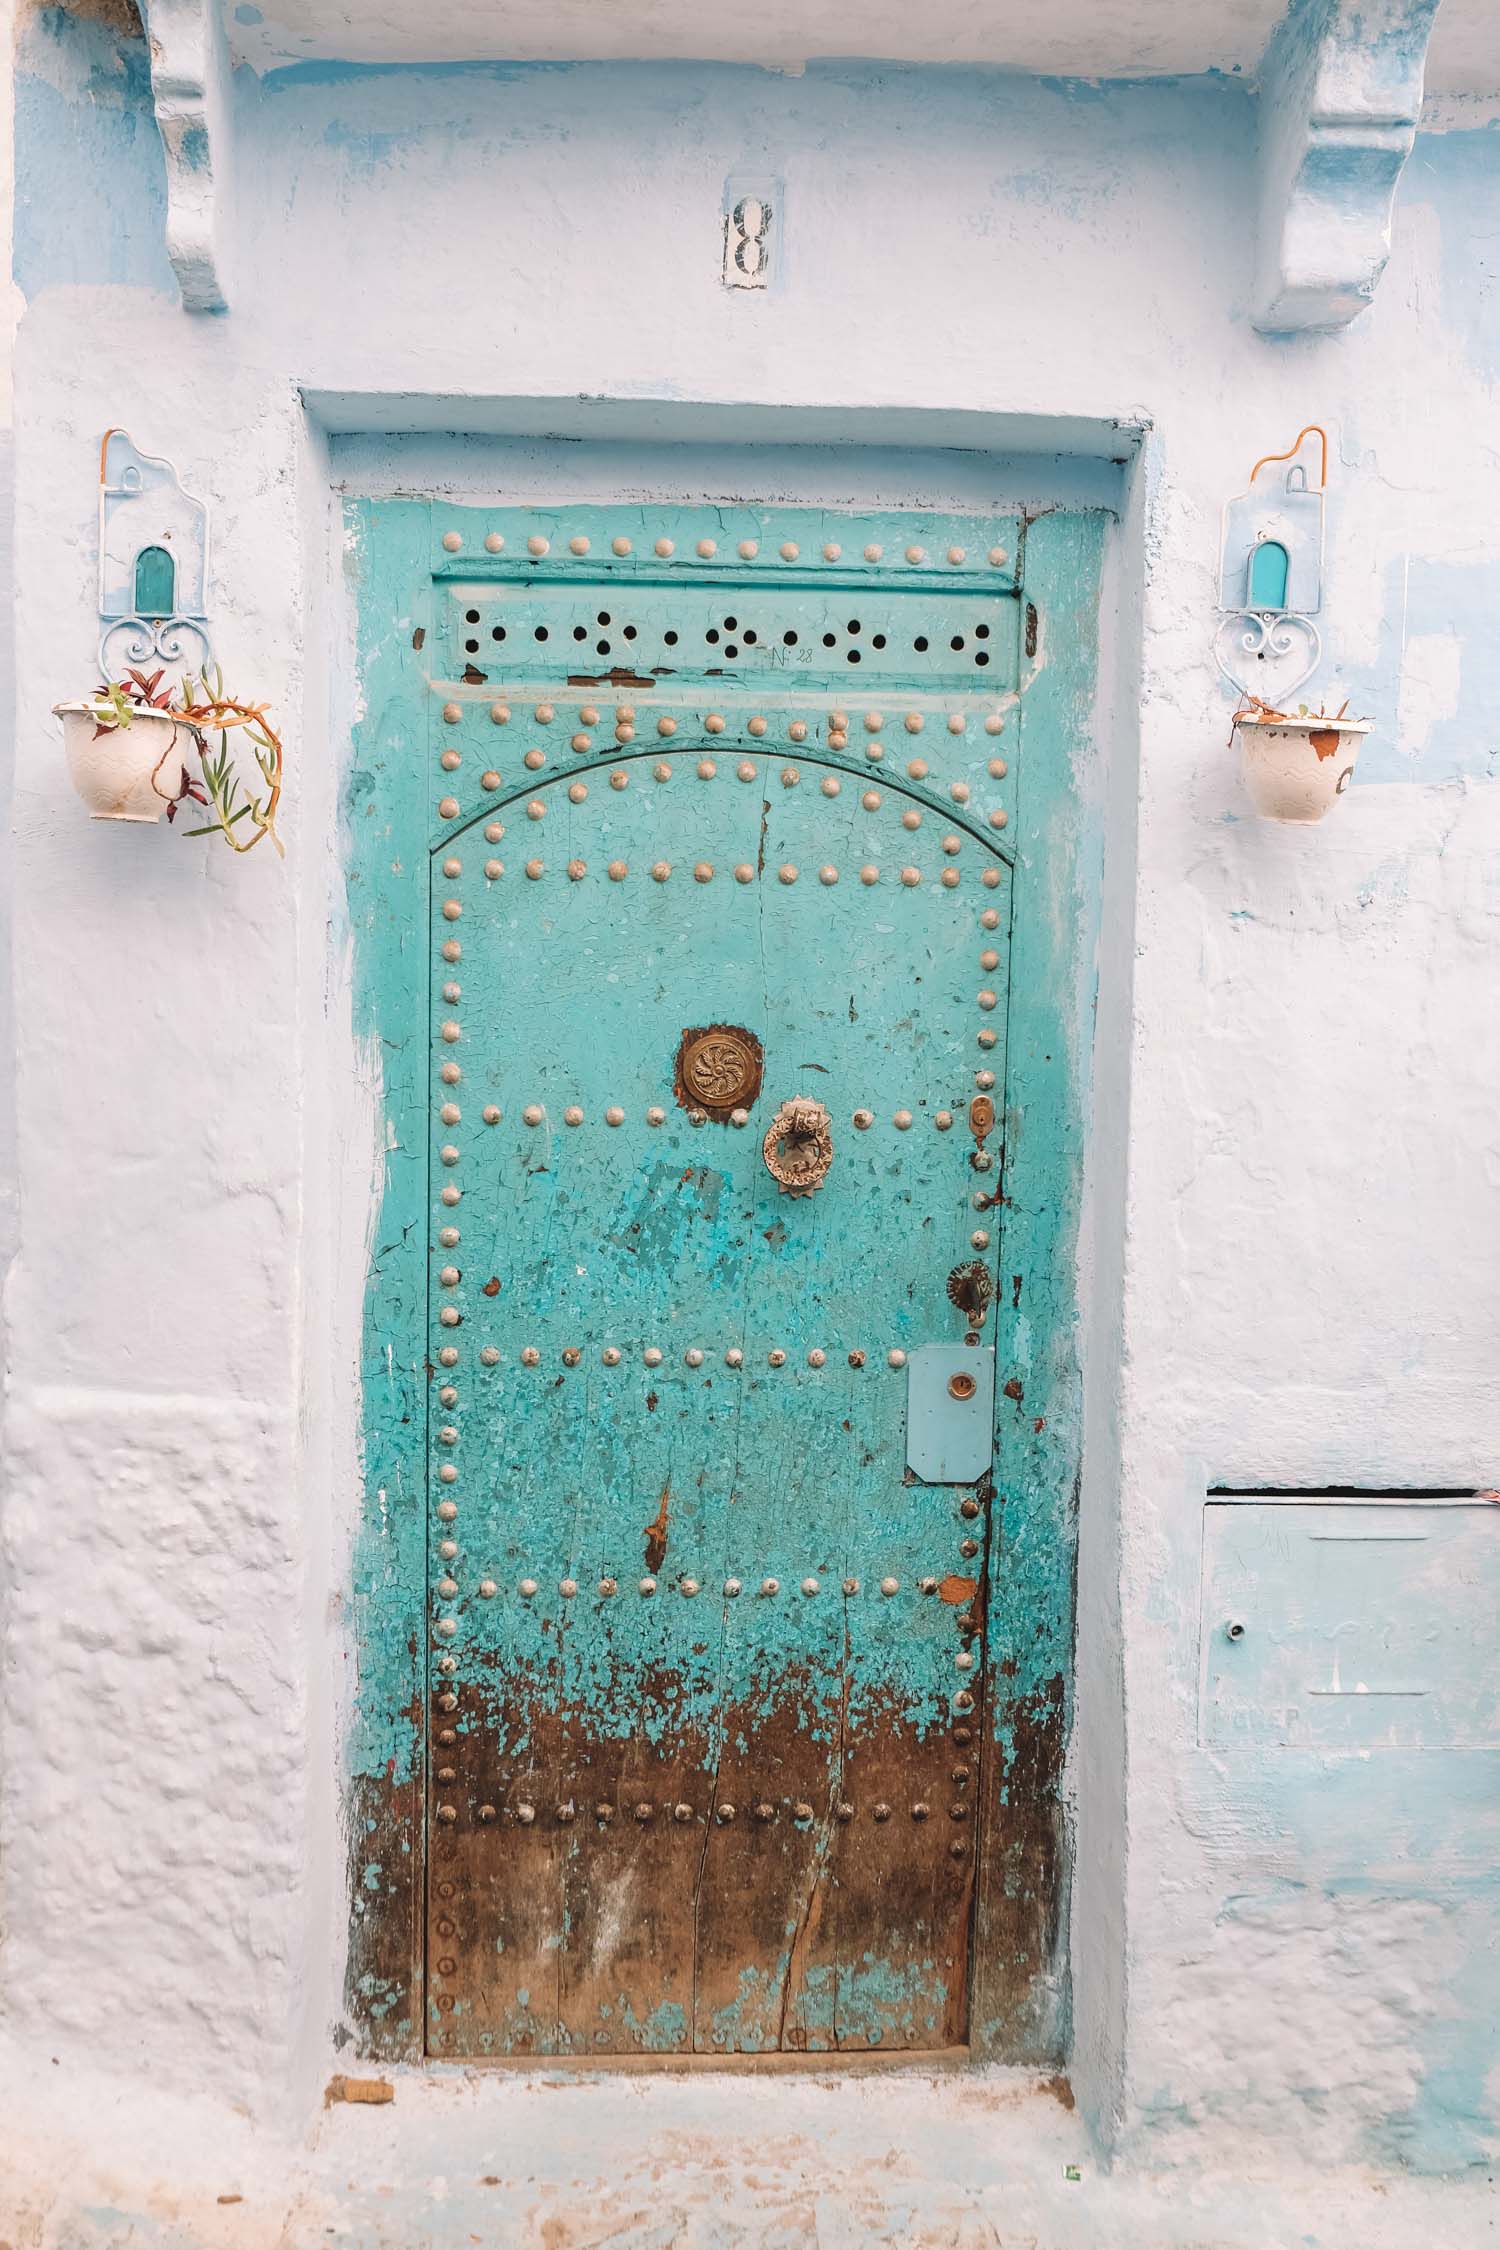
Perched right below the peaks of Rif sits Chefchaouen, arguably one of the prettiest towns in Morocco. Featured all over Instagram, the artsy blue-washed village feels as if you’ve been transported into a new world the minute you arrive.

Nicknamed “The Blue Pearl,” the village was founded in 1471 by Jews and Moors who were fleeing from Spain. There are many different theories as to why it’s blue. Some say it was painted by the Jews who settled there after escaping Europe in the 1930s, while others say it keeps the mosquitos away.

It’s also said to be blue because it represents the color of the sea and the sky.

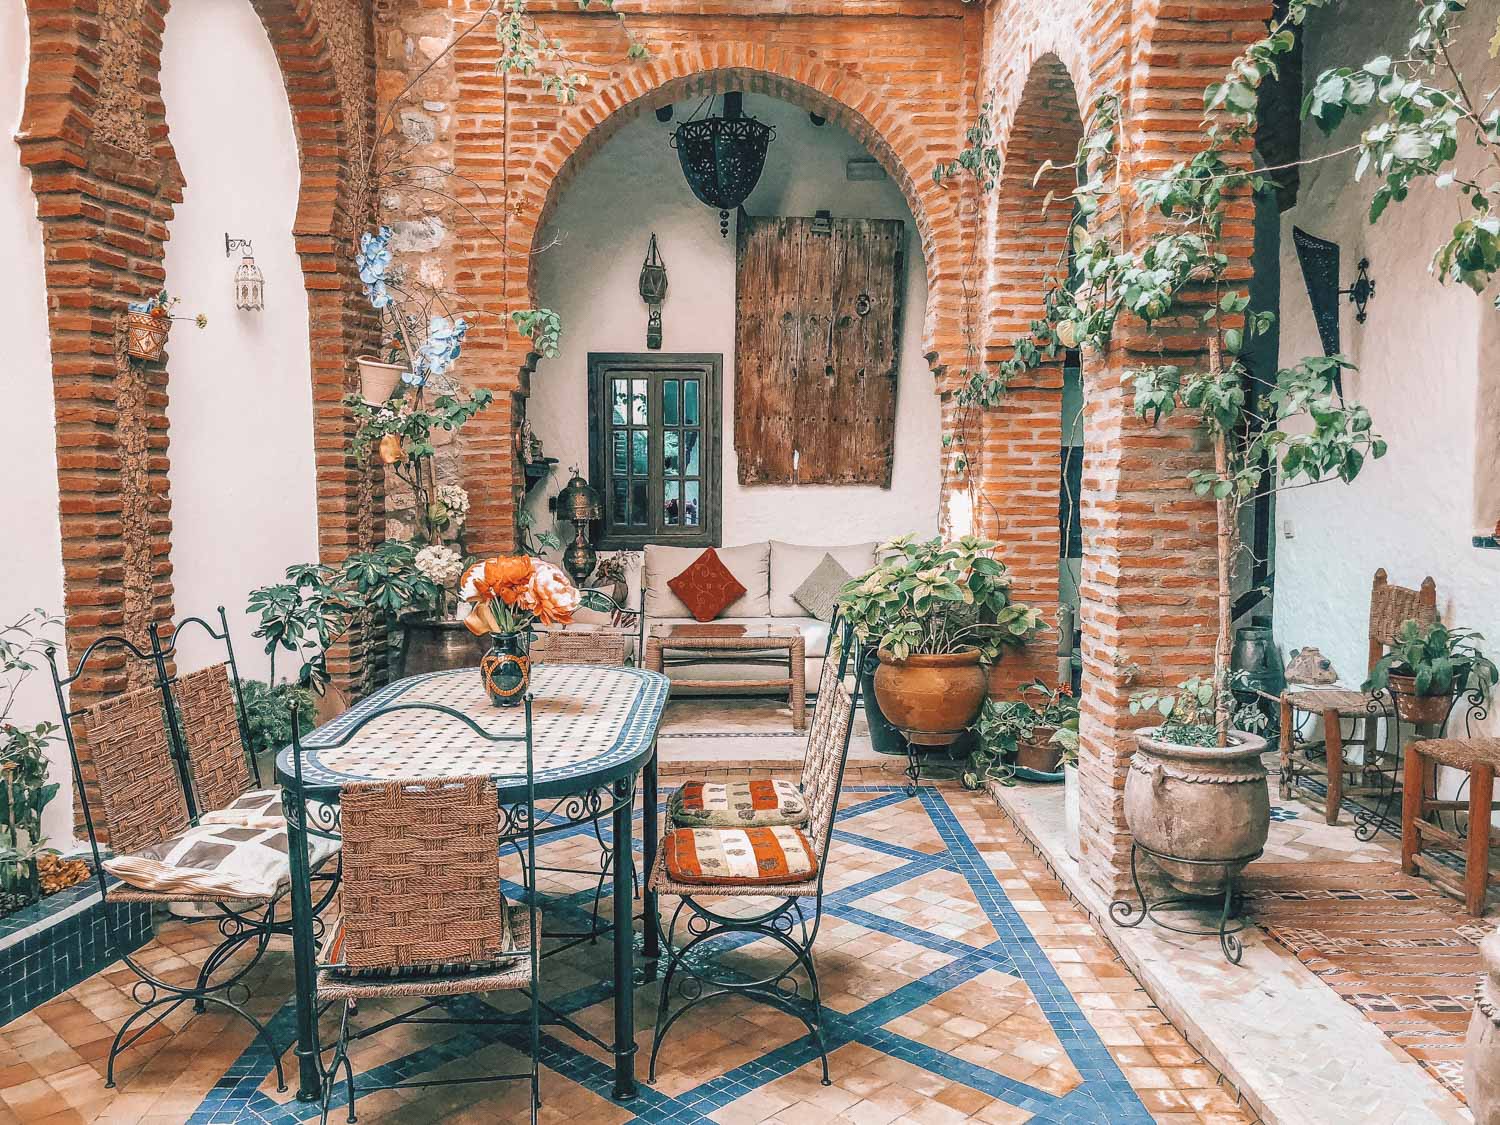
Whatever the reason for its magnificent blue hue, one this is certain: Chefchaouen is absolutely stunning and is a major highlight in Morocco—find some of my other highlights in this two-week itinerary for Morocco!

Because Morocco can get pretty hot, wandering around town during the day can get pretty uncomfortable. This makes choosing the best time to visit important as walking is the easiest way to get around town. My favorite time to visit is between March and April when you’ll find deals on hotels and flights and you won’t have to bump shoulders with crowds of people.

If you do decide to visit during the warmer months, keep in mind that Morocco is a conservative country. This means you’ll want to err on the side of caution when trying to decide what to pack and how to dress. Luckily for you, I put together a list of what to pack for a trip to Morocco so you won’t be stuck second-guessing your suitcase!

If these photos have piqued your interest and you want to learn more about what to expect in Chefchaouen, check out my Ultimate Guide to Chefchaouen!

Want to explore Chefchaouen on a group tour? Check out the TBA Escapes trip to Morocco!

The post 20 Photos to Inspire You to Visit Chefchaouen appeared first on The Blonde Abroad.


from The Blonde Abroad https://ift.tt/2BlUYak

Saturday, October 5, 2019

My Backpacking Gear Checklist (How To Pack For A Trek)

Backpacking Gear Checklist
My Lightweight Backpacking Gear Setup
Outdoor Gear Guide

Learn how to pack for a successful overnight backpacking or trekking adventure with lightweight gear essentials like a tent, stove, clothing, and more. My ultimate backpacking checklist!

As you’re about to see with my ultimate backpacking checklist here — I’m a total gear nerd!

From backpacking in Greenland, trekking in Afghanistan, or hill-walking in Ireland, I’m always searching for the lightest and most comfortable hiking & camping equipment. Updating my gear guides on a regular basis.

Fortunately, you get to benefit from my expensive hobby of collecting and testing outdoor backpacking gear by learning from my experiences using it during adventures around the world.

At the end of this guide, you’ll find a FREE printable backpacking checklist that you can download and use for free!

Favorite Backpacking Gear For 2019

Why Listen To Me?

Experience! I’ve been backpacking & trekking around the world for the past 9 years through mountains, deserts, forests, jungles and National Parks in multiple countries. This guide is also completely independent.

Backpacking VS Trekking

First off, I want to define the difference between backpacking, trekking, and hiking. These words are sometimes used interchangeably — but they can also have different meanings depending on who you ask.

Backpacking is a hiking trip that includes overnight camping. Packing everything you need to be self-sufficient in the wilderness on your back. Like my 10-day solo backpacking trip on Greenland’s Arctic Circle Trail.

Trekking is hiking long-distance, for days or weeks at a time. You might pack everything in yourself, but more likely you’ll have a guide and pack animal or human porter to help you. You may or may not need to bring your own shelter. Like my trek in the mountains of Afghanistan with a local guide & pack horse.

Hiking is just walking on a wilderness trail through the mountains, forest, desert, or even the countryside. Generally, this is used to define day hikes that don’t require an overnight stay. Like my day hike up Ireland’s highest mountain.

I’m going to focus on a typical 2-5 day backpacking trip, packing in your own food, water, and camping gear. But much of this will also work as a trekking packing list.

Lightweight Backpacking Checklist

Packing for a Trek
The Gear I Pack for Overnight Trekking

Backpacking checklists & packing lists can be a controversial subject. Everyone has an opinion about what’s the best hiking and camping gear to bring on a trip!

You have your traditional backpackers, lightweight backpackers, and even ultra light thru-hikers who all do things differently.

For this backpacking gear checklist, I’m sharing my personal setup, which is considered “lightweight” with a 20 lbs (9 kg) base-weight.

Backpack base-weight is the weight of all your gear except for food, water, and fuel — which varies depending on the length & location of your trip.

Choosing A Hiking Backpack

Hiking Backpack in the Mountains
Great Backpacks for Hiking & Camping

Overnight Backpacks

For multi-day hiking & backpacking, where you’ll need to carry everything in on your back, I recommend choosing a 40-65 liter backpack that will hold your tent, sleeping bag, food, water, and other backpacking essentials.

  • Gregory Mountain Zulu 55 – This is the backpack I take with me on most 2-3 day trips. It’s super lightweight (3.5 lbs), comfortable, and well designed. The front-loading pannel makes it a great travel backpack too.
  • Arcteryx Bora 50 – For long-distance treks with the potential for more extreme weather, or more weight (like winter camping), I prefer this for superior weather resistance and a more comfortable hip-belt.

Day Hiking Backpacks

You may or may not want a day pack — it depends on the type of trip. Other than a traditional day-hike that doesn’t require camping, you might also want a day pack to wear during a guided trek, for easy access to certain items while the rest of your gear is with a porter or pack animal.

I do not bring a day pack on independent overnight hiking & camping trips.

Waterproofing Your Pack

What if it rains during your backpacking trip? Most hikers bring a waterproof rain cover for their backpack, and I used to as well. Until I discovered the magic of using a trash compactor bag (or two) to line the INSIDE of my pack.

Why? First of all, they are much cheaper. Second, they are multi-use items. Finally, they are much more effective. Sure, the outside of your backpack will still get wet, but everything inside will be bone-dry. Even if you fall into a river.

Color-Coded Stuff Sacks

To keep your backpack organized during your hiking adventure, I recommend using a few lightweight stuff sacks and/or packing cubes, in different colors, so it’s easy to grab important gear quickly.

Tents & Overnight Shelters

Tents for Backpacking
My Nemo Hornet 2 Person Tent

If you plan to sleep outside in the wilderness, you’re going to need a quality shelter to pack with you. Traditionally this would mean using a tent, but a camping hammock or bivy bag are other possible options. While I own and use all three types of shelters, generally I think most people should start with a tent.

Lightweight Tents

This is one of your most important pieces of backpacking gear. You want to find a tent that is a good combination of lightweight, spacious, waterproof, and easy to set up. It’s basically where you’ll be living during your trip!

  • Nemo Equipment Hornet 2P – My current favorite lightweight backpacking tent if I’m on my own. Perfect for one person plus some gear, but a bit tight with two people. I use this 75% of the time.
  • Big Agnes Copper Spur UL2 – Another great tent I own. Slightly more room if I’m going to be sharing it with someone else.

BUDGET OPTION: REI Quarter Dome 2 Tent

Camping Hammocks

If you’re going to be camping in a forest or jungle, it might make sense to hang a hammock for your backpacking shelter. A camping hammock keeps you off the ground, away from bugs & wet conditions, but is also easy to pack with no aluminum poles. Some people prefer sleeping in them to tents also.

Bivy Sacks

Bivy sacks are not for everyone. Basically, it’s like sleeping in a waterproof bag. The reason some experienced backpackers prefer them is due to their extreme light weight. It’s for minimalists & ultra-light hikers.

Warm Sleeping Bag

For a good night’s sleep, you need a warm sleeping bag. They key is to pick a bag rated warm enough for the weather you’ll encounter on your backpacking trip. I own two sleeping bags (30F & 0F), but if you can only get one, I’d probably recommend something around 15F degrees.

Down sleeping bags are warmer with less weight, but also more expensive. Synthetic bags weigh a bit more, but are more affordable.

  • Nemo Riff Down 15F/-1C – An amazing 3-season down fill bag that packs up super small, with zipper air vents for those warmer nights. Spoon shape for comfortable side sleeping. I own the 30F version of this.
  • Nemo Sonic Down 0F/-18C – A fantastic winter mummy sleeping bag for staying warm in very cold conditions. They also make a -20F version.

BUDGET OPTION: Marmot Trestles 15F Synthetic

Comfortable Sleeping Pad

Sleeping pads have come a long way over the years. From bulky rolled pieces of foam, to lightweight inflatable versions with high-tech baffles that take up far less room in your pack. A good sleeping pad can make a huge difference in how much you enjoy camping outside.

  • Sea to Summit Ether Light XT – I’ve tried countless sleeping pads over the years, and this is my favorite by far. Weights only 15 ounces, but is insulated and inflates to a thick 4-inches. I’ve never slept better in the backcountry!

Backpacker Kitchen

You don’t need to lug a ton of pots & pans into the wilderness anymore. A lightweight backpacker kitchen allows you to boil water for cooking simple dehydrated meals on the go.

Camp Stove & Fuel

MSR WindBurner Backpacking Stove – After years of using a JetBoil, I made the switch to MSR’s new system due to better cooking in windy conditions and faster boil times.

Mug/Bowl/Spoon

GSI Infinity Mug – While I could technically use the thin “cup” included with my MSR Windburner stove, I prefer a proper insulated mug that keeps coffee warm longer, with a spill-proof cap.

GSI Essential Spoon – Awesome long-handled camping spoon that can reach deep into a dehydrated food bag.

Hiking & Trekking Clothing

Base Layers

Arcteryx Ether Crew – Lightweight, breathable, synthetic t-shirt. I wear one, and pack a spare. They weigh nothing.

Smartwool Merino 150 Top & Smartwool Merino 150 Pants – I always bring one pair of thermals to sleep in, or wear under my clothes in cold weather.

Mid-Layers

Arcteryx Konseal Hoody – Lightweight fleece pullover for when the temperature starts to drop.

Down/Synthetic Puffy

Arcteryx Cerium LT Hoody – Lightweight, packable down jacket with a hood. For extra cold conditions, or under a waterproof shell jacket.

BUDGET OPTION: Mountain Hardwear Ghost Jacket

Socks & Underwear

I generally pack 3 pairs of socks on my backpacking trips. Two pairs to alternate for hiking (so my feet are always dry) and some thick wool socks for sleeping. One spare set of underwear.

Darn Tough Socks – My favorite brand of hiking socks. As the name implies, they last a long time!

SAXX Boxer Briefs – Expensive, but sooooo comfortable. Quick drying very breathable. I also use them for travel.

Backpacking Outerwear

These are the outer layers that protect you from nature’s wrath — the wind, rain, and snow. You should always pack some sort of rain gear on any backpacking adventure.

Waterproof Shell Jacket

Arc’teryx Zeta SL Jacket – Super lightweight waterproof and packable rain shell for hiking.

BUDGET OPTION: Mountain Hardwear Ozonic Jacket

Waterproof Shell Pants

Arc’teryx Zeta SL Pant – Super lightweight waterproof and packable rain pants for hiking.

BUDGET OPTION: Mountain Hardwear Ozonic Pants

Warm Gloves & Hat

Obviously this is going to depend on the season, but I usually bring something to keep my head and hands warm just in case the weather turns bad, or it’s colder than expected at night.

Smartwool Sport 150 Hat – Lightweight merino-wool hat to help keep my ears and head warm when it gets cold or windy.

Arc’teryx Rivet Gloves – Thin but wind-resistant gloves that are comfortable for accessing the controls on my camera.

Hiking Shoes Or Boots

There is an ongoing discussion in the backpacking world about the benefits of using hiking shoes over heavy hiking boots. I own a pair of each, and use them for different situations.

  • La Sportiva Akyra – Lightweight mountain running shoes that I use for most day hikes and shorter backpacking trips.
  • Scarpa SL Active Boot – My heavy-duty backpacking boots, that I break out for long-distance trekking in more extreme environments.
  • Scarpa Mont Blanc Pro – Insulated winter mountaineering boots for hiking on snow & ice with crampons.

Backpacking Food

Here’s the deal. I’m not a backpacker gormet cook like some people are. Food is just fuel to me. So I keep my diet simple and fast to prepare.

Trail Mix & Snacks

Usually bags of trail mix (nutes, dired fruit, etc) and some energy bars. I prefer Lara Bars and Clif Protein Bars. These act as both snacks and my lunch. Maybe some Sour Patch Kids or chocolate as an extra treat.

Dinner: Dehydrated Food

Good-To-Go Backpacker Meals – Tasty dehydrated bags of food that just need some hot water to prepare. You can eat right out of the bag too!

Breakfast: Instant Oatmeal

Quaker Protein Oatmeal – Instant oatmeal packets with some extra protein in different flavors. I usually add some dried berries too.

Coffee!

Starbucks Via Instant Coffee – I’ll be the first to tell you I’m not a big Starbucks fan in person. But their instant coffee packets are pretty damn good.

Bear Proof Container

Ursack Major Bear Bag – Easier to pack than a hard-sided container, this Kevlar bag keeps bears and rodents out of your food.

Personal Hygiene Items

Wilderness Wash – Biodegradable soap that’s safe for the environment.

Quick-Dry Towel –

Bamboo Toothbrush – Cut it in half for a travel-sized (and environmentally friendly) version.

Shaving Kit!

Ok, this isn’t a backpacking essential. But a simple shaving kit is part of my own personal hygiene routine. So I thought I’d include it for entertainment value!

I pack a razor, small tube of environmentally friendly shaving cream, and a camp mirror. Generally shaving my head and face every 2-3 days during a trip.

Pooping Kit

Everybody poops. But there’s a particular way to poop in the backcountry that minimizes your impact on nature in the spirit of Leave No Trace principles.

  • The Deuce Potty Trowel – Lightweight aluminum backpacking trowel for digging a “cat hole” to do your business.
  • Toilet Paper – Self-explanatory. You probably don’t need a full roll. Take out the cardboard center core to minimize weight and make it easier to pack.
  • Biodegradable Wet Wipes – For a fresh & clean finish!
  • Hand Sanitizer – To get rid of any left-over germs.
  • ZipLock Freezer Bag – To safely store & pack out all your used paper products…

The 10 Backpacking Essentials

These are the 10 most essential items to take with you on any backpacking adventure. From long-distance trekking to simple day hikes. They will help you survive in the wilderness during normal conditions or in an emergency situation.

1. Navigation

Getting lost in the wilderness can turn dangerous quickly. Knowing where you are, and where you need to go, is an essential part of safe backpacking.

  • Paper Map & Compass – Old school, but the most reliable (as long as you know how to use them).
  • Gaia GPS App – Amazing iPhone and Android GPS hiking trail app that works offline, even if you don’t have cell service.
  • Garmin InReach Mini – Personal locator beacon (PLB) and/or satellite communicator device. Alert authorities in an emergency, plus send & receive text messages via satellite.

2. Headlamp

Always pack a light to find your way back down the trail after an epic summit sunset! Or overnight camping trips. Plus a set of spare batteries.

  • Black Diamond Storm – Powerful, lightweight, and waterproof headlamp that has a great locking feature so it won’t turn on inside your bag.

3. Sun Protection

Many people underestimate the power of the sun, and a bad sunburn or sun-blindness can quickly ruin a great trip. I always pack a combination of wilderness-friendly sunscreen, sunglasses, a hat, and a lightweight Buff.

4. First Aid Kit

Some kind of first aid kit is a must on any outdoor adventure. You can buy a pre-made one like the one below, or create your own custom kit, which is what I do.

Adventure Medical Kits 7 – Covers all the basics. Bandages, pills, tweezers, blister care, etc.

5. Water & Filtration System

Hydrate, hydrate, hydrate! Always research how much water you need to bring on a hike to stay properly hydrated, and bring a water purification system too. There are many ways to do this, my setup for long-distance hiking is:

  • Nalgene 32oz Bottle – I still prefer a wide-mouth Nalgene bottle so I can add re-hydration salt packets to it.
  • Sawyer Mini Water Filter – Tiny water filter. With the included straw, I can drink dirty water out of my Nalgene, or attach directly to a water bag (below).
  • Evernew Hydration Bags – Lightweight and fold-able water bladders that screw into the Sawyer Mini, plus they can stand on their own.
  • Aquatabs – Emergency backup water purification system.

6. Sharp Knife

A key piece of survival equipment for hiking & backpacking trips. My favorite wilderness knife is the Enzo Trapper, but you’ll also get along fine with something less fancy like a Swiss Army pocket knife.

7. Fire Kit

To help you cook food, boil water, and stay warm in an emergency situation. You don’t need to go crazy. I usually bring a pair of Bic Lighters, some cottonballs in a tiny ziplock bag for tinder, and a few water/wind-proof matches.

8. Emergency Shelter

If you’re on an overnight backpacking trip, you’ll already have a tent as I mentioned earlier. But I also recommend bringing an emergency shelter (tent blows away, burns down, etc). It’s also wise to pack a shelter on long day hikes, in case you get injured or lost and need to spend the night.

SOL Emergency Bivy Bag – This heat reflective and breathable bivy bag will keep you warm in an emergency.

9. Extra Food

Always bring at least an extra half-day’s worth of food with you on day hikes, and a full extra day’s worth of food on longer multi-day backpacking trips for unexpected situations.

10. Extra Clothing

Pack a few warm layers (thermal underwear, extra socks, hat, gloves, etc.) to help you stay warm & dry if the weather turns bad, you fall into a river, or have to spend an unexpected night in the wilderness.

My Favorite Luxury Items

While you could pack ultra-light and reduce all unnecessary luxuries from your backpacking gear checklist, sometimes a little extra weight is worth the comfort. Here are my personal favorite hiking & camping extras!

  • Trekology Inflatable Pillow – I’ve tried many backpacking pillows over the years, this has the best combination of comfort mixed with lightweight pack-ability. It really improved my sleep quality!
  • Black Diamond Trekking Poles – Trust me on this one. Your knees will thank you. Especially on steep descents — and if you’re over 30 years old…
  • Anker Portable Battery – For recharging my iPhone, GoPro, or satelite beacon. Small but powerful. Recharges a phone up to 3 times.
  • LuminAide Packlite – Lightweight inflatable solar lantern for lighting up your tent or campsite area. Nice backup light to a headlamp.
  • Earplugs – They weigh nothing, and are very helpful if you want to sleep through thunderstorms, owls, insects, bears walking around your tent, snoring friends, and other nature sounds that are louder than expected.
  • Repair Kit – Miscellaneous repair gear with 50 feet of paracord, sleeping pad puncture kit, Tenacious Tape, safety pins, zip-ties, sewing kit, etc.
  • OR Hiking Gaiters – For those especially wet, muddy, snowy, or rough backpacking trips. Helps keep your feet and pants dry and protected.
  • Camp Shoes/Sandals – Something lightweight and comfortable to wear when you’re done hiking for the day. Can also be used for river crossings.

Backpacking With Camera Gear

Ok, what about hiking with camera gear? I could probably write a whole article about this subject too. For a photography-heavy day hike, I usually bring my LowePro Whistler 350 Camera Backpack.

On longer multi-day backpacking or trekking adventures, I tend to bring much less gear, and attach a simple LowePro Toploader Pro Bag to the front of my shoulder straps.

I might also use a Peak Design Camera Clip and a Peak Design Rain Cover, if I want to travel super light in reguards to camera equipment.

You can check out all my photography equipment here.

FREE DOWNLOAD: Backpacking Checklist

If you’d like a simple, one-page backpacking checklist that you can print out to help plan future trips, Click Here To Download. Enjoy!

Enjoy This Post? Pin It!

READ MORE BACKPACKING STORIES

I hope you enjoyed my backpacking checklist & gear guide! Hopefully you found it useful. Here are a few more wanderlust-inducing articles that I recommend you read next:

Have any questions about backpacking gear or packing for a trek? Any other suggestions? Let me know in the comments below!

This is a post from The Expert Vagabond adventure blog.


from Expert Vagabond https://ift.tt/2okCi7I